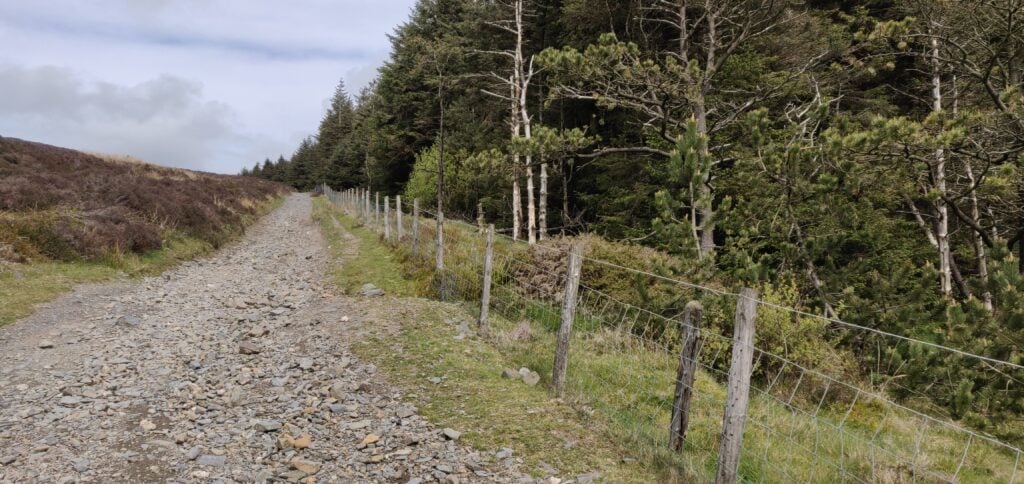
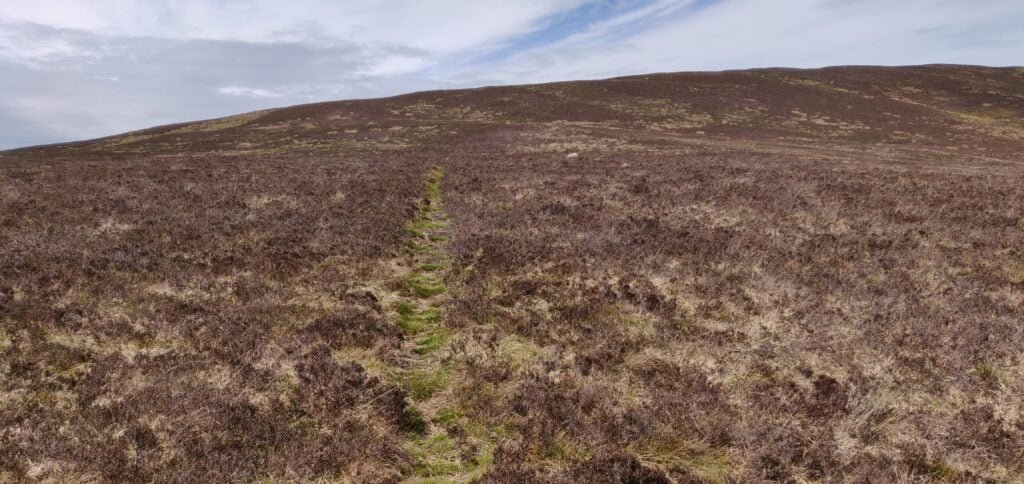
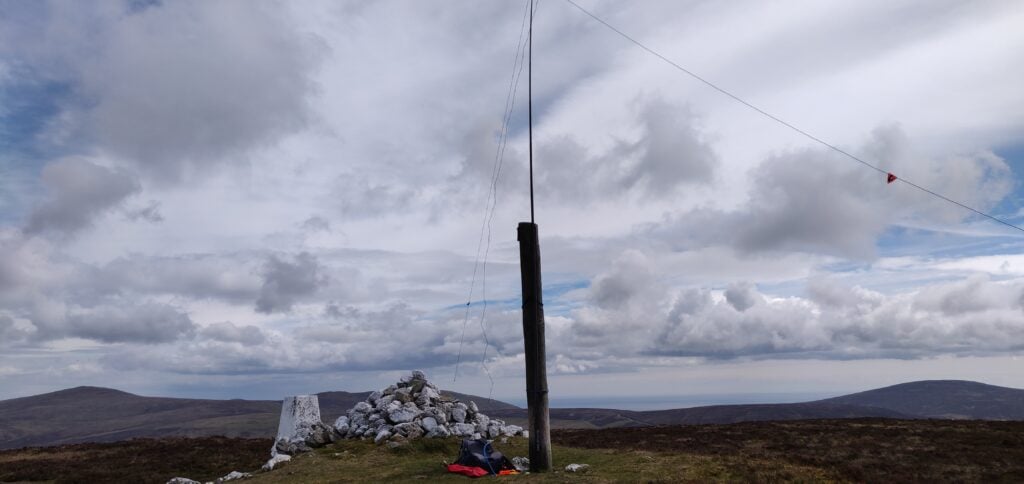
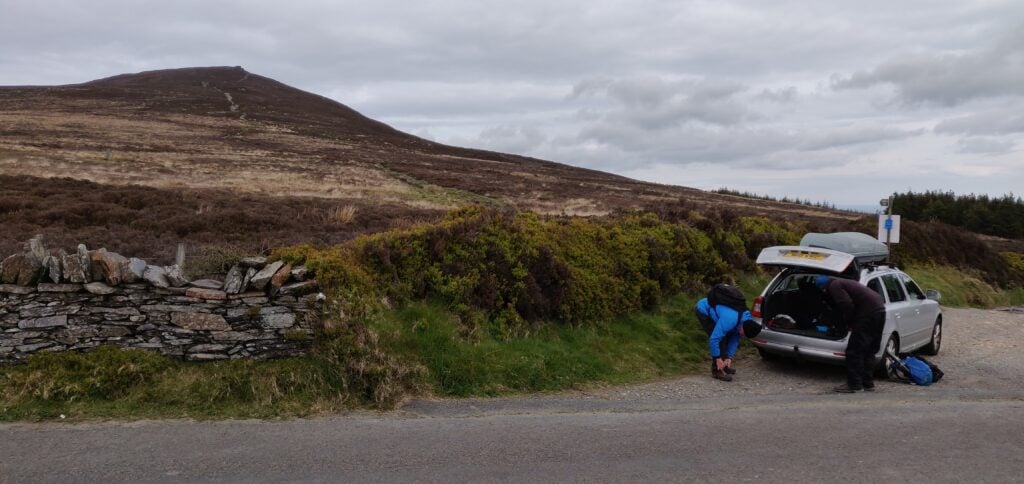
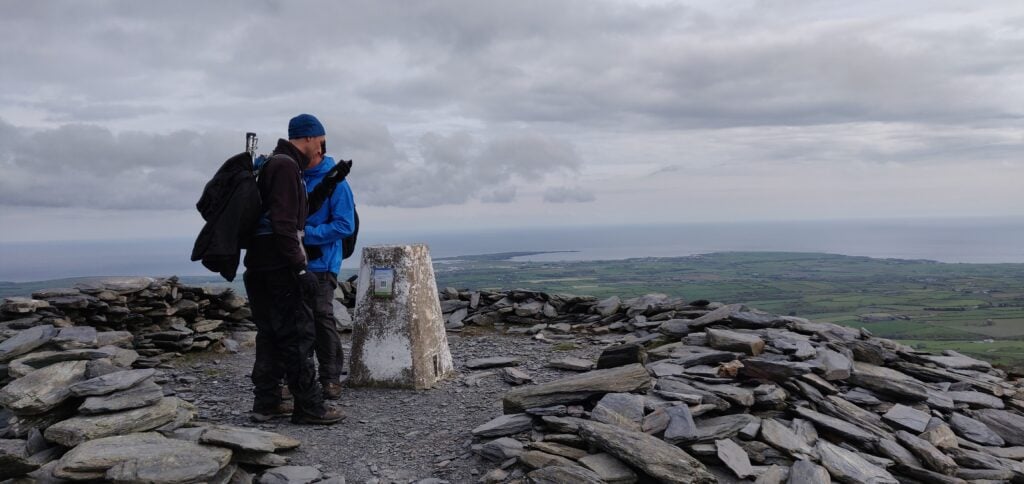
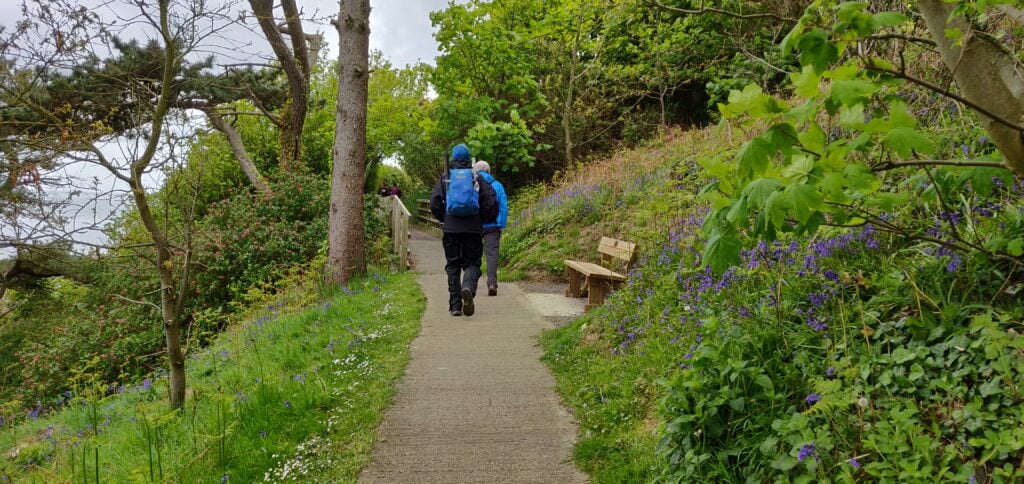
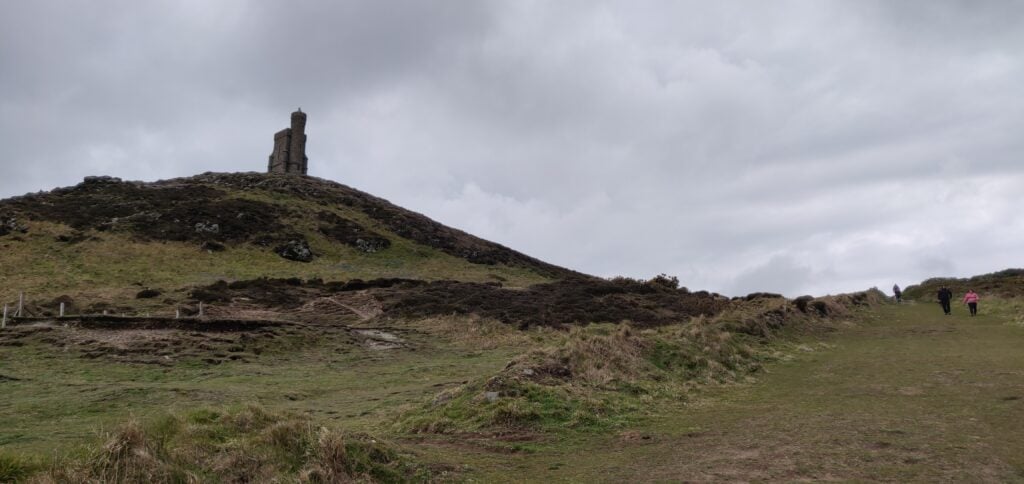
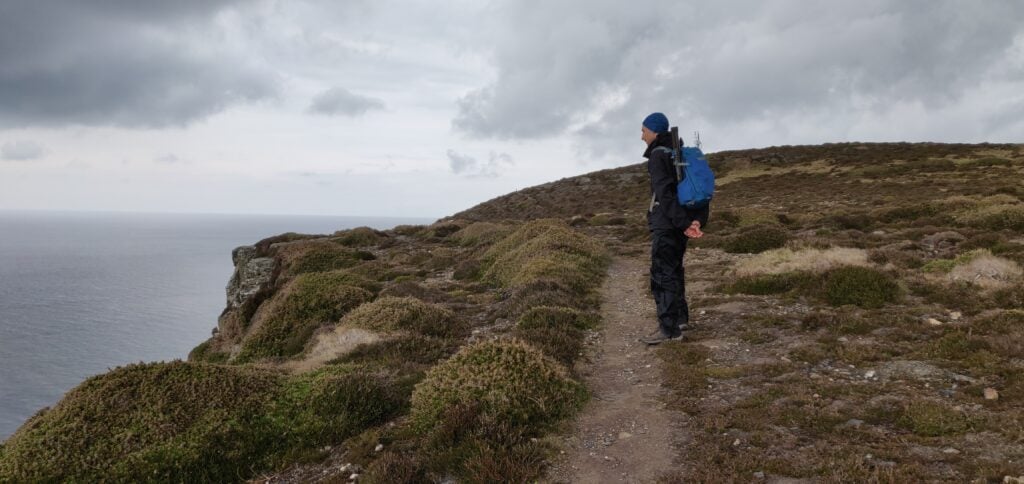
I’ve recently returned from a few days in the Basque Country, which included a few summit excursions. Although I’m aware that I’m behind on writing up some of my other SOTA trips over the summer, I’ve decided to type up my notes on this recent trip first before I forget the detail.
Aratz EA2/VI-003 (6 points)
Having landed in Bilbao, Spain, I hired a car and drove for about 90 minutes to the car park which serves both Aratz (EA2/VI-003) and also Aitxuri (EA2/SS-001). The car park itself is located near the end of the GR-282 road at 42.9351, -2.3032. The GR-282 itself is a concrete road but perfectly decent to drive over.
From the car park, you head on the path through the trees and over the bridge. The path soon opens out to a wider area, but it is obvious and without any particular navigational challenges. Note only that at this point you are heading away from the summit – this is because the summit itself is above a steep cliff face, and so the path heads around the side in order to reach a shoulder where the access is easier.
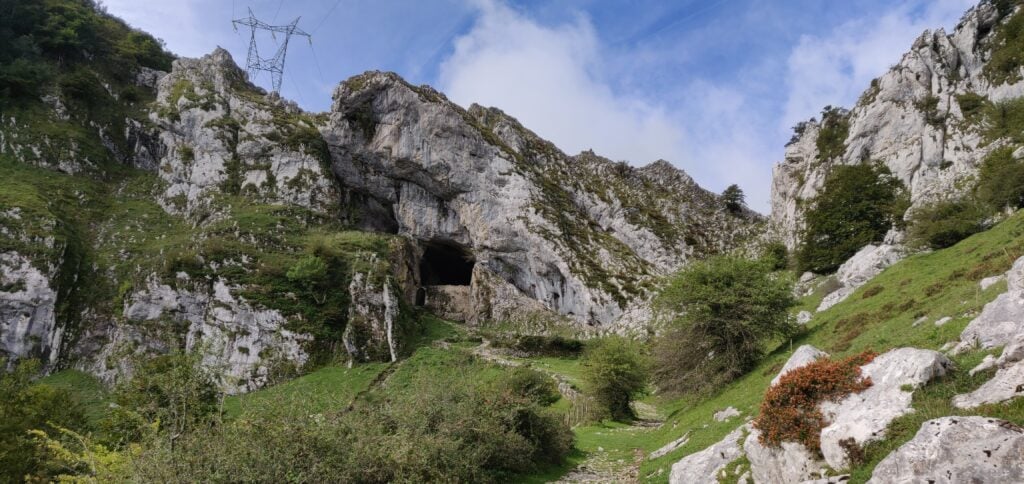
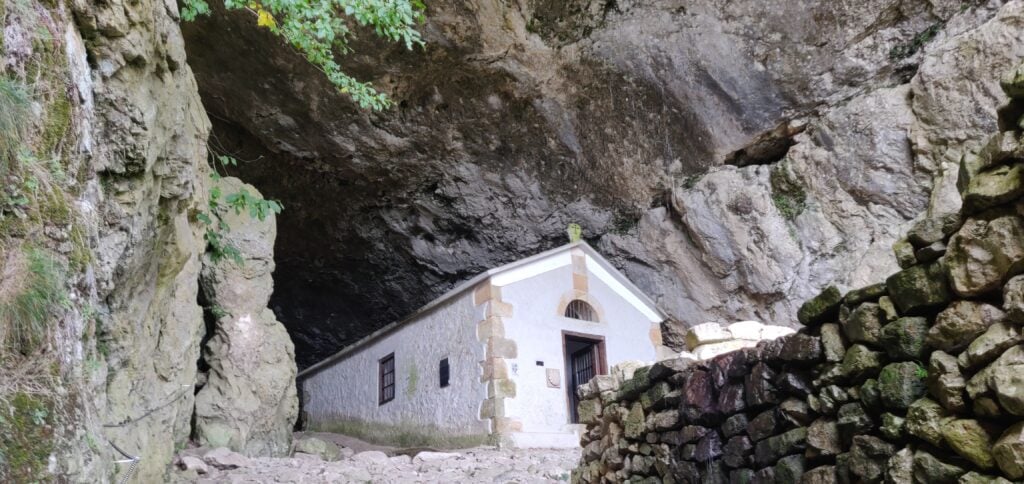
At 42.9352, -2.3153 you reach the fascinating natural tunnel through the ridge which contains a chapel at the site of a former hermit’s dwelling, the San Adrian’s hermitage.
The tunnel at San Adrian’s hermitageThe hermitage chapel
Continue walking through the tunnel but be wary of where there are drips onto the well-worn cobbles – the stones were quite slippery in places.
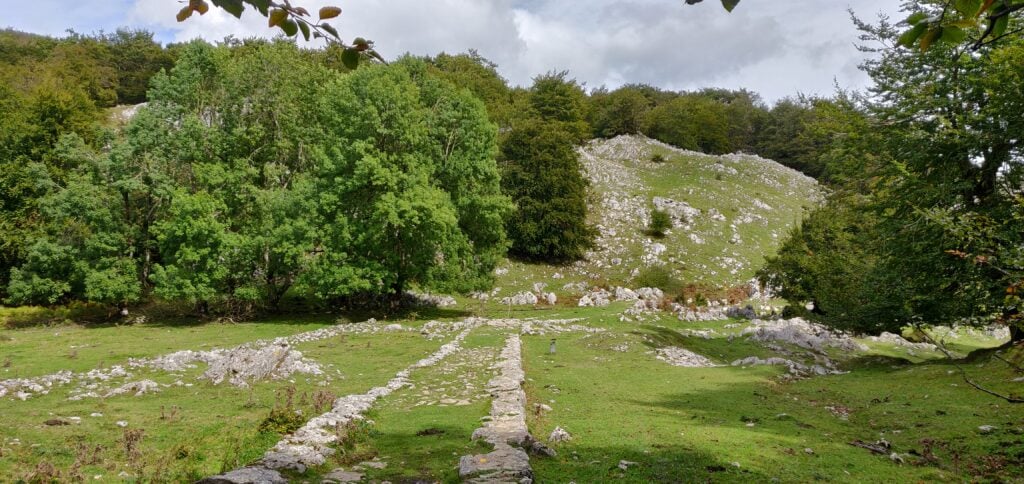
After the tunnel continue on the main path and where the route splits follow the white and red paint markings to the left, signposted to Gazlaren Ibilbidea. This brings you to another fascinating feature of the walk – an intact Roman road taking you back into woodland.
Looking back down the Roman road
Shortly after you’ve picked up the Roman road, watch for where the road bends around to the right and look for a small, muddy track through the trees straight ahead of you, marked with yellow dots of paint. This is the route to the summit of Aratz.
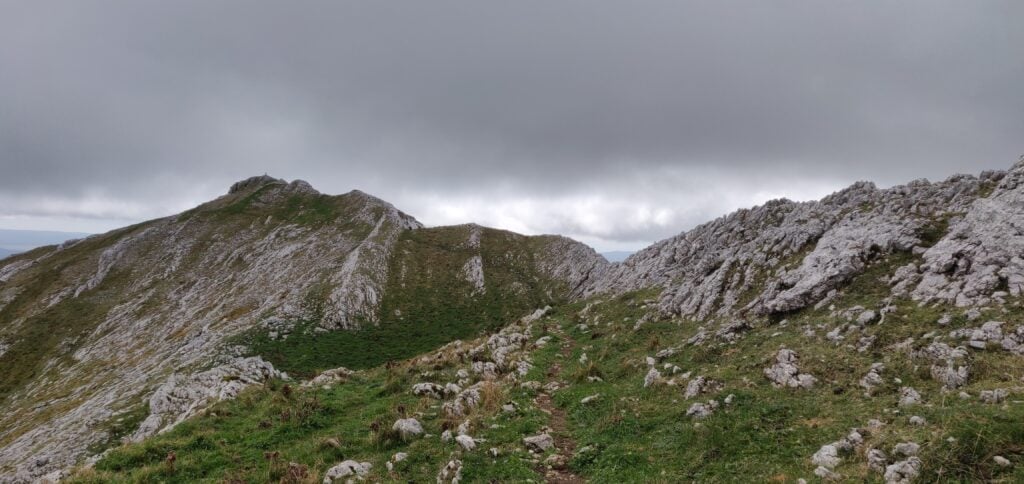
Once back out of the trees, you are almost at the summit. The path is narrow but it’s not near the edge and it felt perfectly safe. This final section is the steepest and there’s a misleading false summit to get over before you see the final destination, marked with a trig point.
The final ascent
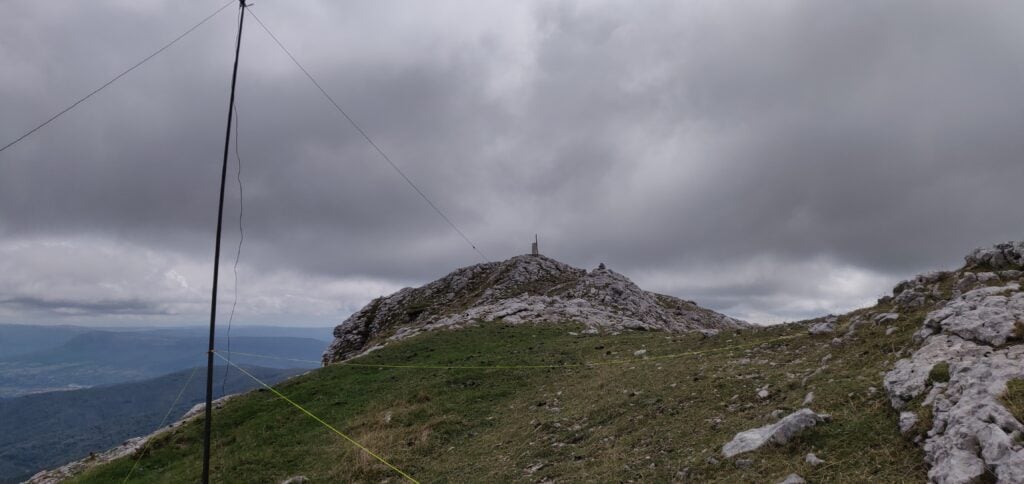
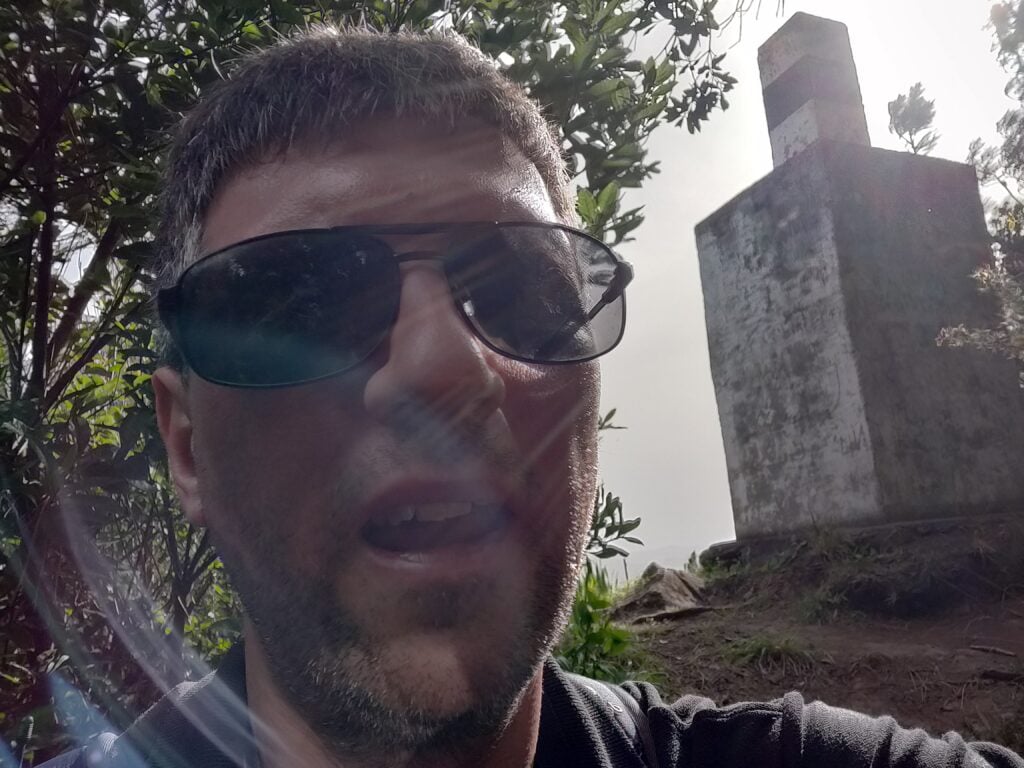
Having reached the trig point, there is a fairly large area, though sloping, that’s within the SOTA activation zone where you can set up an antenna.
My antenna set up just below the trig point
On a clear day, the summit of Aratz would have a stunning view out to the Bay of Biscay to the North and across the plains of the Ebro valley to the South. As such, the radio takeoff was pretty impressive and I was pleased to make 13 contacts on 30m CW within about 10 minutes.
The ascent (about 580m vertically over 4.4km horizontally) took me 90 minutes and the descent would have taken a little less had I not stopped for lunch. This wasn’t a hard climb and was a very interesting walk.
I had originally planned to go on to EA2/SS-001, since the walk there only diverges from the path to Aratz after San Adrian’s hermitage. However, with a long drive into France still ahead of me and having started slightly later than I had hoped, I decided to head straight back to the car.
Loading map…Scroll or tap to load the interactive map
Back in November at work, we ran ‘Reset Week’. Basically, we had a problem: we had three products needing work and three teams that weren’t quite the right shape and had the wrong skill-sets in the wrong places. But by making the teams gel, the result would be that the resulting teams wouldn’t have worked on their products before. To make matters worse, two of the three products had no roadmaps.
Due to externally motivated deadlines, I was given a week to resolve this. By the end of the week, we would need fully-formed roadmaps (at least to give a few months of runway) and teams that bought into them and understood the products.
How did it go? I’ll be presenting a workshop at Agile Cambridge with my former colleague Roger Hart, where we’ll re-run a compressed version of the week in 90 minutes. Come along and you’ll create your own roadmap working with people you probably haven’t met before…
Wednesday 2nd October 2019 at 13:25 at Churchill College, Cambridge as part of Agile Cambridge…
It’s time for a bit of work-related, personal news… My career has been one where I’ve followed a slightly unusual path, jumping at opportunities that have presented themselves. From a languages degree to Technical Authoring, then to Agile as a Scrum Master, I’ve been keen to explore different areas in a way that’s hopefully also been useful to my employer at the time.
I’ve been fulfilling a Scrum Master role for more-or-less seven years now, ranging from a highly Agile software company, to an American multi-national, to most recently an academic publishing business, which can only be described as slower-paced. I’ve really enjoyed working with various teams over the years but I’ve struggled to settle into a purely Agile Coach role, often ending up more of a Project Manager (for better, or for worse).
Our current challenge at the Royal Society of Chemistry is a big one, but one that will be familiar to many companies. We’ve grown up with a huge, and largely poorly-understood, legacy in-house infrastructure which has now become unsustainable. Over twelve months ago, we took the decision to take a strangulation approach to it, and gradually rearchitect it in the Amazon Web Services cloud.
It quickly became evident, however, that even after this decision had been taken, there was little movement in actually spinning up AWS infrastructure and we didn’t have the in-house knowledge to take a best-practice approach to the architecture. As Scrum Master to the team most directly impacted by this – and therefore as the person who was supposed to remove blockers and impediments – this rapidly became a significant concern.
And so, I took it upon myself to throw myself behind the cloud adoption strategy. Last autumn, I passed the AWS Certified Cloud Practitioner exam and I started studying for the Solutions Architect Associate exam. More recently, working with an external consultancy, we’ve been looking at forming a Cloud Centre of Excellence (CCoE), as recommended by AWS. One of the features of a CCoE is to drive the organisational change needed when adopting cloud technologies, and in particular evangelising a DevOps operating model. I’ve also been showcasing the technologies to our stakeholders to help them understand the transformation we’re doing. Both of these aspects are very similar to what I had been doing promoting Agile.
Last week, all this became official. My job title is now a Solutions Architect, still at the RSC, but now in the Site Reliability Engineering team, with the aim of driving our cloud-related projects forward. I’ll still be working on the same cloud migration project with the same people but now in a much more technical capacity. I’m really looking forward to getting stuck into the new role properly as we have the opportunity to make a significant difference. Time will tell, but the team has already delivered some impressive work in the last few months, and I’m sure there’s a lot more to come.
I’ve now returned from a long weekend at the annual Ham Radio exhibition at Friedrichshafen, a beautiful city on the shores of Lake Constance in southern Germany.
The normal way for British people to get to FDH as it has become known, is to fly to Zurich and take the train to Romanshorn before then getting the ferry across the lake. Instead, M0WUT and I opted to fly to Munich and rent a car, so we’d have our own transport for a few SOTAs on the Sunday and Monday.
There are a lot of very easy summits near the rally. There are two just about 30 minutes north of the town, DM/BW-854 and DM/BW-358, which we did on the Monday. Most activators also head west to the area around Tuttlingen, where there are a number of other very quick activations in the DM (Germany – Low Mountains) SOTA association. Indeed, I had planned a comprehensive route around those hills for our trip but with the weather forecast to be hot and sunny, Dan and I instead headed east towards the Alps.
DL/AL-049 Kühgundkopf
The 8-point Kühgundkopf is about a 90 minute drive from Friedrichshafen in the foothills of the Alps. It hadn’t been activated for five years and there was relatively little information to judge how difficult the summit would be from SOTA sources, other than DF3MC’s track on the SOTA maps site. A bit more searching gave a few more clues but also more confusion: many sources will tell you that this mountain, which straddles the German and Austrian border, has two names (Kühgundkopf in German and Wannenjoch for Austrians). However, on the ground, the signposts are clear that Wannenjoch is the promontory with a cross on it just below the summit, while Kühgundkopf is the highest point (at coordinates which match the location in the SOTA activation manual). Google Maps, meanwhile, has Kühgundkopf marked at the location of Wannenjoch. If that isn’t complex enough, many descriptions of the walk say that this is a really strenuous, difficult walk requiring climbing gear. But that’s only true if you are doing a popular circuit with Iseler. The walk only as far as Kühgundkopf is fine.
Despite the forecast good weather, the rain and drizzle became increasingly frequent as we approached the mountains and we were starting to doubt our choice but it fortunately dried up in time for the start of our walk. The cloud didn’t lift for the ascent, however, which meant that we missed out on some spectacular views. A further problem was that most shops are closed on Sundays, and so we didn’t come prepared with any lunch. Fortunately, a small convenience store in Schattwald, the first village into Austria, was open for 2 hours on a Sunday morning (10am-12pm) and so we purchased enough to make sandwiches.
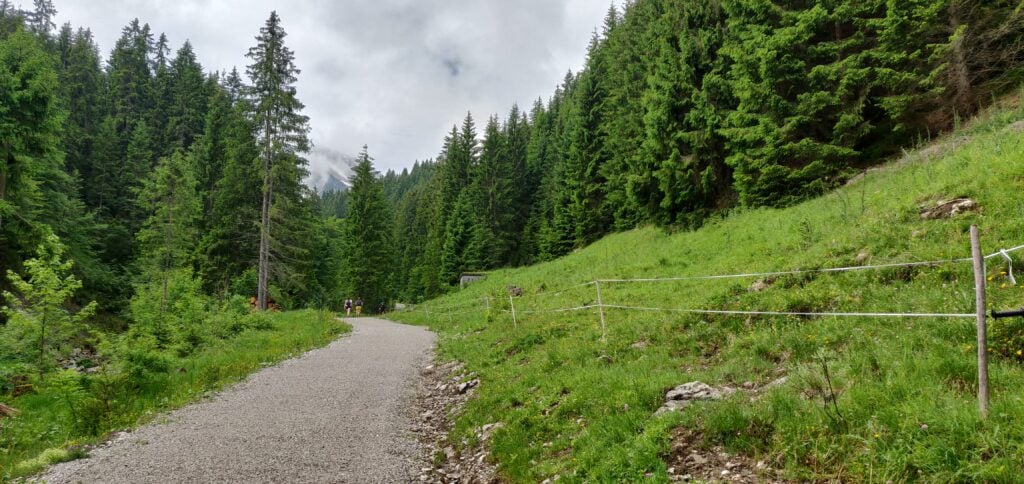
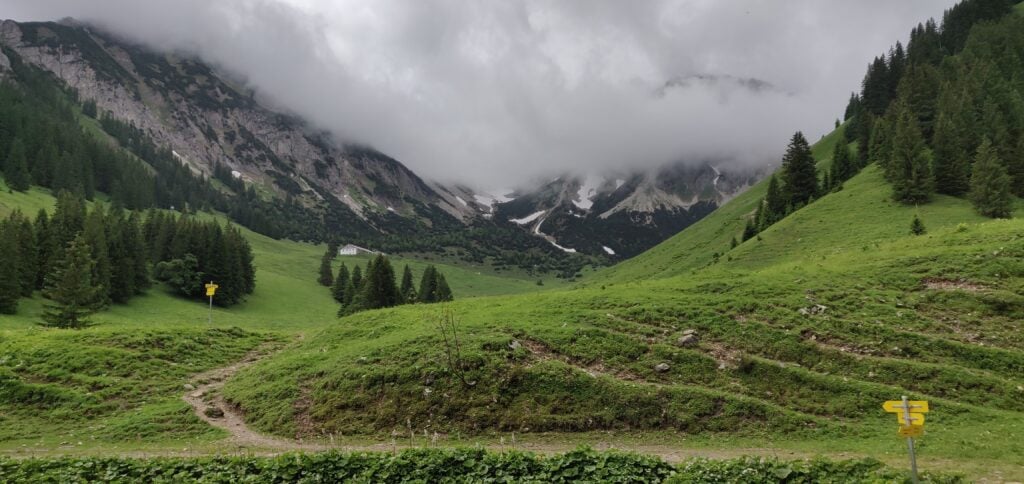
As I described, this mountain straddles the border and in fact the path up it starts from the Austrian side. You start in Schattwald in the large carpark at the foot of the chairlift (47.5119, 10.4596). This cost a very reasonable €3 for a full 24 hours. Follow the yellow signposts initially from the carpark to the top of the chairlift (signposted Bergstation -Wannenjochbahn). This is an easy, gravelled, path through the trees to the head of a stream, where you take a sharp right turn (again, signposted) onto a slightly narrower, but still quite obvious path.
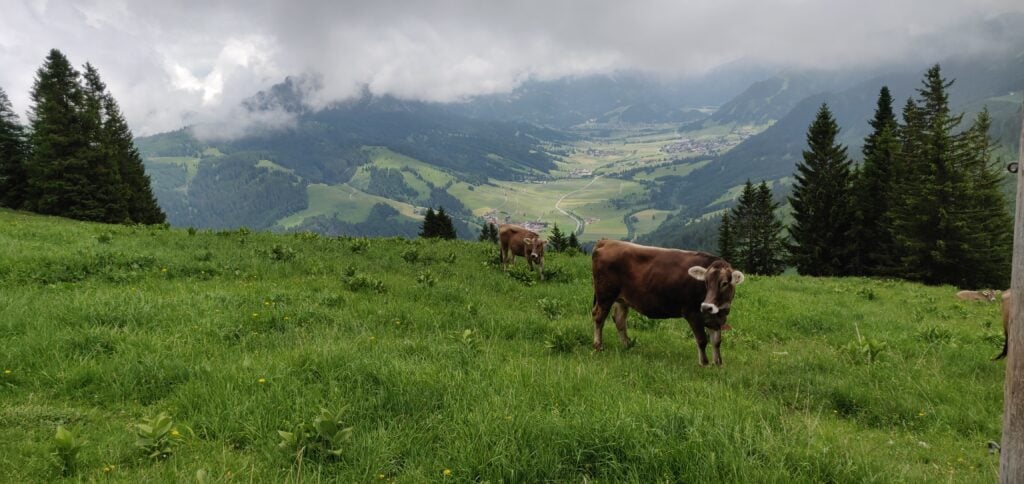
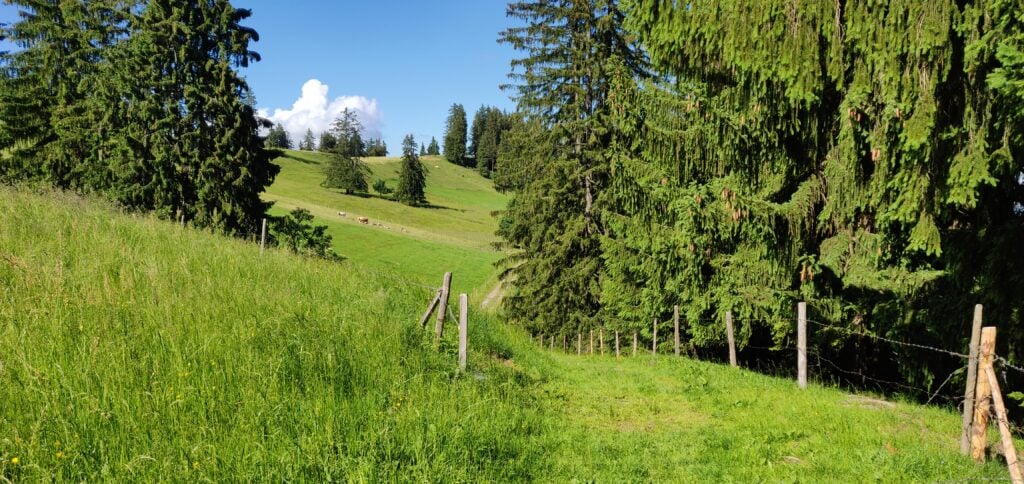
The gravel path through the trees The path is clearly signpostedCows graze on the lush mountain pasture
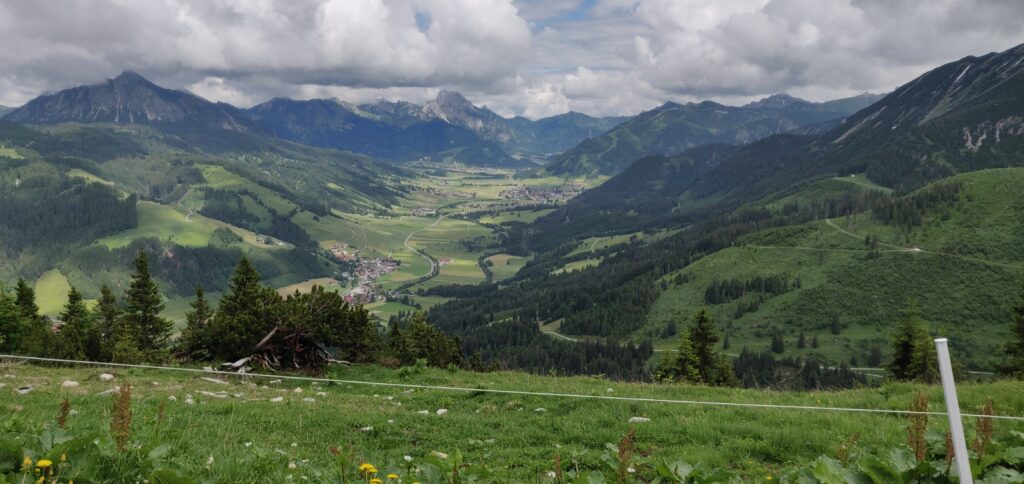
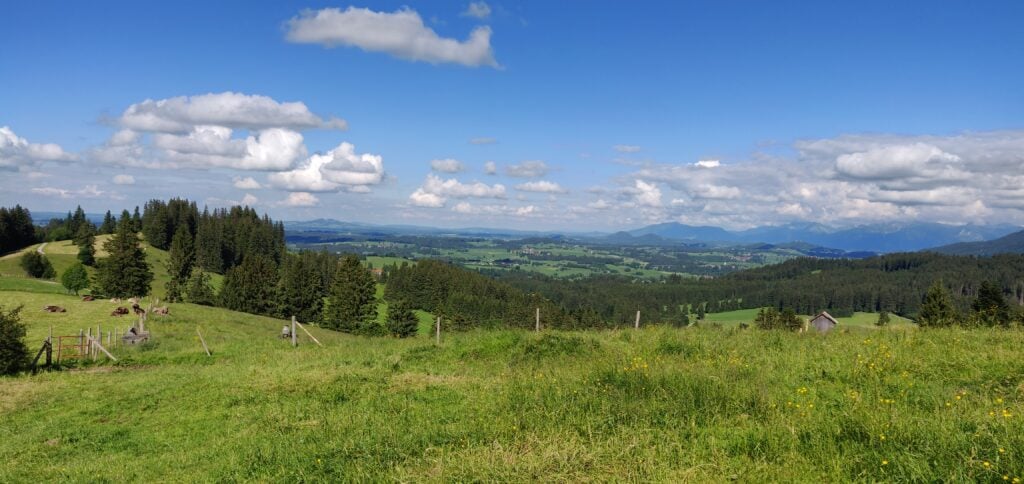
The path eventually comes out at the top of the chairlift, where there’s a restaurant (although the service here seemed to be non-existent). There’s also a spectacular view back down the valley.
The view from the top of the chairlift (Photo taken on the descent, by which time the cloud had cleared a bit)
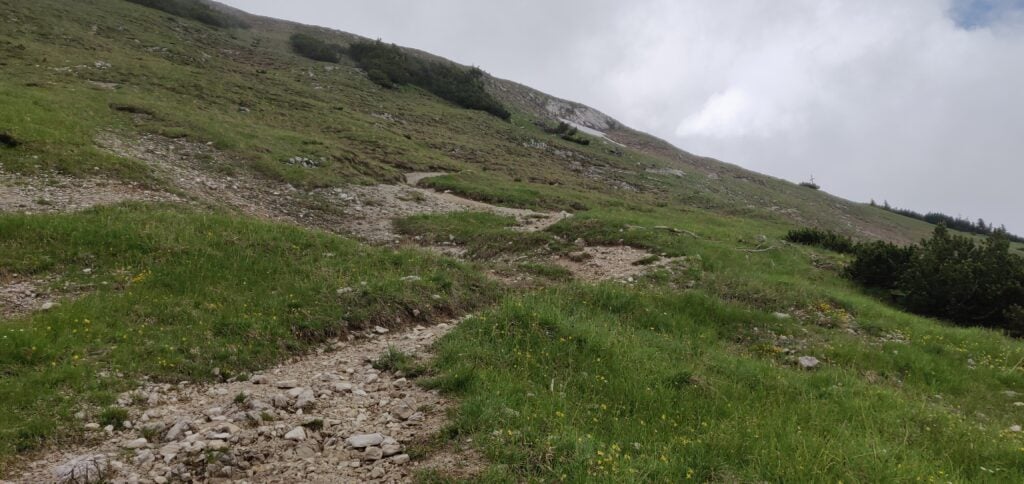
The chairlift’s top is only about two-thirds of the way up the mountain, however, so we needed to press on into the cloud and continue climbing. Again, this is just a matter of following the signs to Wannenjoch. The path becomes narrower and with slightly more loose stone and dirt but it’s still relatively easy walking without particular difficulty.
The ascent to Wannenjoch
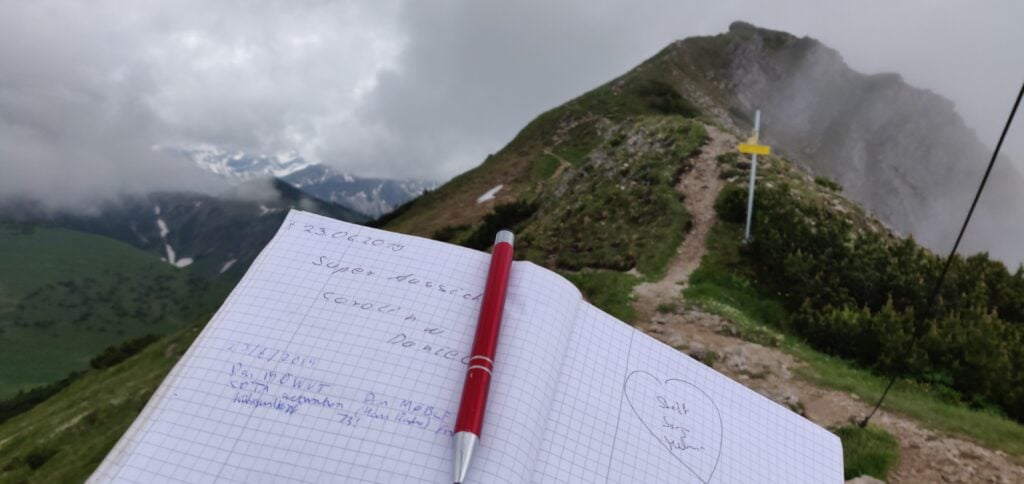
You soon enough come out to the large wooden cross at Wannenjoch. There’s a metal box attached the cross, which contains a visitor’s book and collection of pens for you to mark your visit for posterity, before heading on to Kühgundkopf.
Our callsigns in the Wannenjoch visitor’s book
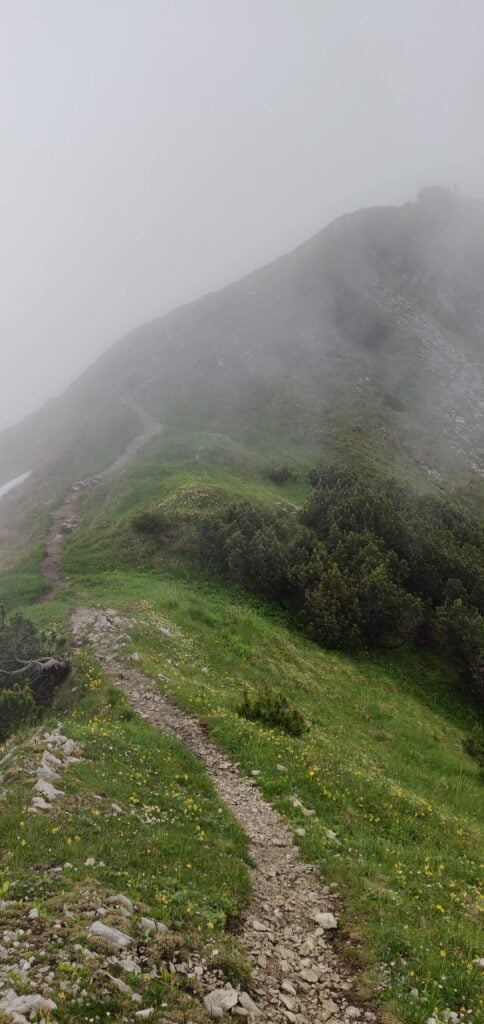
As the photo above suggests, the final ascent to Kühgundkopf is along a short section of ridge. It’s fairly wide and didn’t feel unsafe but it is a long way down, so you do need to watch your footing a bit. Once again, it’s clearly signed to Kühgundkopf, so there’s little chance of going wrong. By the way, the path here is the border, so you’ll probably have one foot in one country and the other foot in another country as you walk along here!
The ridge to Kühgundkopf
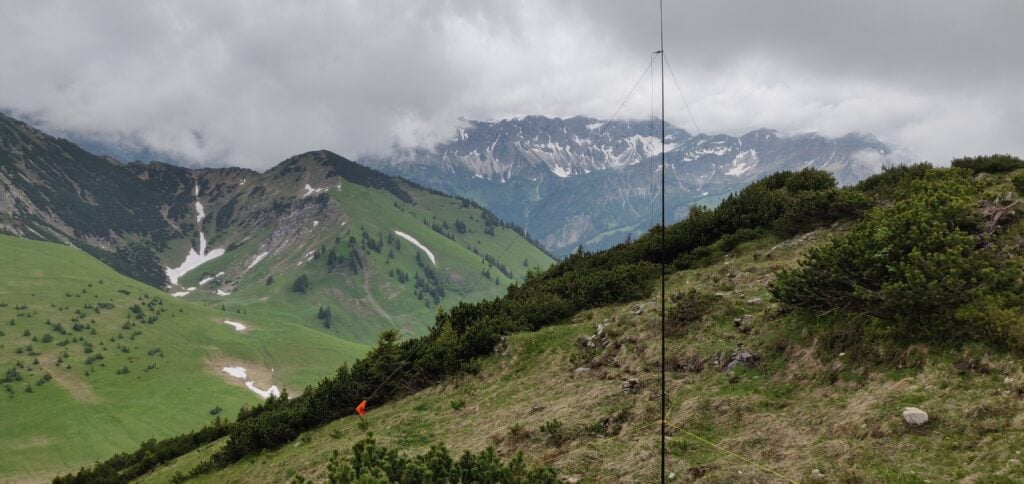
At the top, there’s a trig point. There’s also a little grass space to set up an antenna just below the path. We got occasional glimpses of a spectacular view as the cloud came and went. On a clear day it would be amazing up here!
Antenna set up at the summit
Between us, Dan and I made 19 QSOs on 20m CW. This is a great introduction to Alpine SOTAing, and I’m so glad we opted to do the longer, more serious, walk for the eight points than to have got potentially more points for less reward to the west of FDH.
The walk totals about 7.9 miles / 13.3km and climbs from a starting height of about 1100m to the summit at 1907m. The ascent took 2 hours and 20 minutes, and the descent took 1 hour and 50 minutes. This means that, having started our hike at 09:00 UTC, we were back at the car by 14:20 UTC, with plenty of time to tackle another (smaller) hill.
Loading map…Scroll or tap to load the interactive map
Distance
—
Elevation gain
—
Elevation loss
—
Max elevation
—
Waypoints
—
Elevation profile
DL/AL-181: Burgkranzegger Horn
Bergkranzegger Horn is just off the main road back to FDH, situated about 20 minutes north of Kühgundkopf, making these an ideal pair to do together.
The starting point for this one is just outside the village of Mittelberg (warning: there are some very narrow streets in this village!). We parked in a layby at 47.6358, 10.4236 although the carpark at 47.6347, 10.4207 might be more suitable. From here, it’s an easy walk along the road, which quickly degrades into a track. It’s a simple matter of following this path, upwards, alongside the fields. We stopped at a fence just before the summit but easily within the activation zone of this two-point hill.
Follow the track alongside the fieldsThe view from the top
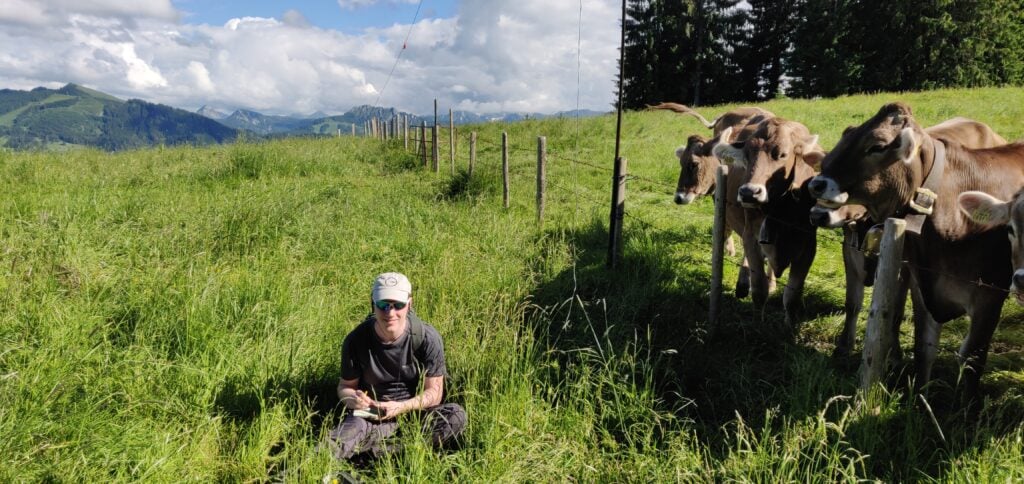
This is a very quick 2 mile walk, taking just about 30 minutes to reach the top, after just about 120m height gain. The difficulty came instead from an unexpected source: the cows in the fields all have cowbells, and they were very interested in our operation. Unfortunately, one of these cowbells was exactly the same frequency as our CW sidetone, making it not only incredibly noisy, but also almost impossible to hear what you were sending!
Dan keeping the cows entertained!
Conditions were also a bit tougher from this lower altitude and between us, M0WUT and I made just 10 QSOs on 20m CW. It also turns out that cows are rather partial to licking fibreglass poles, so packing down also had its challenges!
Loading map…Scroll or tap to load the interactive map
Distance
—
Elevation gain
—
Elevation loss
—
Max elevation
—
Waypoints
—
Elevation profile
After a tiring but rewarding day, and with the sun now out, we arrived back in Friedrichshafen in time for dinner before tackling some of the nearby hills the following day (Monday).
Last year, for the late May bank holiday, I set myself the challenge of getting 100 SOTA points in the weekend in the Vosges area of eastern France, an area renowned for being an easy place to get lots of points fairly quickly.
This year, in May 2019, my challenge was to do 120 points in about two-and-a-half days. Because of flight availability, I flew into Frankfurt (about 3 hours’ drive from the Vosges), and then stayed the first night in Colmar. This gave me a good excuse to tackle five summits on the first day, which I hadn’t got to last year as I wasn’t so far north. In doing this, I was basically following the route in Luc, ON7DQ’s blog, with one additional hill.
FL/VO-007: Le Grand Brézouard
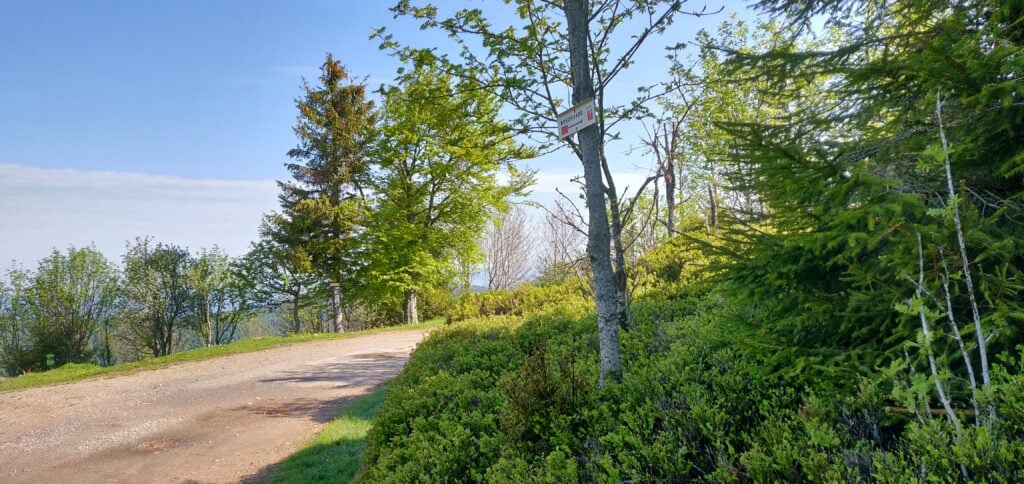
Driving a rental car, I didn’t want to take the risk of the gravel path taken by Luc, so I parked at the end of the tarmac road at the Auberge de Haycot, where there’s space for a few cars on the grass verge at 48.19652993, 7.139014. From here, you can simply follow the gravel road to the next bend, where a small track signposted ‘Brézouard GR 5’ cuts through the trees on your left. From here on, follow the signs marked with a red square.
The path is well-signposted
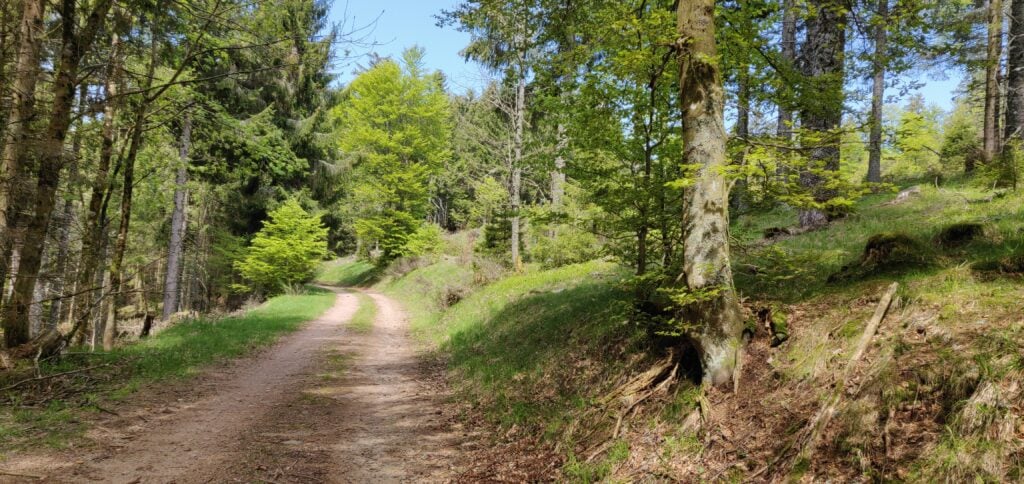
This is a pleasant forest trail, which brings you out to a clearing at 48.19311678, 7.146474. From here, you take the right-hand most (fairly steep) path up through the trees, which eventually leads to the summit.
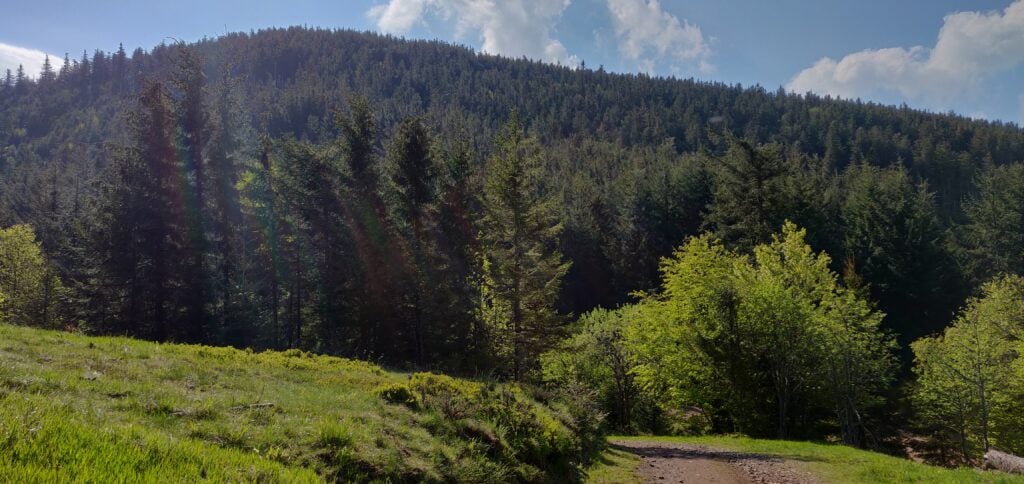
Le Grand Brézouard
Luc’s blog post mentions an aluminium flag pole at the summit, which can be used to attach an antenna to. That’s no longer there, having been replaced by a small Versatower section surrounded by trees and housing a solar panel and anemometer – not the sort of thing to hang antennas off!
The ascent and descent took about 30 minutes in each direction.
There’s really very little to say about Le Rossberg (not to be confused with VO-013 Rossberg). It’s a very easy little activation, starting from 48.18332998, 7.09295744 (about 13 minutes’ drive from Le Grand Brézouard) where you can park on the verge at the start of the track. From here, the path through the forest barely rises and the navigation is easy. The only thing to notes is that where the path splits you follow the cross-country ski path signed with the orange sign to the left (not the blue one to the right).
On reaching the highest point on the path, I made a little detour off the path to find a small clearing in the trees just to get myself easily into the activation zone.
The walk up Le Rossberg
The ascent took about 16 minutes and the descent took about 12 minutes.
Loading map…Scroll or tap to load the interactive map
Distance
—
Elevation gain
—
Elevation loss
—
Max elevation
—
Waypoints
—
Elevation profile
FL/VO-003: Gazon du Faing
About 40 minutes’ drive south from Le Rossberg is the Gazon du Faing ridge. This is a popular spot but there’s plenty of parking at 48.10897979, 7.06415083.
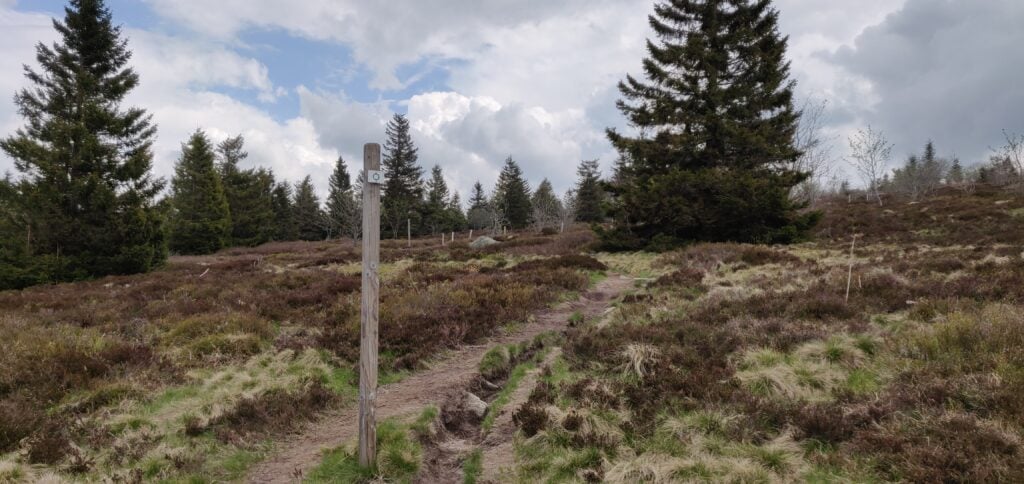
Luc’s blog post describes the (anti-erosion) wooden steps up the path to the summit and how annoying they are. You don’t have to take that main path, however, because the SOTA manual defines the summit of Gazon du Faing as being at 48.1138, 7.0795, which is to the north of the viewpoint the path goes to. Consequently, you can instead take the easier path marked with outlined blue circles, through the scrub to the top.
Take the path through the scrub to the top
Once at the summit, there’s very little here. No cairn or trig point, no marker of any sort. It’s just barren. With the main bulk of the tourists on the other peak, it’s also quite a peaceful spot with plenty of space to set up.
The ascent took me 28 minutes and the descent took 20 minutes. (Note that on the map below the summit marked is the southern summit, whereas I activated the northern summit as defined in the manual. It’s all the activation zone either way!)
Loading map…Scroll or tap to load the interactive map
Distance
—
Elevation gain
—
Elevation loss
—
Max elevation
—
Waypoints
—
Elevation profile
Back at the car a short, sharp hail shower set in. It was good timing getting back, but we sat it out for a few minutes before heading to the next summit, about 55 minutes’ drive away.
FL/VO-014: Chaume de Sérichamp
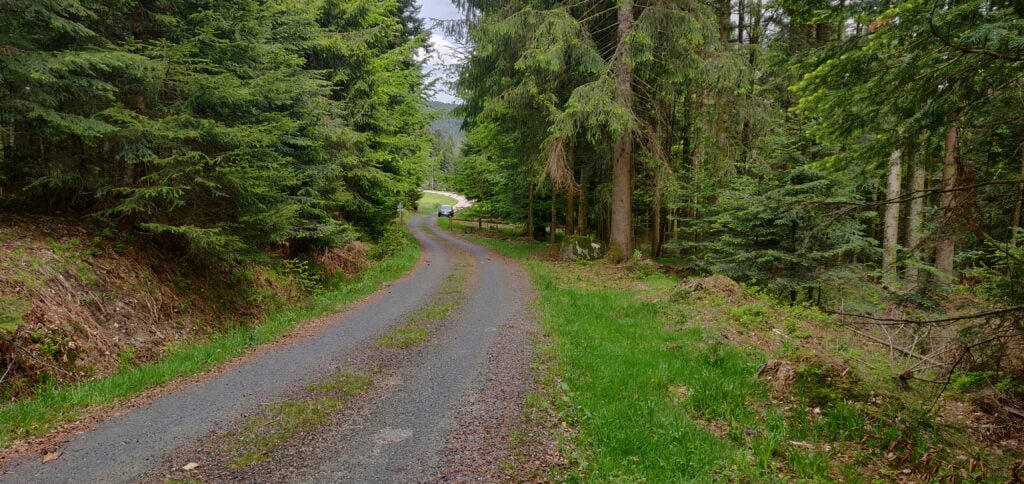
Luc’s blog post describes parking at 48.109832, 6.994016 on a ‘degraded’ road. Again, with the hire car, I opted for a slightly longer walk that didn’t risk any damage! To this end, we parked at 48.09950669, 6.99626895, at the end of the tarmac road. From here, there’s a steep gravel forestry path up the hill (motor vehicles are not permitted, except forestry workers). This road rises about 220m in 2km before coming out to the clearing where Luc parked.
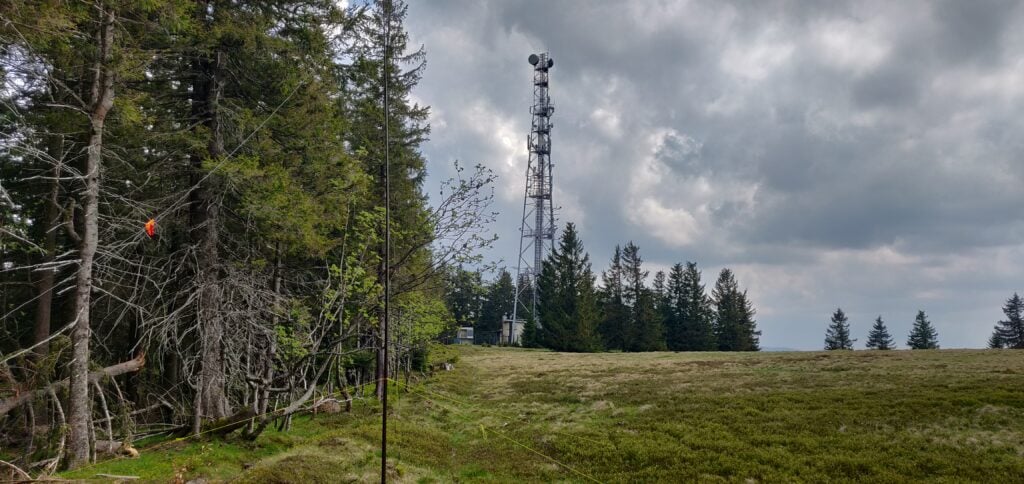
Once at the clearing, you can follow the road to the transmitter tower. Like Luc, I set up on the field boundary just behind the tower.
My antenna next to the transmitter tower
The ascent took 40 minutes and the descent took 23 minutes.
Loading map…Scroll or tap to load the interactive map
Distance
—
Elevation gain
—
Elevation loss
—
Max elevation
—
Waypoints
—
Elevation profile
FL/VO-089: Haut de la Pierre de Taille
With some time to fill, I could add another activation to Luc’s four-summit route. My backup plan was to tackle VO-020 Le Croix Hanzo, but that’s quite a hike from the outskirts of the village of Xonrupt-Longemer, and I didn’t quite have time for that one. Looking at the map, together with the SOTA Spotter app’s valuable ‘find nearby summits’ feature, I quickly realised that an activation of VO-089 Haut de la Pierre de Taille was more achievable in the time left before dinner.
I parked at the end of the road at 48.1021206, 6.89313458 on the verge just in front of the ‘no motor vehicles’ sign, and then walked up the track until it started going downhill again. It’s about a 1.5km walk each way, only rising by about 120m, so it’s another easy one.
Haut de la Pierre de Taille is another easy activation up a forest track
Once again, when I got to the top of the road, I went into the forest a little bit just to ensure I was easily into the activation zone, as the actual summit point is well into the woodland. As with all my operations this weekend, I quickly made a sufficient number of QSOs on 30m CW before heading back down again and into La Bresse for dinner.
The ascent took about 22 minutes and the descent took 16 minutes. In total, this gave me 50 points (all five summits are worth ten points) for the day – a good start towards my target of 120 points.
Loading map…Scroll or tap to load the interactive map
Distance
—
Elevation gain
—
Elevation loss
—
Max elevation
—
Waypoints
—
Elevation profile
The rest of the weekend
The rest of the weekend was formed of the following activations:
Monday was also made up of summits I did in 2018: Haut du Rouge Gazon (done on day three last year) and then Le Grand Ventron (also from day two last year), about 20 minutes’ drive from Rouge Gazon.
This gave me a total of 120 points from the weekend.
This week, I’m on the GT3PYE/P DXpedition to the Isle of Man
with the Camb-Hams. As part of the trip, Rob M0VFC, Colin G4ERO and I have been
activating all the SOTA summits on the Isle of Man.
It’s perfectly possible to do them all in a single day, amassing
18 points from the five hills, but we chose to split them over two days.
GD/GD-001 Snaefell
Our first stop was the highest point on the island,
Snaefell, worth 8 SOTA points. It’s a really easy walk starting from the car
park at SN 398 868 and then walking straight up on the obvious path. It’s only
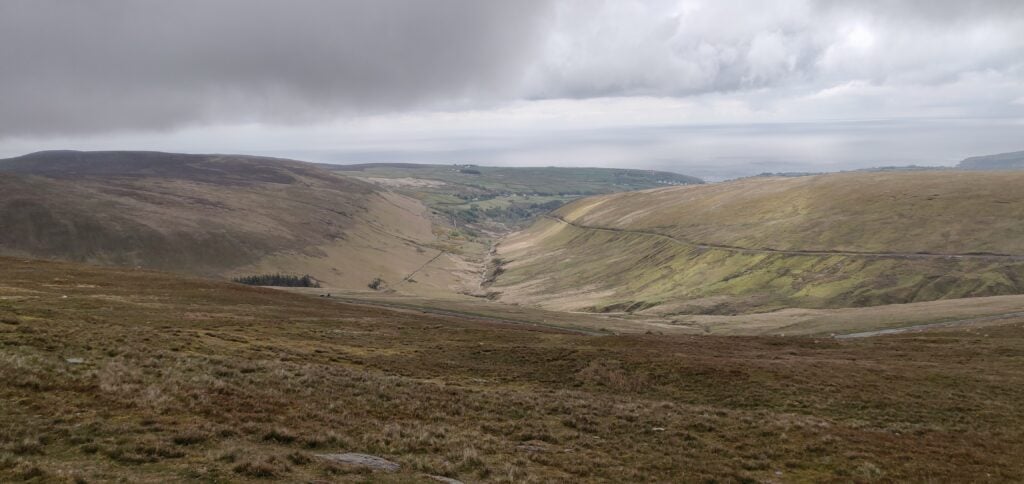
moderately steep, rising just over 200m in about a kilometre. The ascent has some views over the rest of the
island, although we did it in cloudy conditions and so we didn’t have the most
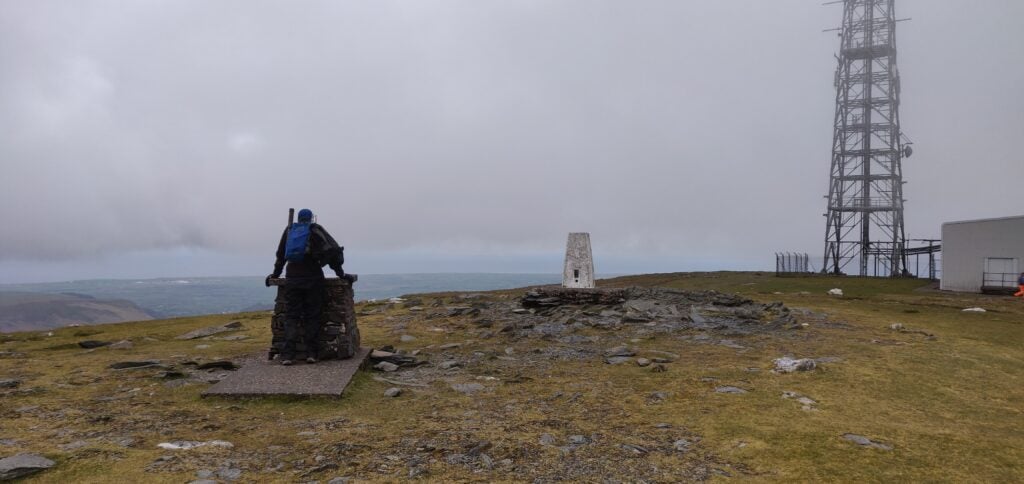
impressive sight. At the top, bear right behind the tram stop and there is
plenty of space to set up beside the transmitter masts. We didn’t notice any
significant QRM from the masts on HF, but 30m was certainly very slow and getting
the requisite four QSOs was a bit of a struggle. A strong northerly wind didn’t
make it any more comfortable.
From the ascent of SnaefellSnaefell Summit
The route up took 30 minutes, and the descent was about 20 minutes.
GD/GD-002 Slieau Freoaghane
After leaving Snaefell, we headed to Slieau Freoaghane, about 15 minutes’ drive away. This four-point summit is another approximately 200m ascent but over a slightly longer distance and it was a much more interesting walk than Snaefell.
Having parked at SN 342 867, you can walk up the ‘Green Way’
heading north alongside the plantation. The incline here is very slight. The
Green Way is a gravel ‘road’ suitable for motorbikes, mountain biking and the
like, although we only saw one such vehicle on our travel. There’s a gate at
the bottom of the Green Way to prevent car access.
The ‘Green Way’ alongside the plantation
The OS map suggests there is a path to the left at SN 342 873: we saw no evidence of this, but you carry on the Green Way at this point anyway. The path you do want to take is at SN 244 877 and it’s a barely-visible sheep track heading up through the heather. This is the steepest part of the climb but it was without any major problems.
Track through the heather
The top of the hill has a very useful wooden pole next to the cairn and trig point, so I bungeed my fibreglass pole to the wooden pole (which has some nails sticking out of it for extra ease-of-use!), so saving me getting out the guying kit.
Summit of Slieau Freoaghane
Again, HF was very slow and I had to make a couple CQs on VHF
to qualify. Luckily, these got me across to Northern Ireland and so we were all
able to qualify the summit.
This was a longer walk, taking 40 minutes for the ascent and 25 minutes back down.
GD/GD-003 South Barrule
This is another four-point hill and about a 25 minute drive from GD-002. It’s also fairly easy to activate. You can park on the verge at the start of the track at SN 248 756 and again just follow the obvious grass path straight to the top. The ascent took about 20 minutes to climb 170m in about a kilometre. Incidentally, the transmitter mast shown on my 2015 OS map as being next to the path is no longer there.
South Barrule – park the car and head straight up!
The top of the hill is an iron-age hill fort and the trig
point is inside a cairn. Again, this is a fairly flat-topped hill, so there’s
plenty of space to set up. By now, it was much later in the afternoon and 30m
was performing a lot better than it had earlier in the day, which was a great
relief and led to a rather pleasant activation in slightly warmer sunshine than
we had had hitherto.
Summit of South Barrule
GD/GD-004 Bradda Hill
The following morning started sunny so we decided to make a decent circuit of the walk to Bradda Hill, a one-point summit near Port Erin on the south-west coast. We parked in the large carpark at SH 192 698, and then followed the nice, mostly concrete, path around to Bradda Head tower.
Path to Bradda Tower
Just before the tower, stay on the main path to go behind the tower. The path in front of the tower along the cliff has eroded into the sea. Once you have past the tower, a grass path re-joins the coastal path hugging the cliffs until you are nearly at Bradda Hill. There is a substantial drop down the cliff but the path is mainly set a little back from the edge, and so it didn’t feel especially dangerous but you might need care in some places in slippery conditions.
The grass path behind Bradda TowerHeading along the coastal footpath
There’s nothing particularly at Bradda Hill. It’s just a
lump of heather sticking out from the coastal farmland but there is a stone
wall near the cairn which can provide some shelter from a southerly wind. HF
conditions were again very difficult and I had to give up on 30m after one call
and lots of CQing to borrow Rob’s rig on 40m instead.
Once we had finished operating, we continued east on the path along the plantation. The path down to Ballaglonney is a little steep and we were glad we hadn’t come up that way. I needed to get my walking poles out to improve my balance, although some steps have been cut into the earth.
Downhill to Ballaglonney in the valley
From the farm buildings, you can follow the main track alongside the wood to meet the main road at Bradda East and then go back to the carpark.
The total circuit, including 1 hour of operating time, took 2h45.
Loading map…Scroll or tap to load the interactive map
Distance
—
Elevation gain
—
Elevation loss
—
Max elevation
—
Waypoints
—
Elevation profile
GD/GD-005 Mull Hill
Mull Hill is another one-point hill, about 15 minutes’ drive
from Bradda Hill on the other side of the Port Erin bay. It’s possible to drive
to the top but it’s also a very easy walk from just outside of the activation
zone to the summit.
We parked in the large carpark at Cregneash and then followed the road west for a little bit before coming to a turning, with the obvious grass path up the hill. Mull Hill is an old Chain Home RADAR site from World War 2 and there are still a few concrete pillboxes and the like on the summit. The rubble-strewn ground made getting tent pegs for the guys in a little bit difficult but we got the stations running in the end. Initially, we just operated on 70cms to get some summit-to-summit contacts with other members of our group on Snaefell, but then we set up the HF stations. In the course of this I managed to break my trusty guying ring for my SOTA pole, so some careful use of cable ties was required to get the mast upright. 30m was again almost useless, but a change to 20m was much more profitable.
The path up Mull Hill from the road below
We took a slightly different route for our descent but it was still only about 15 minutes’ walk each way. By the way, there are some nice views of the VOR/DME (VHF Omnidirectional Range / Direction Measuring Equipment) site for aircraft navigation on the adjacent hill. The VOR sends ‘IOM’ on 112.2 MHz but wasn’t detectable on 2m.
After tackling Pen Llithrig on a less-than-successful day yesterday, it was now Easter Sunday. Knowing the traffic would be bad on Monday, I wanted to get in a quick morning walk before heading back to Cambridge in the afternoon, ahead of most of the cars.
Cadair Berwyn (GW/NW-012, worth 8 points) fitted the bill perfectly. It’s not technically in Snowdonia but it is located in north-eastern Wales, not far from the English border at Oswestry. It was about 40 minutes’ drive from my campsite, so I’d get some of the journey home done early too.
The starting point for this walk is at the Pistyll Rhaeadr waterfall, which is a well-known tourist spot in its own right. The only road to the waterfall is a single-track road with passing places from the village of Llanrhaeadr-ym-Mochnant. There is a large car park (£4 for the day) at the end of the road at SJ074295 but, not knowing this, I parked in the layby at SJ076293.
Once you have parked, you need to walk back down the road to pick up the path at SJ079290 – failure to do this will result in you being on the wrong side of the valley; a mistake I almost made! The path is stony and wide, only rising gently to the lake at Llyn Lluncaws. Just before the lake you need to cross the stream twice. The stream itself is narrow and easy to step over, but the surrounding area is a bit boggy. I can only imagine it is worse in wetter weather.
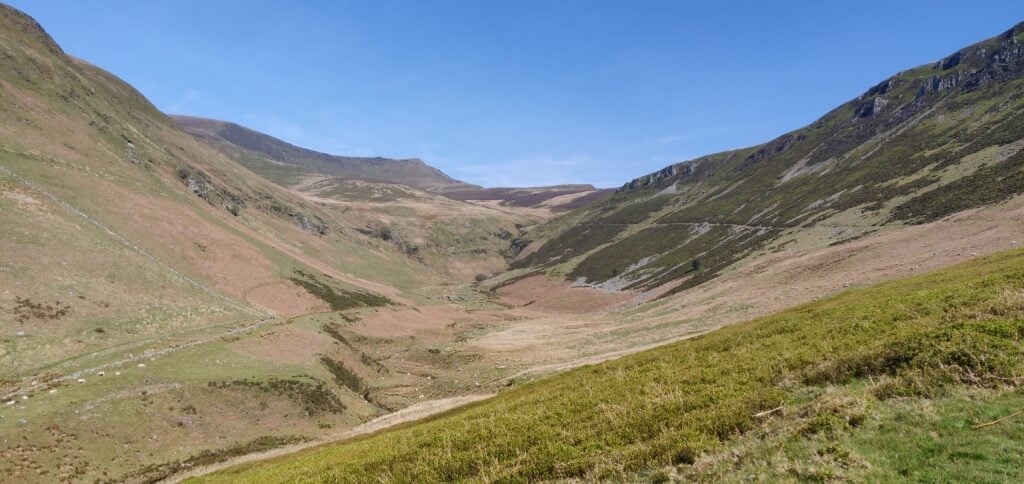
The obvious path rises gently along the right-hand (eastern) edge of the valley; Cadair Berwyn is on the horizon at the end of the valley
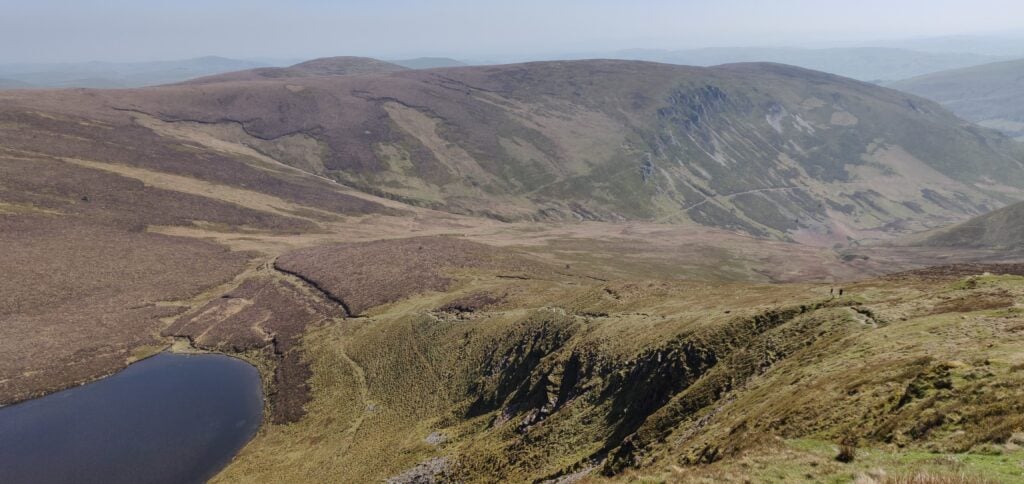
Once at the lake, the path runs on some slightly boggy terrain along the southern edge and then heads steeply uphill along the side of the escarpment. The path is generally fine but it does get a little close to the edge at a couple points around 700m ASL, so you need to watch your footing. Once you have reached the top, there’s a short walk along the grassy top of the hill to get into the Activation Zone.
The path climbs along the side of the hill from the lake
Cadair Berwyn has two summits. The northerly one has the trig point and was previously thought to be the highest point. At 827m ASL, however, it is beaten by 3m by the southern summit.
There’s plenty of room here to set up but I was able to do a quick activation on 2m from my handheld only, which enabled me to get back to the car for the drive home. The ascent took me 1 hour 55 minutes and the descent took 90 minutes. This was a very pleasant summit to activate and I’ll certainly be back, especially as it’s only 3.5 hours’ drive from Cambridge.
The only problem was on returning to my car to find that the single-track road from the village had become full of cars, including cars parked in the passing places and along the side of the road. This made actually driving the first mile a very slow experience with lots of very careful passing needed. For this reason, I wouldn’t recommend doing it on a hot bank holiday weekend!
Loading map…Scroll or tap to load the interactive map
I was up early, despite the long walk around Y Garn and Glyder Fawr yesterday, ready to head on another double-hill day, walking around Carnedd Llewelyn and Pen Llithrig y Wrach.
The car park for this one is in the entrance to the campsite at SH685602. The campsite allows non-residents to park in the layby at entrance for £2/day; payment is taken at the campsite reception.
After parking, walk a little bit along the pavement beside the A5 then head up the steep tarmac private road all the way to Ffynnon Llugwy reservoir. Just before the reservoir, the path splits away from the road and you see the route up the side of Bwlch Eryl Farchog ahead of you.
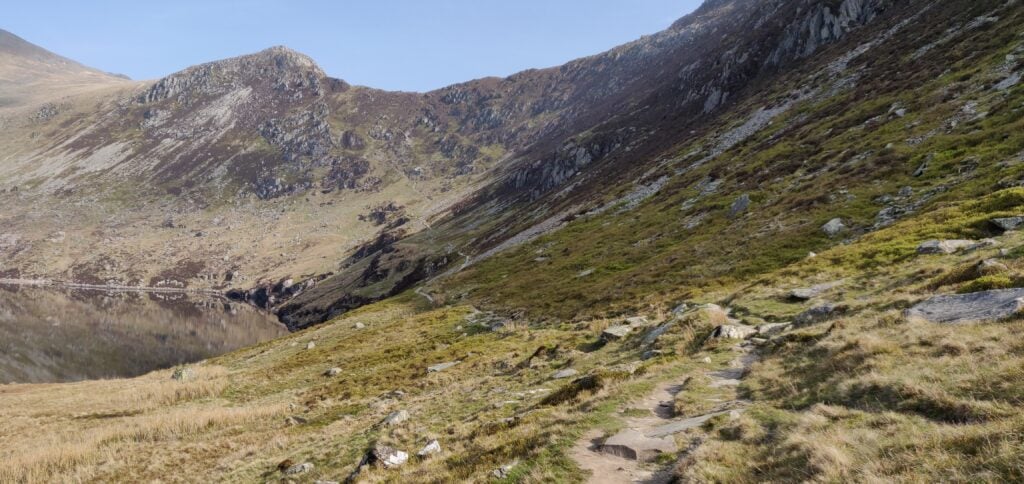
From the lake, the path leads up the hill straight in front of you
The path up here is hard work. It’s narrow and steep and I had to pull myself up in a couple of places. There were only a couple times that I felt concerned about tackling the route on my own but it needed a lot of care and I would probably think twice about doing it without a companion in the future.
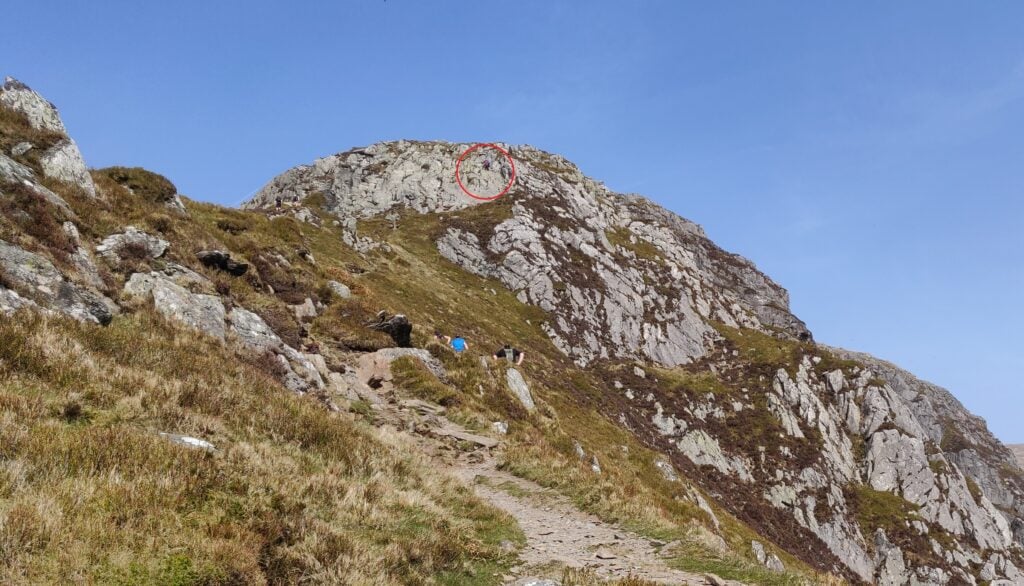
Once you are on top of the ridge, you can turn left (north-west) for Carnedd Llewelyn or right (south-east) for Pen Llithrig. I duly turned left towards the first hill of the day, which lies beyond the Craig yr Ysfa rocks. On the OS map, it looks as though this is a perfectly reasonable path and indeed a couple behind me did make it through… For me, however, I didn’t feel comfortable continuing. Perhaps it was the hot day or the fact that I was still slightly worried by how much harder the route up to the ledge had been than I had anticipated, or a combination of both, but I didn’t feel safe to climb over the rocks with a steep drop below on my own (and then to return via the same route).
The point where I gave up… I got as far as the area circled red but unlike the gentleman in the photo, I couldn’t then continue over the rockface
So, Carnedd Llewelyn remains on my to-do list, probably next time taking the longer walk in from the north-east. Instead, I headed back along the ridge towards Pen Llithrig.
Around SH696630, the path follows a contour line but it also requires a lot of care (although I felt it a better option than trying to descend back down to the valley below). You are walking on loose slate fragments on a narrow path only maybe a foot wide. Already feeling concerned that I had bitten off more than I could chew, I put all my effort into watching my steps and forgot to navigate, thereby taking myself further away from the route to Pen Llithrig than I had planned. For the same reason of concentration, I don’t have any photos of this part of the route. Once I had realised what I had done, I had to continue until the slate face above me gave way to less steep grass sides of the hill (at SH697626) that I could clamber up and get myself back on track.
Soon enough I was back in more comfortable territory on the flat grassy top of Pen yr Helgi Du (not a SOTA summit). From here, the walking was much easier: there’s a slightly faint path that leads east from the hilltop down to the col and across to Pen Llithrig.
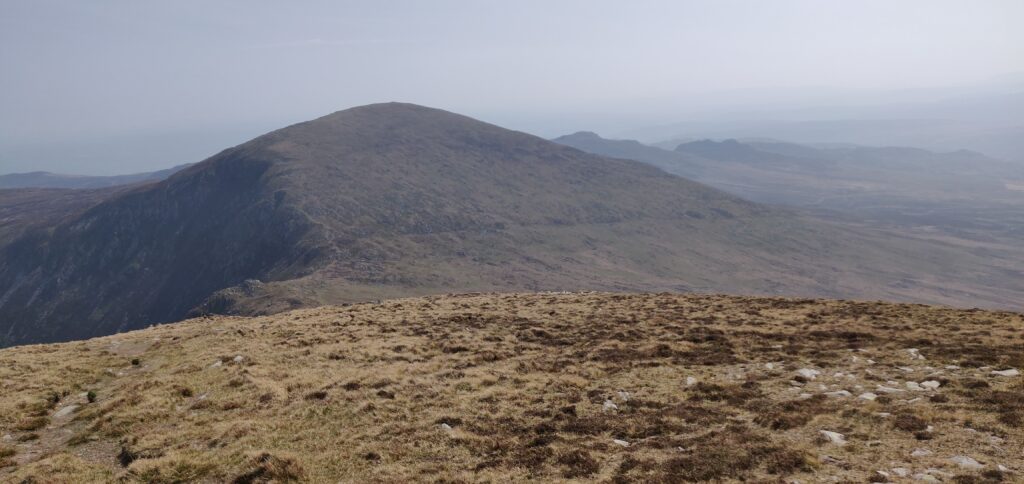
Looking down from Pen yr Helgi Du towards Pen Llithrig
As the photo above suggests, the top of Pen Llithrig is flat and uninspiring, meaning it has a large Activation Zone for SOTA purposes. Exhausted from the grueling walk, I spent an hour here to have lunch and make a number of QSOs both on 2m FM and 30m CW (the only HF activation of the weekend). On 30m, I found the Swiss SOTA crowd were out in force with 3 HB summit-to-summit contacts in succession! By the way, Pen Llithrig y Wrach is GW/NW-013 and is worth 6 points.
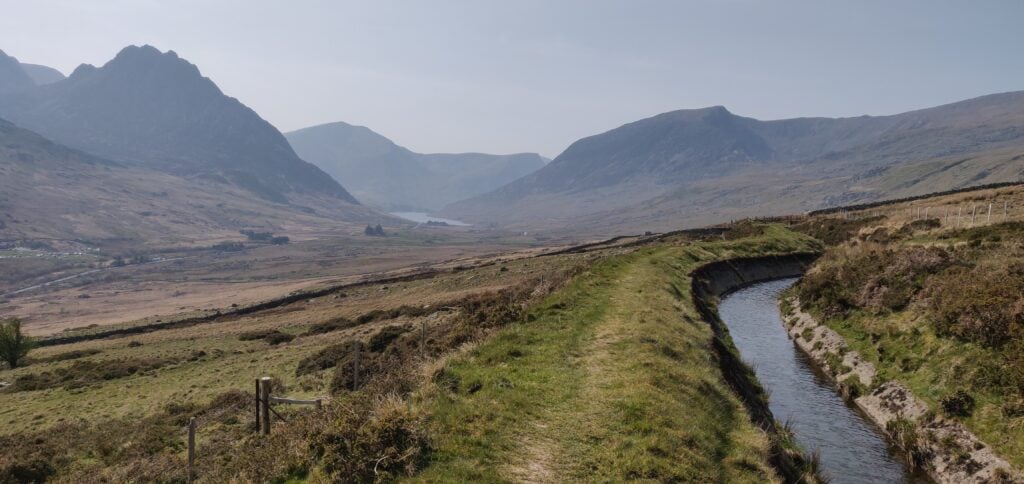
From the top of Pen Llithrig, I returned to the car by heading straight down the south-eastern side of the hill (there is no path), until I intersected the leat at SH704615. A path runs alongside the leat all the way back to meet the road at SH690609, although be aware that it has a number of stiles along the path, many of which are in a state of disrepair.
Were I to do Pen Llithrig on its own again (without attempting Carnedd Llewelyn), there is a safer, simpler route heading up Y Braich from SH700607. This would then join up with my route on top of Pen yr Helgi Du, and form a nice circuit that way.
The path along the leat, with Tryfan in the far left and Y Garn behind it.
With my inefficient route, this walk totalled 9.5 miles with 4612 feet of ascent (no wonder I was tired!). It took me 4 hours and 10 minutes to reach the top of Pen Llithrig and 1 hour 50 minutes to get back down to the car park. I’d have an easier walk, fortunately, on Cadair Berwyn tomorrow.
Loading map…Scroll or tap to load the interactive map
I’ve recently returned from what has become an annual tradition of spending Easter weekend away climbing hills for SOTA. Last year (and admittedly Easter was earlier), the Beast from the East had just hit and I was walking through snow on Pen-Y-Fan. This year, the weather was completely different with bright sunshine, hardly any wind, and 20C temperatures.
Having driven to Wales after work on Maundy Thursday evening, I stayed the night in the Premier Inn at Llandudno Glan-Conwy, which is ideally situated on the A55. This was a deliberate choice as I knew the carpark at my first target fills up quickly, so I wanted to make an early start on Friday morning. The target was to do the circuit up Y Garn (8 points) and along the ridge to Glyder Fawr (10 points), then descending on the Devil’s Kitchen path.
Car park to Y Garn (GW/NW-004)
As was my intention, I was lucky to be early enough to get one of the last few spaces in the car park near Ogwen Cottage on the A5 (Currently £6 for the day or £3 for four hours, proceeds going to the National Park.) Having said that, there is ample parking along the A5 if the car park is full.
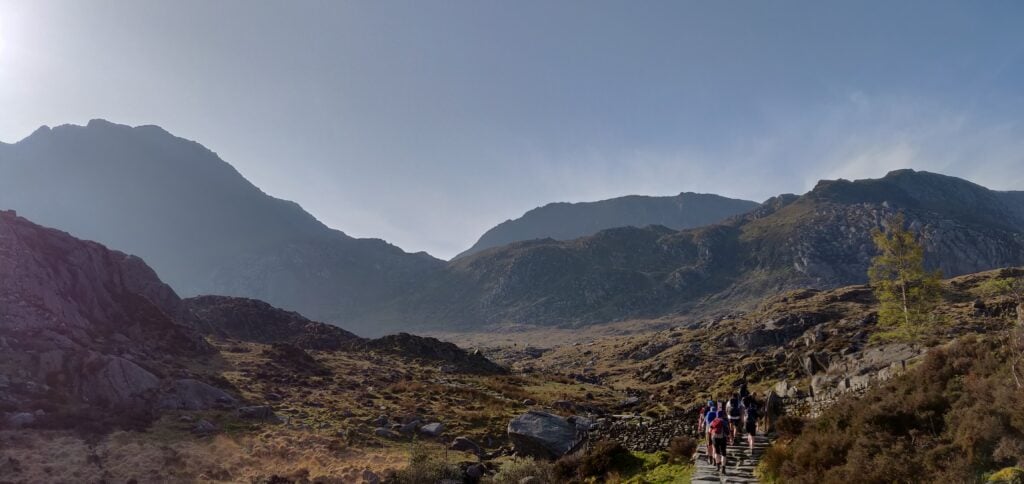
From here, the route from the car park to the summit of Y Garn is an obvious one. The well-made stone path rises slightly to Llyn Idwel lake. At this point, the route splits and the main path goes along the left (Eastern) side of the lake. You will be coming back that way, so you need to follow the fainter track, initially along the north shore of the lake.
The well-made path from the car park to Llyn Idwel
Once the path has left the lake, it soon starts to rise along the edge of Y Garn. The route is steep in several places but not especially dangerous or difficult and the path is clear.
The path up Y Garn
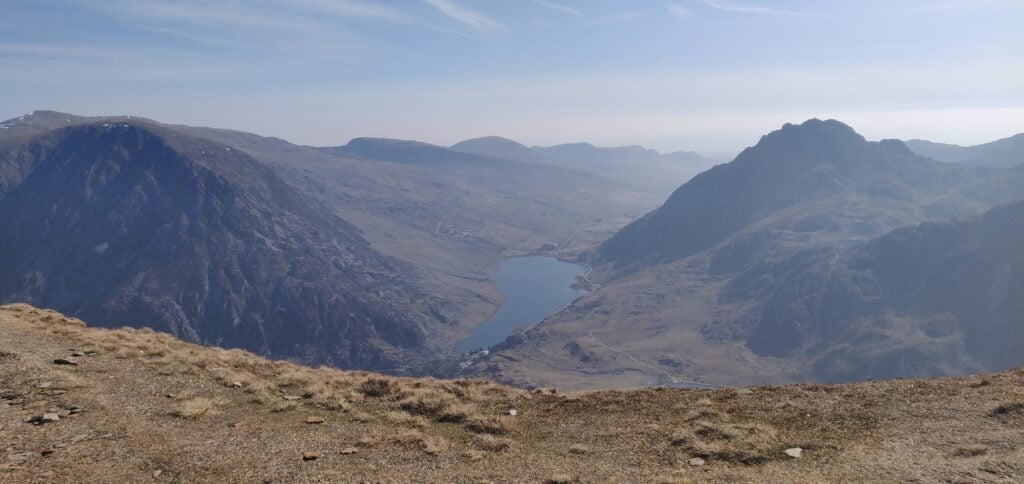
From the ascent, you can look down to the Ogwen valley floor where you started. It’s a fantastic view.
The Ogwen valley from the ascent of Y Garn
The ascent of Y Garn from the car park took me exactly two hours, having started at 9am. It’s a 2.17 mile / 3.5km walk, ascending 647 metres (and most of this ascent is after Llyn Idwel).
On this Good Friday morning. the summit was quite busy and so I quickly made a eight contacts on 2m FM from just my handheld and left it there without unpacking the HF gear. On such a nice Easter weekend, I probably shouldn’t have been surprised that there were lots of SOTA activators around but I made 3 summit-to-summit contacts from here – a theme that was to continue through the rest of the weekend.
Y Garn to Glyder Fawr (GW/NW-003)
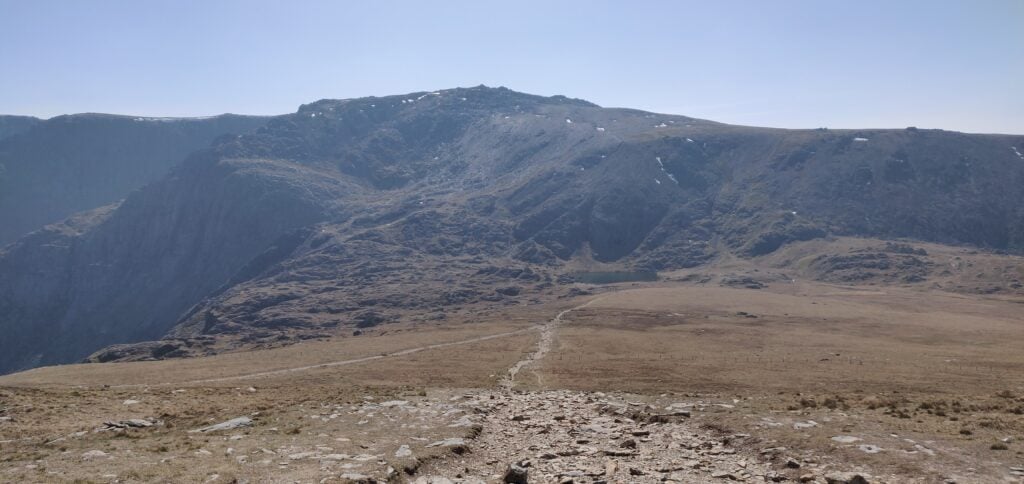
Y Garn is connected to Glyder Fawr by a ridge, so you only have to drop 250m from the summit of Y Garn to a lake on the col (Llyn y Cwn at 710m ASL) before climbing back up 300m to the 10-point Glyder Fawr. You don’t have to go all the way back down to the valley!
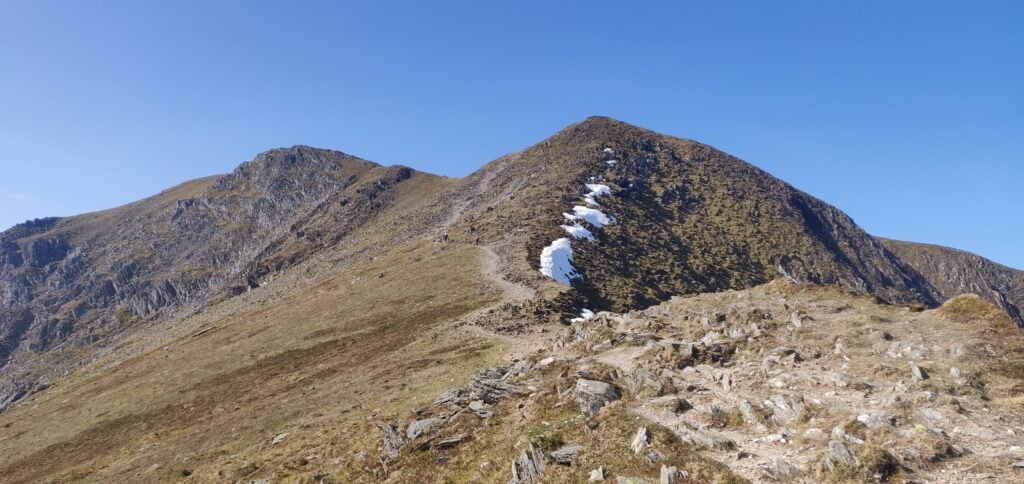
From the summit of Y Garn is just a matter of walking downhill over the grass towards Glyder Fawr. There are a few paths to choose from. The path up Glyder Fawr is somewhat more strenuous, as it climbs steeply over loose slate and other rubble.
Down Y Garn to Llyn y Cwn, then back up Glyder Fawr The ascent of Glyder Fawr is slightly harder work over loose stone
This section of the walk took me 70 minutes to walk the 1.7 miles / 2.73 km between the hills. Unfortunately, somewhere approaching the summit I lost my sun hat, which was annoying in the hot weather.
In trying to retrace my steps to locate – in vain – my hat and also with some slight concern about the descent of Devil’s Kitchen (which I’d forgotten since I last did it over 10 years ago), I decided to make this a quick activation as well and just made six QSOs on 2m from the handheld before heading back to the valley floor.
Glyder Fawr to the car park
From Glyder Fawr’s summit, you descend to Llyn y Cwn via the same stony path you used for the ascent but at the lake you turn north-west, following the obvious path towards Devil’s Kitchen.
The Kitchen itself is a flat face of rock used by rock-climbers which, on some days ‘steam’ can be seen emanating from. Luckily, us walkers don’t have to cope with such things as there’s a path that runs alongside the Kitchen, known as the Devil’s Kitchen path. It’s a little narrow in places and I had to use my hands to ease myself down in a couple places but it’s perfectly manageable and, on a day like today, well-frequented.
Once you are down the path from the Kitchen, you can follow the obvious route around to the right-hand side of Llyn Idwel and the back to the carpark.
The descent from the summit to the car park took me 2 hours 45 minutes for the 3.87 miles / 6.22 km, losing 627 metres (mainly through the Kitchen).
Loading map…Scroll or tap to load the interactive map
Distance
—
Elevation gain
—
Elevation loss
—
Max elevation
—
Waypoints
—
Elevation profile
By now, it was late afternoon and so I headed to the Dolgam campsite, where I have stayed before, to pitch my tent for the next two nights. It’s a beautiful location on the A5 near the foot of Moel Siabod (a SOTA which is still on my to-do list). I wanted to be up early to attempt Carnedd Llewelyn and Pen Llithrig y Wrach tomorrow.
Enthused by a fairly easy 18 points yesterday on Pico Ruivo and Pico do Arieiro, I aimed to do two one-point hills today, but Penha de Aguia is a much more difficult hill, and so I only had time (and energy!) to do this one. This replan while walking meant that I accidentally ended up sending a SOTAWatch alert for the wrong reference. For the avoidance of doubt, I was on CT3/MI-011, not MI-010. I did send the right reference with the QSOs.
Pico Penha de Aguia (CT3/MI-011)
The start of the walk is at the café at Aguia de Baixo, just outside Faial (32.7888N, 16.8473W). There’s no particular parking here but there are a few opportunities to park at the side of the road. The start of the path is literally along the café’s side wall, even if it feels as though you are going into a private back garden. On the ascent, I was unsure about this so I went a little further up the road to take the ‘agricultural road’, which is a slightly longer way around but also brings you out onto the walking route.
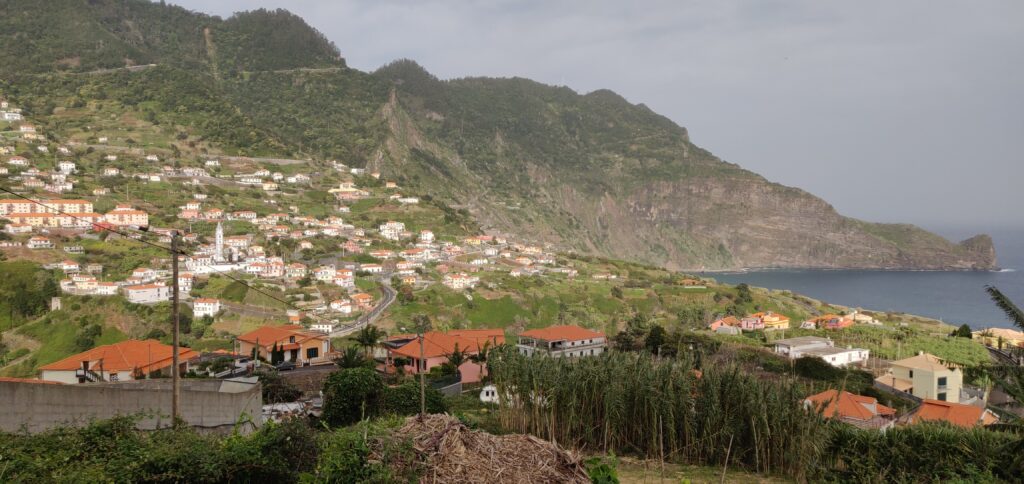
Faial from the start of the walk
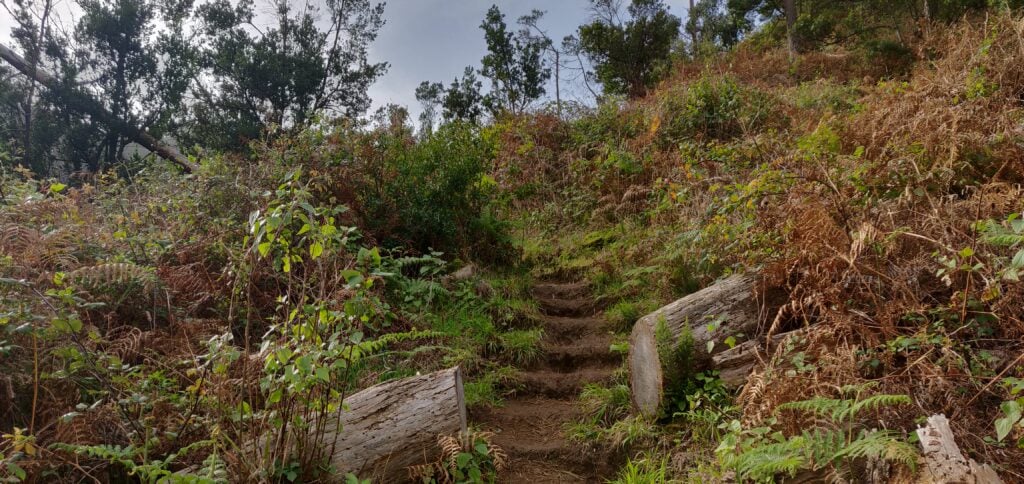
The path is defined but less obvious than the others I had encountered on Madeira. It’s just a thin path of dust and mud through the vegetation but at times it does have steps cut into it to assist on the steepest bits.
The steps cut in the earth path
The path itself starts out in fairly open land, twisting along a cliff face (but there are no significant drops to worry about). It then enters woodland, and stays in the trees for the majority of the ascent. Even the top is entirely wooded. One of the more minor factors that made the walk hard work was that near the summit the path was completely carpeted in damp pine needles, making it incredibly slippery.
There were other major two factors that made the ascent so difficult. The first is the steepness. It’s a 2.3km distance for about 450m ascent. That’s a 20% average incline, with parts between 50-60%, especially near the top. Again, it wasn’t impossible and it wasn’t a scramble at any point but I certainly needed my walking pole on the way down.
The other issue was the wind. From about 400m elevation, there was an incessant strong wind coming from the coast, with a few stronger gusts in it. On the most exposed bits of path, where the trees give way to a ledge, I had to time my crossing of the ledge a little carefully.
On top of Penha de Aguia
Once at the summit, I was able to bungee my SOTA pole to an olive tree and take out the dipole legs along the length of the path. There’s not a lot of room but it worked. I made 10 QSOs around Europe and didn’t stay any longer as I could hear some trees below me crashing down as they fell in the wind.
The ascent took 70 minutes and the descent about 50 minutes. Having done this one, I certainly felt justified claiming the 29 points for the trip! Be aware that the GPS track below isn’t completely accurate as I kept losing GPS lock in the trees.
Loading map…Scroll or tap to load the interactive map