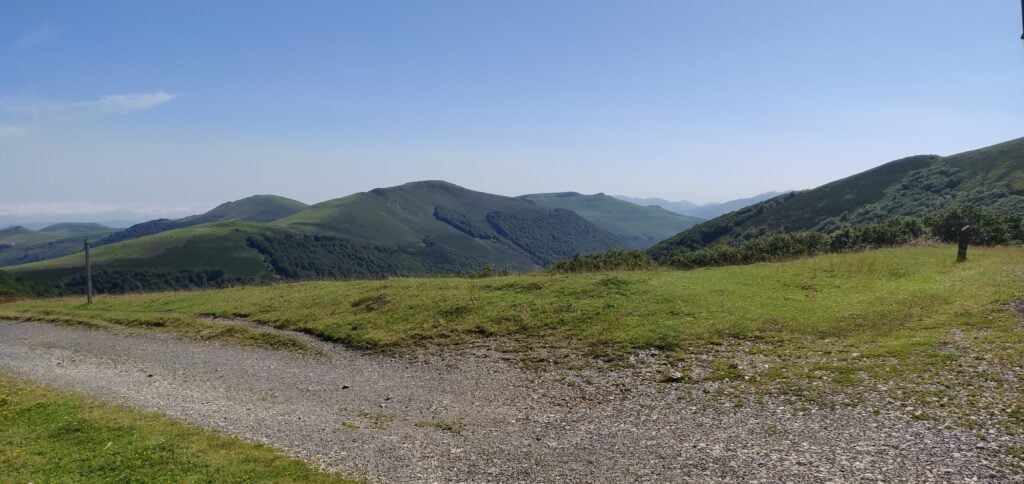
Pyrenees SOTAs 2023: EA2/NV-021 Saioa & EA2/NV-023 Zuriain

After yesterday’s activation of EA/NV-012 and EA2/NV-170, on 9th July 2023 I again drove into Spain to activate the two 6-point summits of Saioa and Zuriain. These are very easily activated as a pair and are almost always done together.

To the starting point: Col de Sagardegi

The starting point for this walk is on the NA-1740 road at the Alto de Artesiaga. This is in theory a pretty viewpoint with a fairly large carpark, but today was a very cloudy day and so visibility on the road was quite limited as I drove through the fogbanks, and there wasn’t much to see when I parked up at all.

Most published routes for the pair of summits are in a loop, starting by ascending the northern or north-eastern sides of Saioa, then descending the southern slope to head towards Zuriain. With the low cloud, I struggled to find the (slightly less obvious) path up the northern side of Saioa, so instead I opted to continue on the obvious route to the Col de Sagardegi between the two hills and then to activate them both from there. It took about 35 minutes to reach the Col de Sagardegi from Artesiaga.
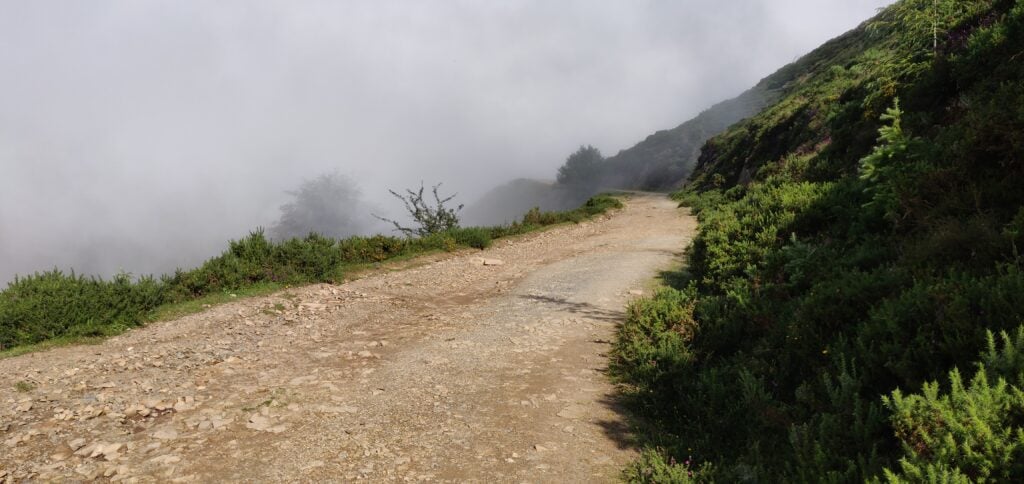
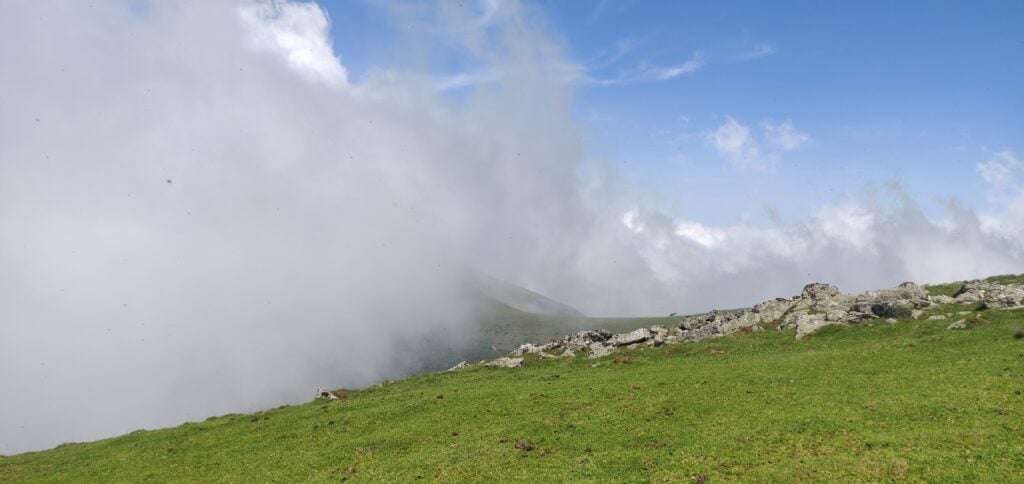
The route to the col between Saioa and Zuriain (one of the few gaps in the fog!)

The route to the Col de Sagardegi is a lovely wide stony path at first but becomes a little muddy as it goes through a forest. Around 43.043,-1.55374, you leave the main path to the right to start heading up to the Col (note the red and white marker in the photo below, showing the path).
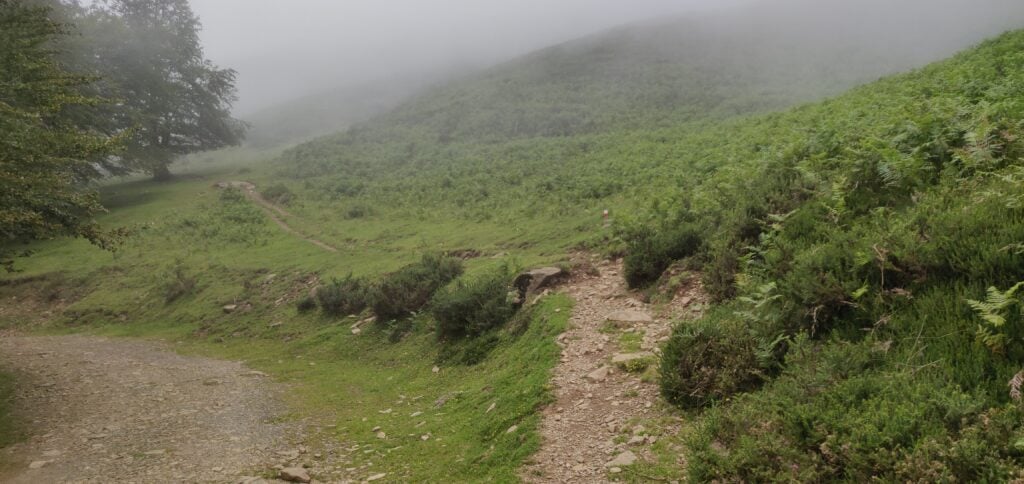
The path to the Col

By the time you arrive at the Col, there is little more than a grass track but I was now well above the cloud layer and there was a lovely clear blue sky.
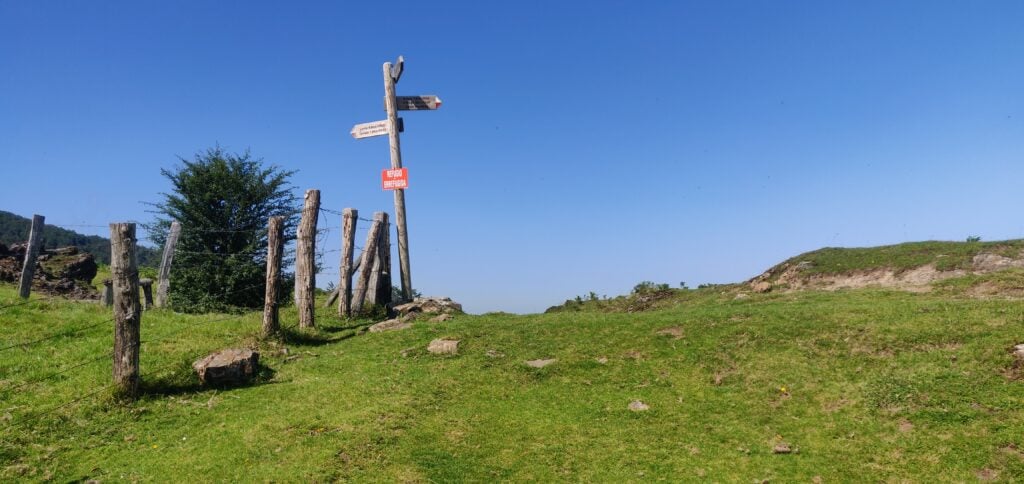
Col de Sagardegi

EA2/NV-012 Saioa

From the Col, and as shown on the signpost, it’s a short 30 minute climb straight up the side of Saioa. This is a reasonably steep grassy path, but with no problems as long as you have hiking poles.
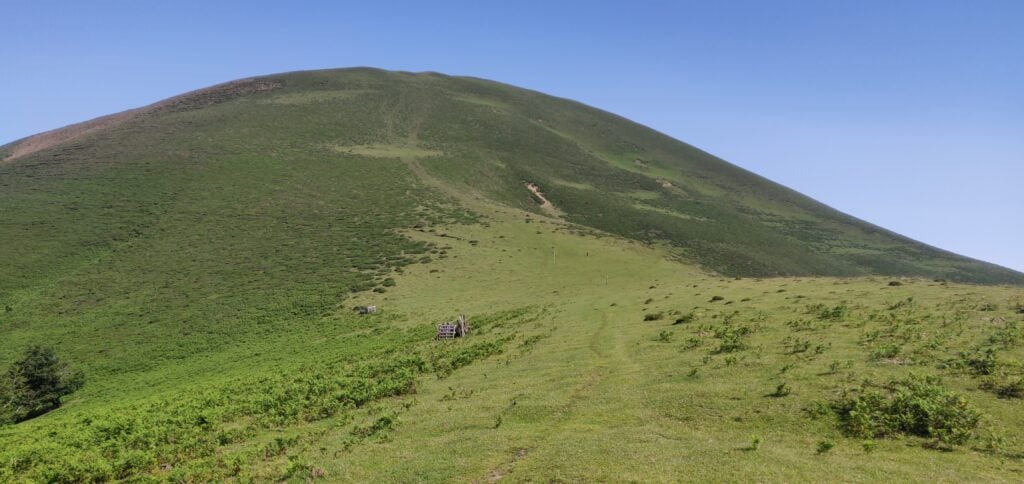
Saioa

At the top of the hill, there is a very wide grassy activation zone with plenty of space to set up an HF antenna near the trig point. I made 18 QSOs on 30m from here. Incidentally, if you noticed the model of a space rocket next to the trig point in my photograph on yesterday’s hill, it is part of a local initiative where different hills have different models to brighten up the summits. Saioa has a model of a typical Basque house.
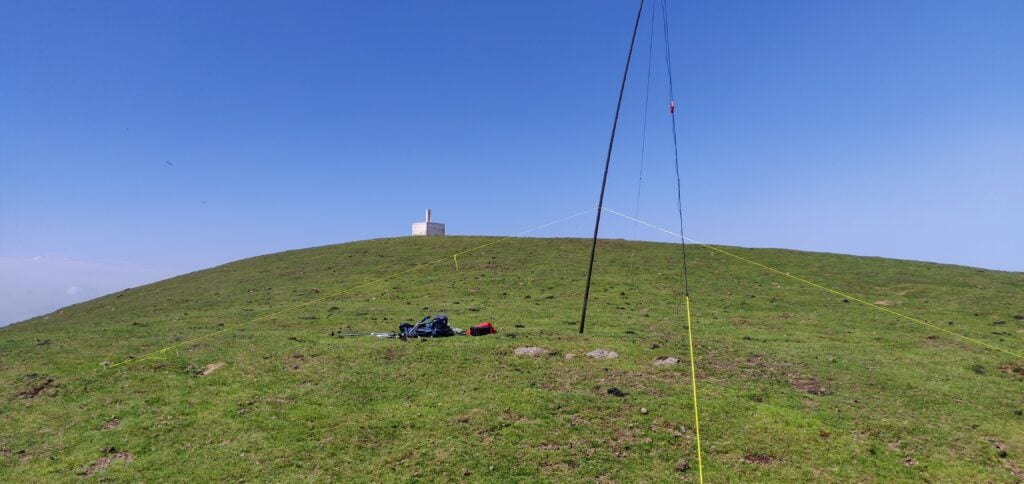
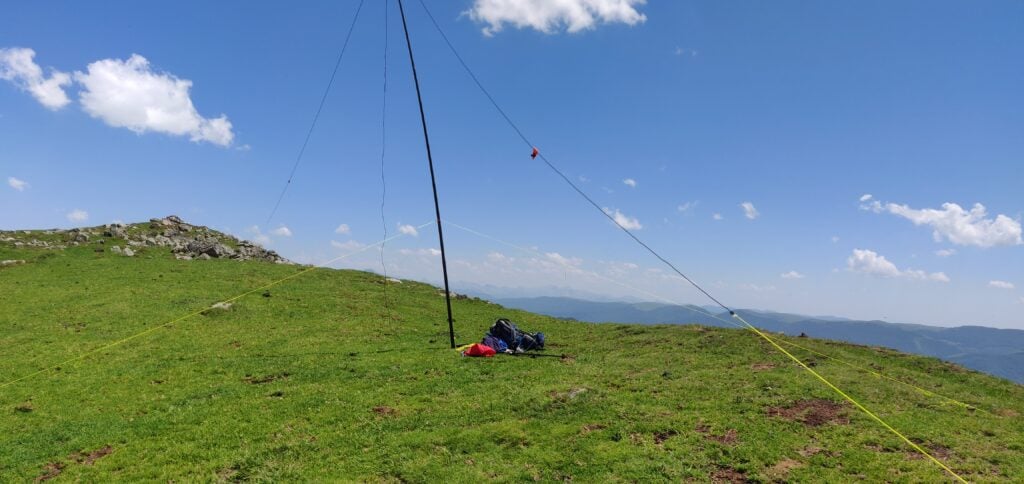
My antenna just below the trig point on Saioa

EA2/NV-023 Zuriain

After descending Saioa back to the Col de Sagardegi, it’s about a 40 minute climb to Zuriain. This is slightly less steep but also slightly longer in distance. Most of the height gain comes while heading south, and then you turn more south-west and head along a mainly-flat wide ridge before reaching Zuriain’s summit. As you go over the ridge, the path is slightly less obvious but is marked by short posts in the ground with red and white markings on them. The last few meters are then over some loose rocks following a fence-line, again without particular difficulty as long as you watch your footing.
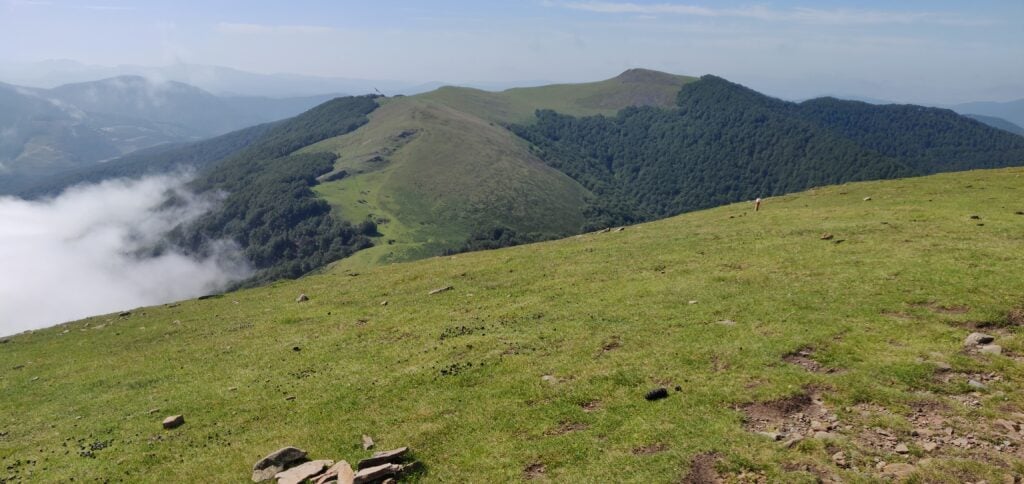
The route up Zuriain seen from Saioa

Zuriain’s summit is much more rocky but the fence-line provides a useful point for bungee-ing an antenna pole, thereby avoiding having to get the guying kit out. This allowed me to quickly make another 15 QSOs on 30m. By the way, the model next to the trig point on Zuriain is a lighthouse.
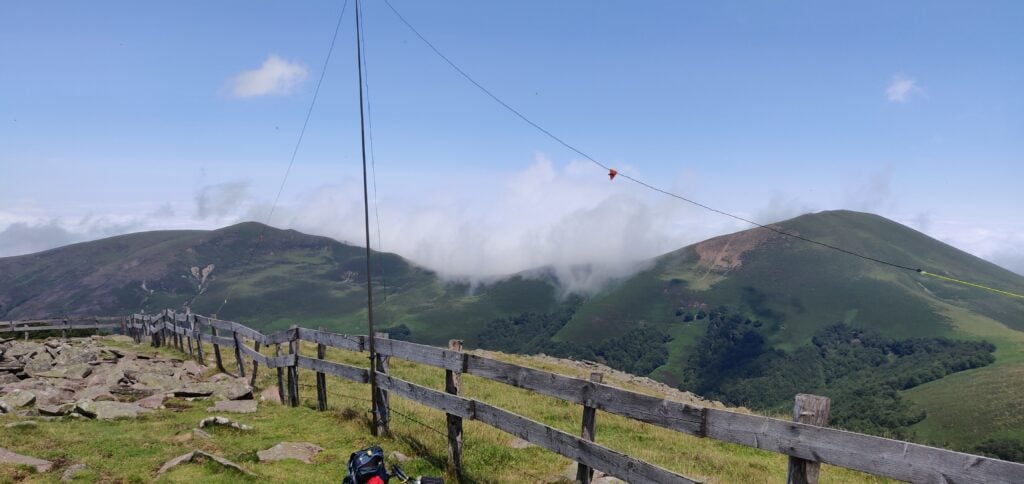
My antenna on Zuriain’s summit

As I was operating, I became aware that the typical Pyrenean afternoon cloud was starting to form and cover the area around the Col de Sagardegi, so instead of trying any other bands, I decided to pack up quickly and head down. I’m glad I did as once I started to descend back down towards the Col, I quickly found myself in thick fog and having to watch my navigation a bit more carefully.

I had originally hoped to activate the four-point summit of Larrakarte (EA2/NV-173), which is just over the road from the Alto de Artasiaga during the afternoon, but the route up that hill was completely covered in cloud and, worried about descending the mountain road in the fog, I decided to abort that plan.
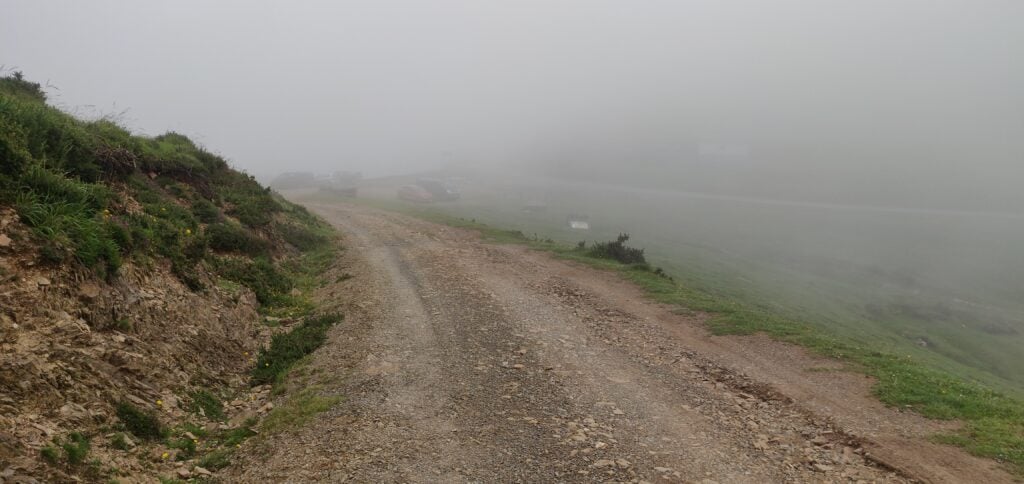
The car park at Alto de Artasiaga, just visible through the fog

The whole 10km walk, including activation of both summits, took about 5 hours and made for a lovely hike.

Loading map…
Distance
—
Elevation gain
—
Elevation loss
—
Max elevation
—
Waypoints
—
Elevation profile

Pyrenees SOTAs 2023: EA2/NV-012 Ortzantzurieta & EA2/NV-170 Txangoamendi

I returned to the Spanish Pyrenees in July 2023 to spend a couple more days activating the summits in Navarra, in the western Pyrenees. I was actually staying in a hotel in Bayonne, France and went back to F/PO-245 Xoldoko Gaina (which I had last activated in 2019) on 6th July. Then, on 8th July, I drove into Spain to tackle Ortzantzurieta (EA2/NV-012) and Txangoamendi (EA2/NV-170), both of which are worth 6 points.

To the start point: Lepoeder Peak

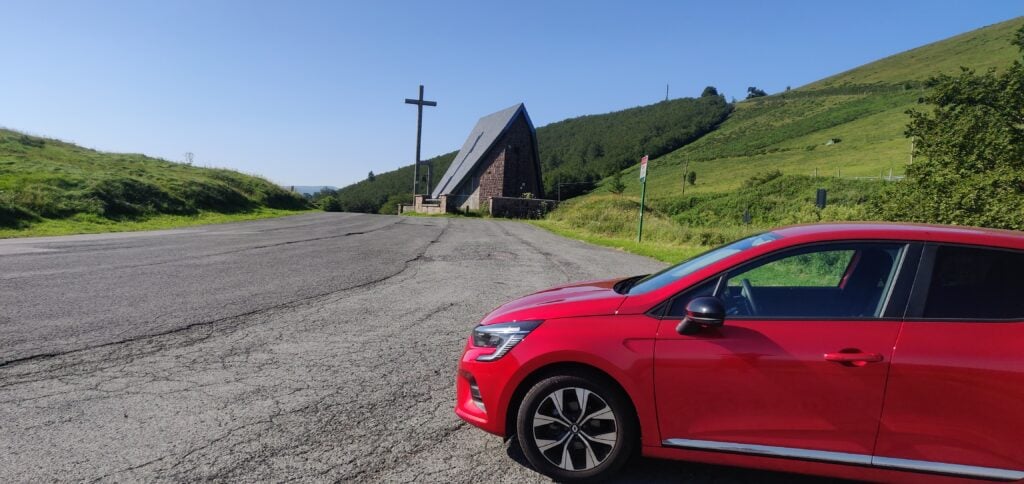
These two hills are actually very close to EA2/NV-022 Urkulu, which I activated last September but after the troubles I had driving to that summit, I instead took the road through the valley and across the border at Arnéguy, before parking up behind the small chapel at Ibañeta on the main N-135 road.

My hire care at Ibañeta

Many routes up to these two hills actually start from Lepoeder Peak, and there is a road (the NA-2033) from Ibañeta up to Lepoeder, but some research on Google Streetview had suggested it was quite poorly maintained with plenty of potholes and loose gravel, which I didn’t want to take my hire car over. I therefore opted to add about 2.7km each way to the hike to walk along the NA-2033 instead of driving it.

There is therefore very little to say about the first part of the walk. It’s a gentle ascent alongside a narrow tarmac road. Plenty of people have walked this way and there are clear shortcuts to cut off some of the hairpin bends the road takes.

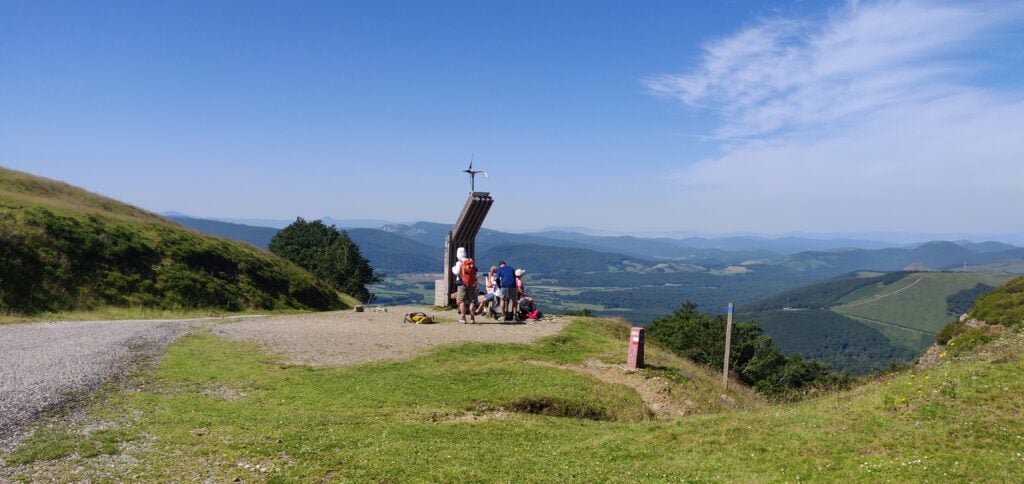
At the end of the road, you reach Lepoeder Peak. This is a Col (not a SOTA!) known for being on the Santiago de Compostela pilgrimage route through the Pyrenees, and as such it is well-frequented. For my purposes, it was also the point from both which Ortzantzurieta and Txangoamendi could be reached. In terms of timings, it took me about an hour to reach Lepoeder Peak from Ibañeta.

Lepoeder Peak, on the Santiago de Compostela trail

EA2/NV-012 Ortzantzurieta

I decided to tackle Ortzantzurieta first. This is, to be honest, a very gentle path, initially downhill from Lepoeder Peak, and then climbing back up to the summit. It took about 40 minutes. There is a gravel track up the hill to a transmitter mast, but I wouldn’t do it in anything other than a 4×4. The footpath is fairly clear and over grass, roughly following the track but cutting off the hairpin bends.

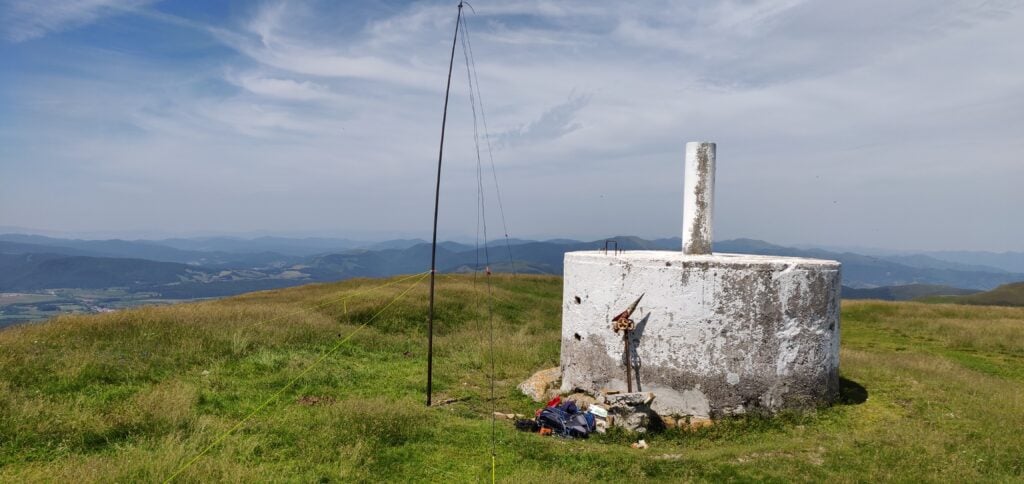
The summit is actually a little way away from the transmitter mast and there was no evidence of QRM on either 30m or 20m, which is where I was operating. I made 8 QSOs on 10MHz and 17 QSOs on 14MHz fairly easily.

My aerial set up at the trig point on Ortzantzurieta

It took about 30 minutes to descend from Ortzantzurieta back to Lepoeder Peak the way I had come, where I had a quick sandwich. It was then time to head to Txangoamendi.

EA2/NV-170 Txangoamendi

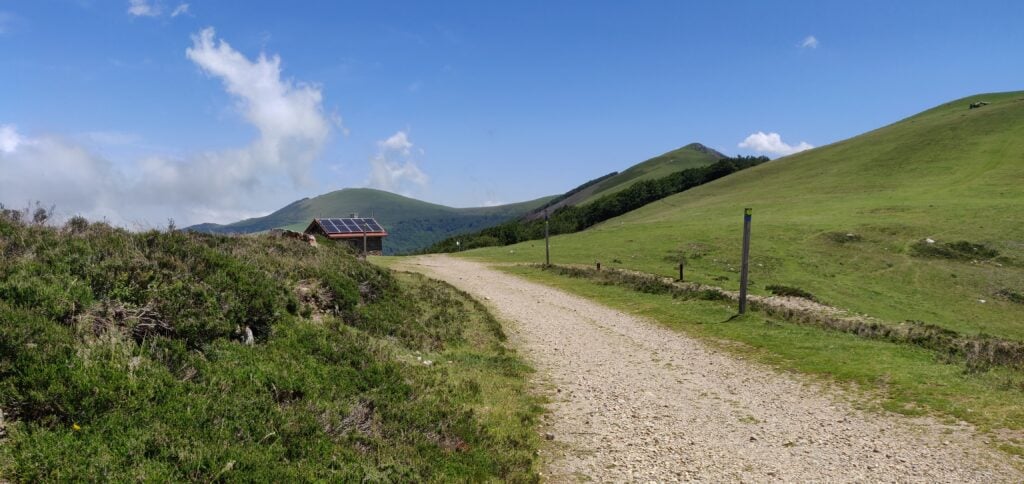
Txangoamendi is a little further away from Lepoeder Peak to the north. The first part of the walk there is actually backwards along the Santiago de Compostela route, which is a very well-made wide gravel path at this point, with regular signage. Part of the way along the route, there’s also an emergency refuge.

The emergency refuge on the Santiago de Compostela path

As the Santiago path goes through some woodland around 43.0385, -1.283 you need to leave the main track and head to the right. There’s some open land here with a signpost and a clear grass path up towards Txangoamendi.

Looking at the map and satellite imagery, it’s a little unclear whether this is a walk along the ridge or whether the path is wider. There are no sheer drops and it’s actually a fairly easy walk. My main obstacles were having to wait for first a bull to cross my path and then some horses who were blocking a slightly narrow section just before the activation area!

Txangoamendi seen from Lepoeder Peak

Once on top of Txangoamendi, there’s no trig point but plenty of flat land and I managed to get the aerial up quickly to work 15 QSOs, all on 30m (the IARU / WRTC contest had started, and so I avoided 20m). It took about 1h20m to reach Txangoamendi summit from Lepoeder Peak.

My antenna on Txangoamendi’s summit

I had initially hoped that I might be able to get back to Urkulu from Txangoamendi and activate that hill once more, but time was starting to run out and, as is typical in the Pyrenees in the summer, clouds were starting to build that could impede my descent a bit, so I decided just to return back to the car.

Clouds started to build on my descent from the summit

The total walk, including activations of both summits, took me about seven hours for the 17.2km. To help get your bearings, on the map below, Lepoeder Peak is the point just north of Burregieta, where all my routes join.

Loading map…
Distance
—
Elevation gain
—
Elevation loss
—
Max elevation
—
Waypoints
—
Elevation profile