I was up early, despite the long walk around Y Garn and Glyder Fawr yesterday, ready to head on another double-hill day, walking around Carnedd Llewelyn and Pen Llithrig y Wrach.
The car park for this one is in the entrance to the campsite at SH685602. The campsite allows non-residents to park in the layby at entrance for £2/day; payment is taken at the campsite reception.
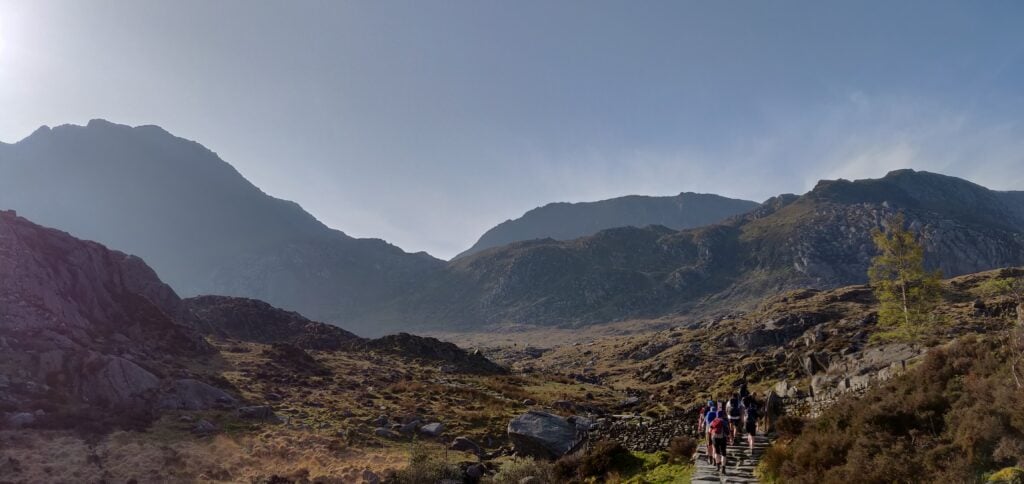
After parking, walk a little bit along the pavement beside the A5 then head up the steep tarmac private road all the way to Ffynnon Llugwy reservoir. Just before the reservoir, the path splits away from the road and you see the route up the side of Bwlch Eryl Farchog ahead of you.
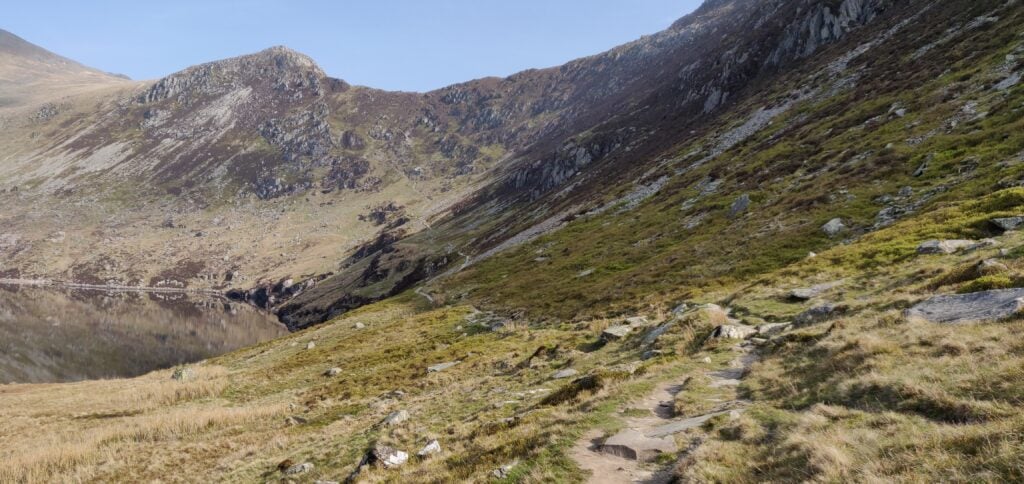
From the lake, the path leads up the hill straight in front of you
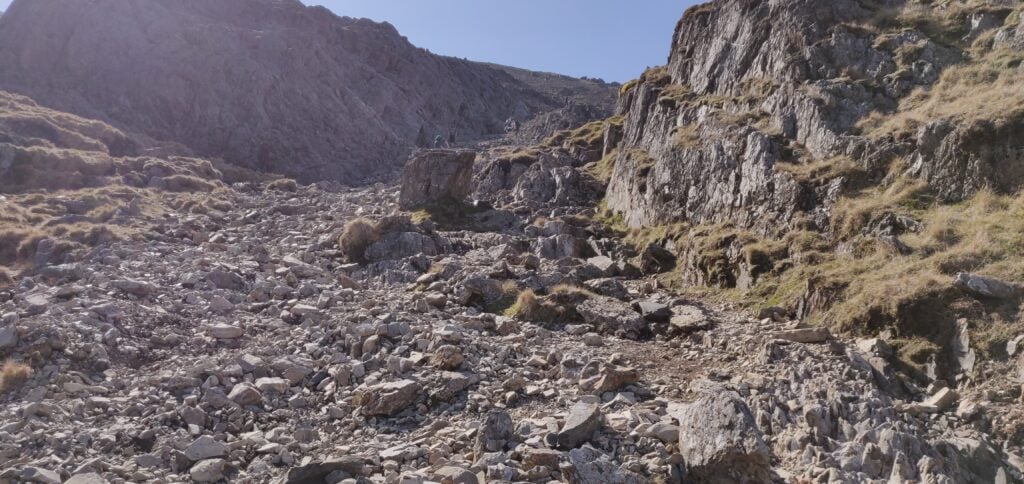
The path up here is hard work. It’s narrow and steep and I had to pull myself up in a couple of places. There were only a couple times that I felt concerned about tackling the route on my own but it needed a lot of care and I would probably think twice about doing it without a companion in the future.
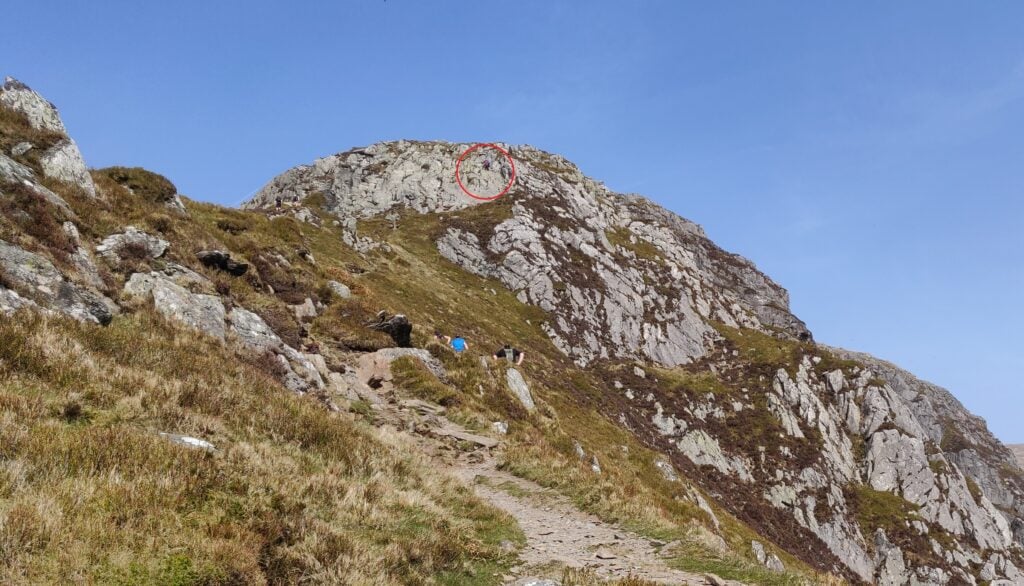
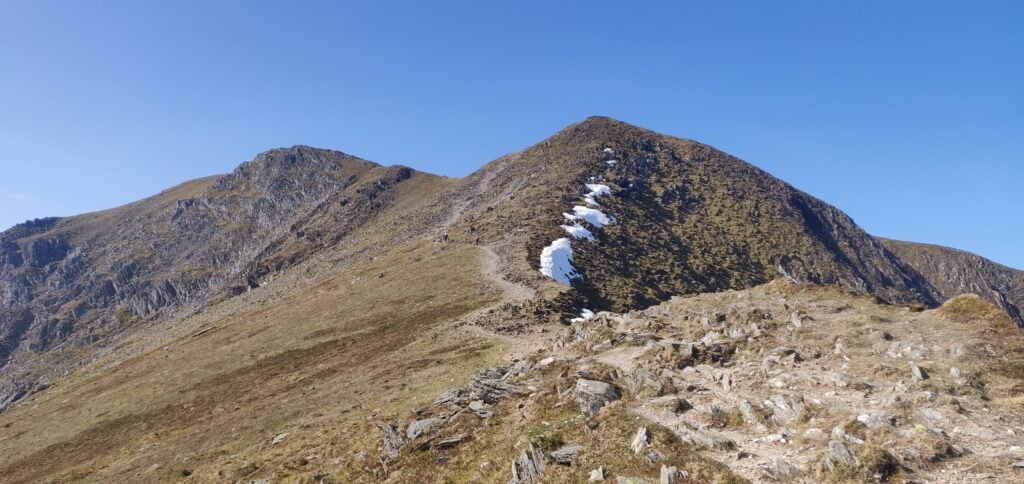
Once you are on top of the ridge, you can turn left (north-west) for Carnedd Llewelyn or right (south-east) for Pen Llithrig. I duly turned left towards the first hill of the day, which lies beyond the Craig yr Ysfa rocks. On the OS map, it looks as though this is a perfectly reasonable path and indeed a couple behind me did make it through… For me, however, I didn’t feel comfortable continuing. Perhaps it was the hot day or the fact that I was still slightly worried by how much harder the route up to the ledge had been than I had anticipated, or a combination of both, but I didn’t feel safe to climb over the rocks with a steep drop below on my own (and then to return via the same route).
The point where I gave up… I got as far as the area circled red but unlike the gentleman in the photo, I couldn’t then continue over the rockface
So, Carnedd Llewelyn remains on my to-do list, probably next time taking the longer walk in from the north-east. Instead, I headed back along the ridge towards Pen Llithrig.
Around SH696630, the path follows a contour line but it also requires a lot of care (although I felt it a better option than trying to descend back down to the valley below). You are walking on loose slate fragments on a narrow path only maybe a foot wide. Already feeling concerned that I had bitten off more than I could chew, I put all my effort into watching my steps and forgot to navigate, thereby taking myself further away from the route to Pen Llithrig than I had planned. For the same reason of concentration, I don’t have any photos of this part of the route. Once I had realised what I had done, I had to continue until the slate face above me gave way to less steep grass sides of the hill (at SH697626) that I could clamber up and get myself back on track.
Soon enough I was back in more comfortable territory on the flat grassy top of Pen yr Helgi Du (not a SOTA summit). From here, the walking was much easier: there’s a slightly faint path that leads east from the hilltop down to the col and across to Pen Llithrig.
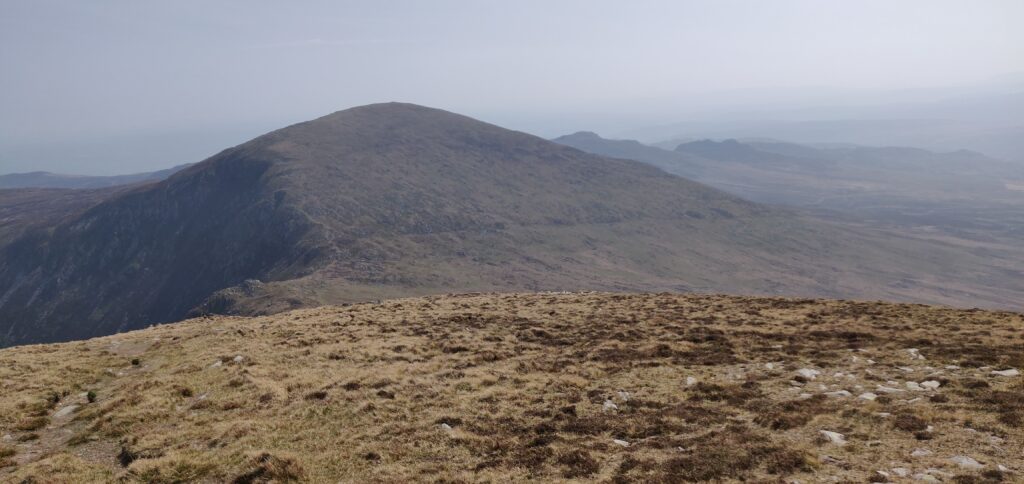
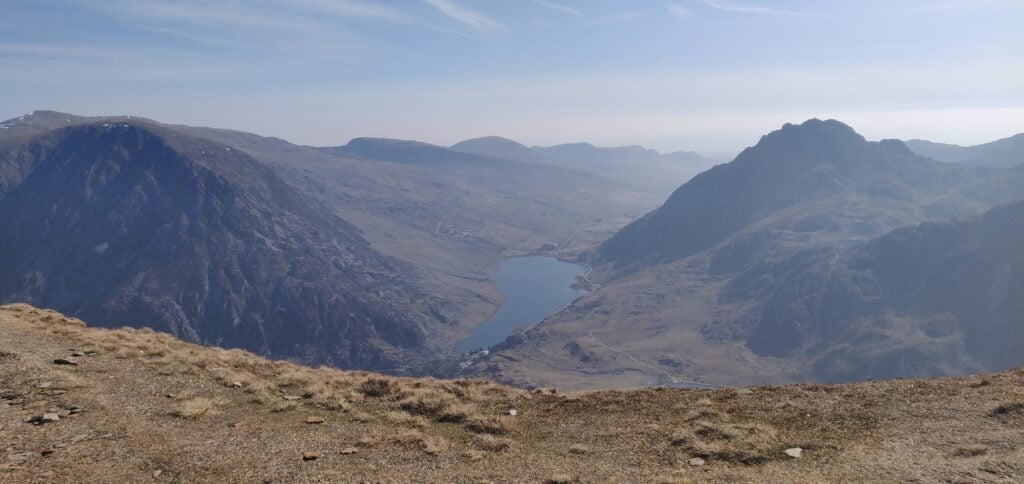
Looking down from Pen yr Helgi Du towards Pen Llithrig
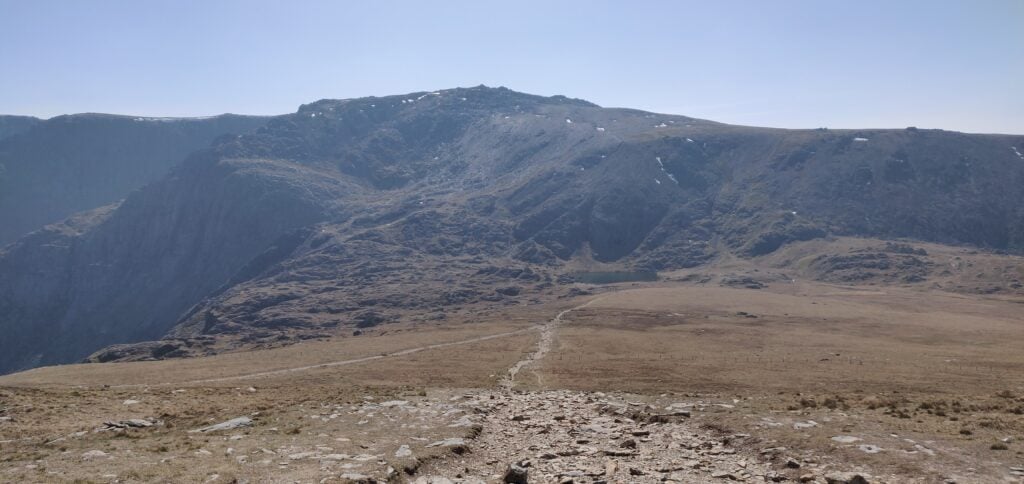
As the photo above suggests, the top of Pen Llithrig is flat and uninspiring, meaning it has a large Activation Zone for SOTA purposes. Exhausted from the grueling walk, I spent an hour here to have lunch and make a number of QSOs both on 2m FM and 30m CW (the only HF activation of the weekend). On 30m, I found the Swiss SOTA crowd were out in force with 3 HB summit-to-summit contacts in succession! By the way, Pen Llithrig y Wrach is GW/NW-013 and is worth 6 points.
From the top of Pen Llithrig, I returned to the car by heading straight down the south-eastern side of the hill (there is no path), until I intersected the leat at SH704615. A path runs alongside the leat all the way back to meet the road at SH690609, although be aware that it has a number of stiles along the path, many of which are in a state of disrepair.
Were I to do Pen Llithrig on its own again (without attempting Carnedd Llewelyn), there is a safer, simpler route heading up Y Braich from SH700607. This would then join up with my route on top of Pen yr Helgi Du, and form a nice circuit that way.
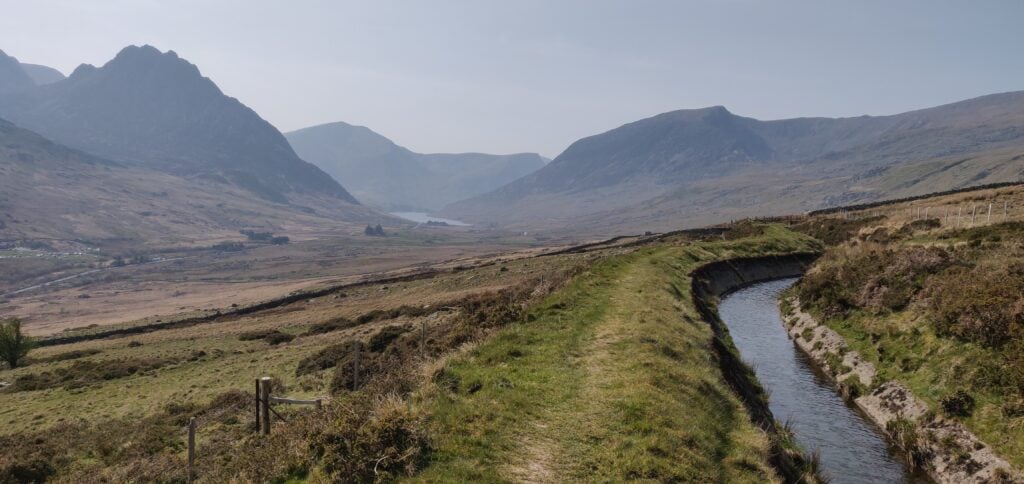
The path along the leat, with Tryfan in the far left and Y Garn behind it.
With my inefficient route, this walk totalled 9.5 miles with 4612 feet of ascent (no wonder I was tired!). It took me 4 hours and 10 minutes to reach the top of Pen Llithrig and 1 hour 50 minutes to get back down to the car park. I’d have an easier walk, fortunately, on Cadair Berwyn tomorrow.
Loading map…Scroll or tap to load the interactive map
I’ve recently returned from what has become an annual tradition of spending Easter weekend away climbing hills for SOTA. Last year (and admittedly Easter was earlier), the Beast from the East had just hit and I was walking through snow on Pen-Y-Fan. This year, the weather was completely different with bright sunshine, hardly any wind, and 20C temperatures.
Having driven to Wales after work on Maundy Thursday evening, I stayed the night in the Premier Inn at Llandudno Glan-Conwy, which is ideally situated on the A55. This was a deliberate choice as I knew the carpark at my first target fills up quickly, so I wanted to make an early start on Friday morning. The target was to do the circuit up Y Garn (8 points) and along the ridge to Glyder Fawr (10 points), then descending on the Devil’s Kitchen path.
Car park to Y Garn (GW/NW-004)
As was my intention, I was lucky to be early enough to get one of the last few spaces in the car park near Ogwen Cottage on the A5 (Currently £6 for the day or £3 for four hours, proceeds going to the National Park.) Having said that, there is ample parking along the A5 if the car park is full.
From here, the route from the car park to the summit of Y Garn is an obvious one. The well-made stone path rises slightly to Llyn Idwel lake. At this point, the route splits and the main path goes along the left (Eastern) side of the lake. You will be coming back that way, so you need to follow the fainter track, initially along the north shore of the lake.
The well-made path from the car park to Llyn Idwel
Once the path has left the lake, it soon starts to rise along the edge of Y Garn. The route is steep in several places but not especially dangerous or difficult and the path is clear.
The path up Y Garn
From the ascent, you can look down to the Ogwen valley floor where you started. It’s a fantastic view.
The Ogwen valley from the ascent of Y Garn
The ascent of Y Garn from the car park took me exactly two hours, having started at 9am. It’s a 2.17 mile / 3.5km walk, ascending 647 metres (and most of this ascent is after Llyn Idwel).
On this Good Friday morning. the summit was quite busy and so I quickly made a eight contacts on 2m FM from just my handheld and left it there without unpacking the HF gear. On such a nice Easter weekend, I probably shouldn’t have been surprised that there were lots of SOTA activators around but I made 3 summit-to-summit contacts from here – a theme that was to continue through the rest of the weekend.
Y Garn to Glyder Fawr (GW/NW-003)
Y Garn is connected to Glyder Fawr by a ridge, so you only have to drop 250m from the summit of Y Garn to a lake on the col (Llyn y Cwn at 710m ASL) before climbing back up 300m to the 10-point Glyder Fawr. You don’t have to go all the way back down to the valley!
From the summit of Y Garn is just a matter of walking downhill over the grass towards Glyder Fawr. There are a few paths to choose from. The path up Glyder Fawr is somewhat more strenuous, as it climbs steeply over loose slate and other rubble.
Down Y Garn to Llyn y Cwn, then back up Glyder Fawr The ascent of Glyder Fawr is slightly harder work over loose stone
This section of the walk took me 70 minutes to walk the 1.7 miles / 2.73 km between the hills. Unfortunately, somewhere approaching the summit I lost my sun hat, which was annoying in the hot weather.
In trying to retrace my steps to locate – in vain – my hat and also with some slight concern about the descent of Devil’s Kitchen (which I’d forgotten since I last did it over 10 years ago), I decided to make this a quick activation as well and just made six QSOs on 2m from the handheld before heading back to the valley floor.
Glyder Fawr to the car park
From Glyder Fawr’s summit, you descend to Llyn y Cwn via the same stony path you used for the ascent but at the lake you turn north-west, following the obvious path towards Devil’s Kitchen.
The Kitchen itself is a flat face of rock used by rock-climbers which, on some days ‘steam’ can be seen emanating from. Luckily, us walkers don’t have to cope with such things as there’s a path that runs alongside the Kitchen, known as the Devil’s Kitchen path. It’s a little narrow in places and I had to use my hands to ease myself down in a couple places but it’s perfectly manageable and, on a day like today, well-frequented.
Once you are down the path from the Kitchen, you can follow the obvious route around to the right-hand side of Llyn Idwel and the back to the carpark.
The descent from the summit to the car park took me 2 hours 45 minutes for the 3.87 miles / 6.22 km, losing 627 metres (mainly through the Kitchen).
Loading map…Scroll or tap to load the interactive map
Distance
—
Elevation gain
—
Elevation loss
—
Max elevation
—
Waypoints
—
Elevation profile
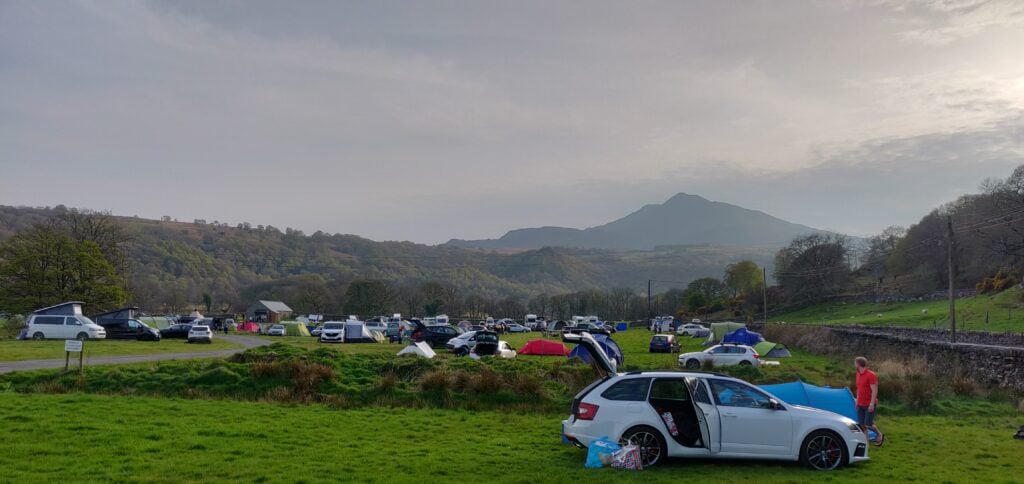
By now, it was late afternoon and so I headed to the Dolgam campsite, where I have stayed before, to pitch my tent for the next two nights. It’s a beautiful location on the A5 near the foot of Moel Siabod (a SOTA which is still on my to-do list). I wanted to be up early to attempt Carnedd Llewelyn and Pen Llithrig y Wrach tomorrow.
Enthused by a fairly easy 18 points yesterday on Pico Ruivo and Pico do Arieiro, I aimed to do two one-point hills today, but Penha de Aguia is a much more difficult hill, and so I only had time (and energy!) to do this one. This replan while walking meant that I accidentally ended up sending a SOTAWatch alert for the wrong reference. For the avoidance of doubt, I was on CT3/MI-011, not MI-010. I did send the right reference with the QSOs.
Pico Penha de Aguia (CT3/MI-011)
The start of the walk is at the café at Aguia de Baixo, just outside Faial (32.7888N, 16.8473W). There’s no particular parking here but there are a few opportunities to park at the side of the road. The start of the path is literally along the café’s side wall, even if it feels as though you are going into a private back garden. On the ascent, I was unsure about this so I went a little further up the road to take the ‘agricultural road’, which is a slightly longer way around but also brings you out onto the walking route.
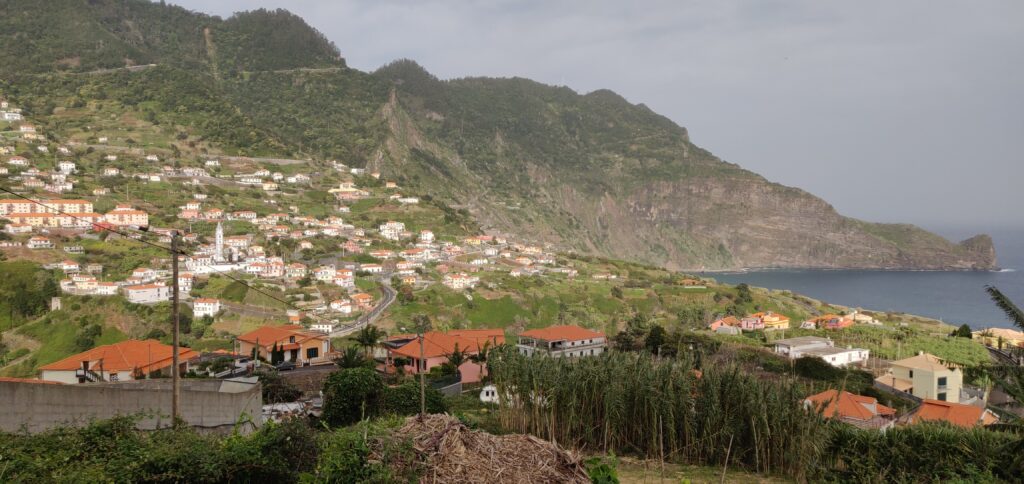
Faial from the start of the walk
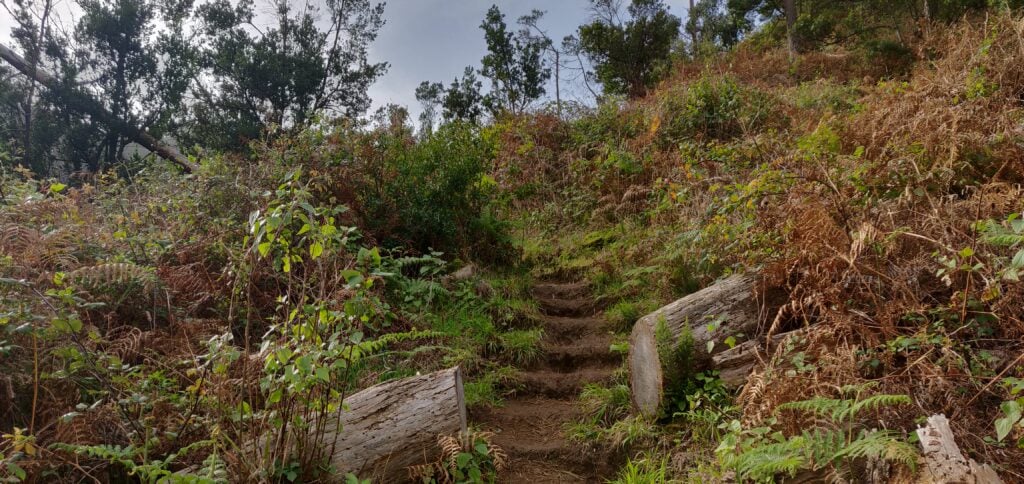
The path is defined but less obvious than the others I had encountered on Madeira. It’s just a thin path of dust and mud through the vegetation but at times it does have steps cut into it to assist on the steepest bits.
The steps cut in the earth path
The path itself starts out in fairly open land, twisting along a cliff face (but there are no significant drops to worry about). It then enters woodland, and stays in the trees for the majority of the ascent. Even the top is entirely wooded. One of the more minor factors that made the walk hard work was that near the summit the path was completely carpeted in damp pine needles, making it incredibly slippery.
There were other major two factors that made the ascent so difficult. The first is the steepness. It’s a 2.3km distance for about 450m ascent. That’s a 20% average incline, with parts between 50-60%, especially near the top. Again, it wasn’t impossible and it wasn’t a scramble at any point but I certainly needed my walking pole on the way down.
The other issue was the wind. From about 400m elevation, there was an incessant strong wind coming from the coast, with a few stronger gusts in it. On the most exposed bits of path, where the trees give way to a ledge, I had to time my crossing of the ledge a little carefully.
On top of Penha de Aguia
Once at the summit, I was able to bungee my SOTA pole to an olive tree and take out the dipole legs along the length of the path. There’s not a lot of room but it worked. I made 10 QSOs around Europe and didn’t stay any longer as I could hear some trees below me crashing down as they fell in the wind.
The ascent took 70 minutes and the descent about 50 minutes. Having done this one, I certainly felt justified claiming the 29 points for the trip! Be aware that the GPS track below isn’t completely accurate as I kept losing GPS lock in the trees.
Loading map…Scroll or tap to load the interactive map
Continuing my SOTA trip to Madeira, and following on from yesterday’s activations of Pico Ruivo do Paul and Pico Chao dos Terreiros, today I did two of the larger summits on the island.
Pico Ruivo (CT3/MI-001)
The highest point on the island, Pico Ruivo (not to be confused with Pico Ruivo do Paul, which I climbed yesterday) is a ten-point summit, which is easily accessed. Unfortunately, this also makes it very popular with visitors, and coaches from hotels drop off their passengers for the walk, so you are strongly advised to start this one early.
The starting point at Teixeira is about 50 minutes’ drive from Funchal, along some very twisty mountain roads. There’s nothing really at Teixeira, which is also the end of the road, except a large carpark.
The car park at Teixeira, seen from the start of the walk
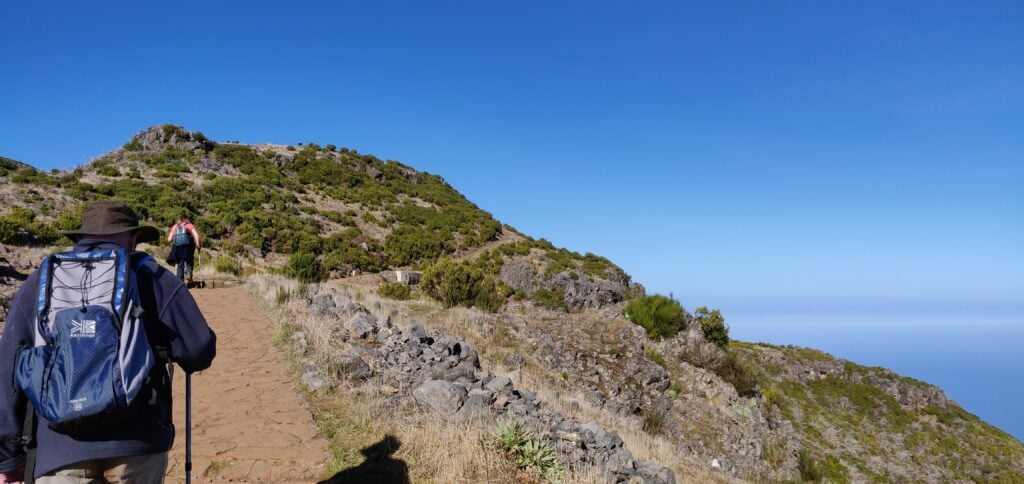
From there a wide, paved path hugs a ridge with some spectacular views for the 3.3km journey each way to the summit. Along the path there are three small stone shelters, which could be useful in the foggy conditions that can apparently occur in the area, but which I think are more likely to be used as picnic benches. One slight surprise on the walk was that in a couple places we encountered ice, even though it was about 15C and sunny. Clearly it can get very cold by night.
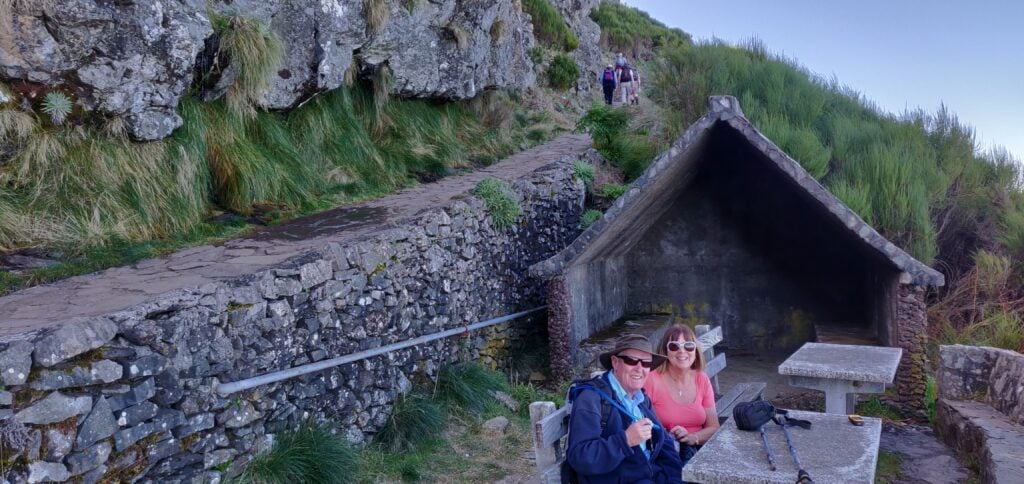
The wide, paved, path leads as far as the Casa do AbrigoMy parents at one of the small stone shelters
Just under 500m before the end of the walk (which has hitherto been fairly flat), there’s a more substantial ‘Casa do Abrigo’ (Shelter House) with toilets and a café. This also marks the start of the slightly steeper climb to the top. It’s not a difficult climb but it’s about 100m of ascent for the 450m of distance on a dusty path that twists up the mountain side. As I say, this is a fairly easy 10 points, and it was easy enough for my parents (who aren’t in the best of health) to make it to the Casa do Abrigo with me, before I continued to the summit alone.
At the summit, there’s not a huge amount of space and it’s made more difficult by the number of people there. On the other hand, the mountain does have a double-peak: the main one with the trig point and another viewpoint, which is still easily in the activation zone. Since it was quieter there, I set up at the viewpoint, leaving everyone else to take photos at the trig point in peace. The available space didn’t allow me to stretch out the dipole legs fully but I did the best I good, having again been able to bungee my SOTA pole to the fencing at the top.
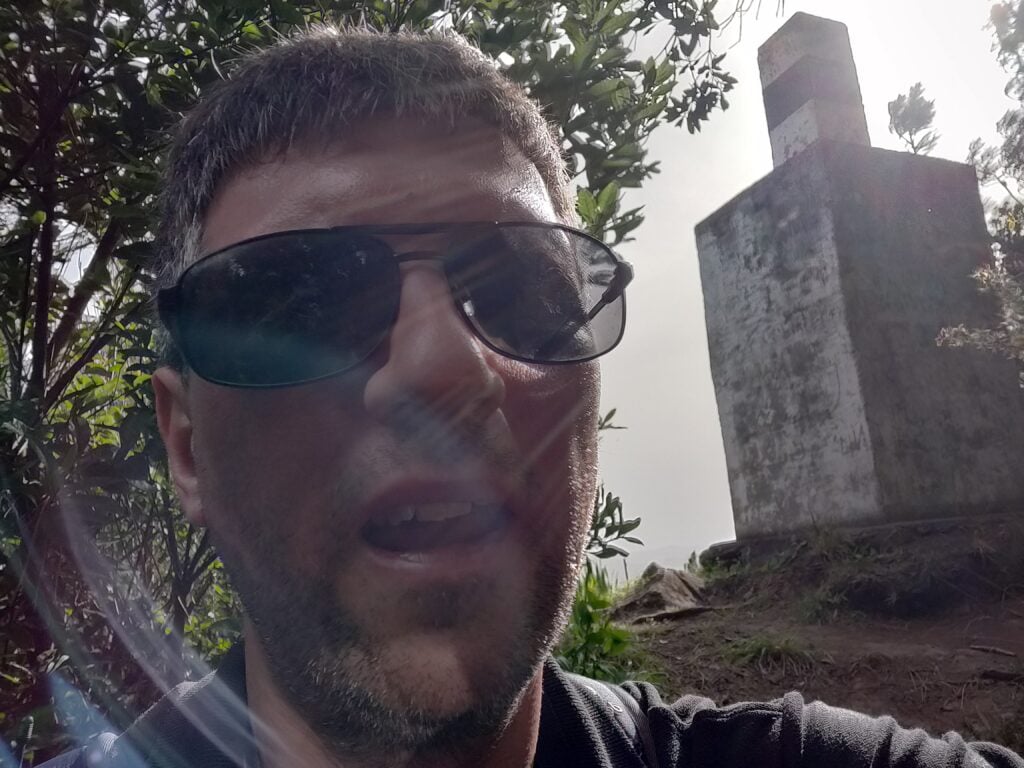
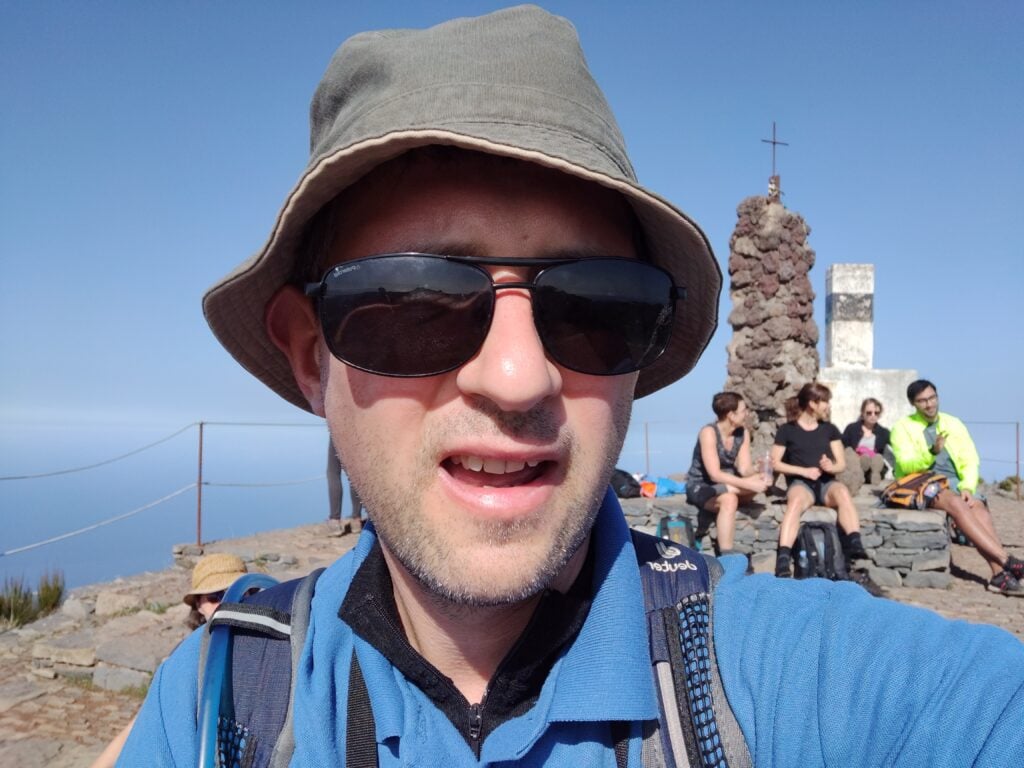
Selfie on top of Pico Ruivo
I didn’t spend too long up here but managed five QSOs including, incredibly given the aerial’s haphazard installation and the fact it was still morning, one American. It was also nice to make a QSO with G4OBK, whose writeups of these hills had formed the basis of my own trip. In fact, I contacted Phil four times on the trip, just missing him on Pico Ruivo do Paul.
The ascent for this one took about 90 minutes (allowing for my slightly slower parents), and the descent took an hour. We started the walk at about 09:30, about an 90 minutes after sunrise, and I wouldn’t have wanted to leave it any later given how busy the carpark was by the time we returned.
Loading map…Scroll or tap to load the interactive map
Distance
—
Elevation gain
—
Elevation loss
—
Max elevation
—
Waypoints
—
Elevation profile
Pico do Arieiro (CT3/MI-004)
It’s possible to walk from Pico Ruivo to Arieiro on a 6.7km path, which also takes you beneath the summit of the currently unactivated Pico des Torres. I, however, went for the easier option of driving between the peaks. It’s a long way around, however, taking nearly an hour on some fairly twisty roads.
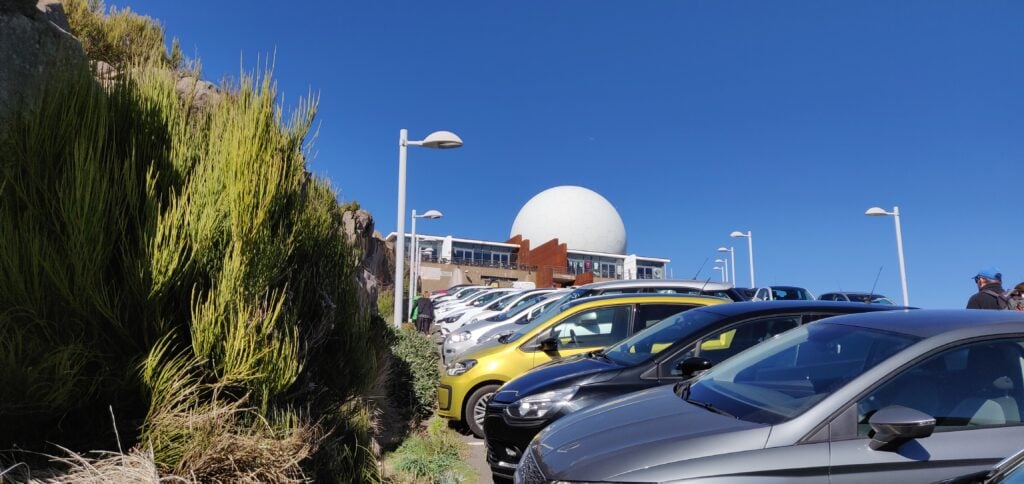
Once you’re there, however, Arieiro is possibly the easiest 8 points ever. It’s the site of a large military raydome, and so not only has an access road to the summit but it also has a large carpark and café. Despite the substantial carpark, however, it was running out of space by the time we arrived in the early afternoon.
The carpark at Pico do Arieiro
The summit itself is located behind the café, and there’s a few steps up to a trig point, near where the path from Pico Ruivo joins. There’s really not that much else to say about it. Since the actual platform with the trig point was busy, I found a spot just off the carpark but within the activation zone to operate from, and managed 9 QSOs including five Americans. It was also good to speak to Martin G3ZAY at the G6UW shack (where I often operate from) – he had also found me from GB2IWM at the Imperial War Museum, Duxford, when I was on Ruivo this morning.
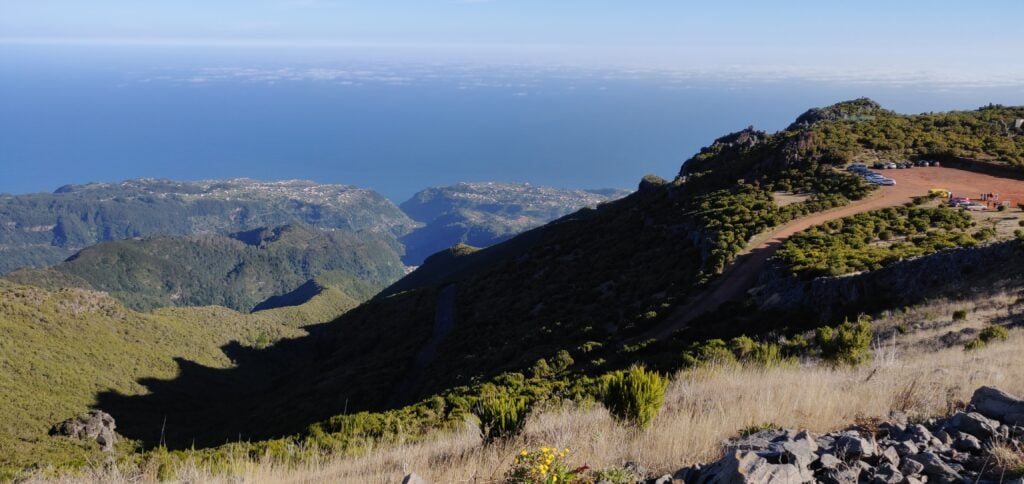
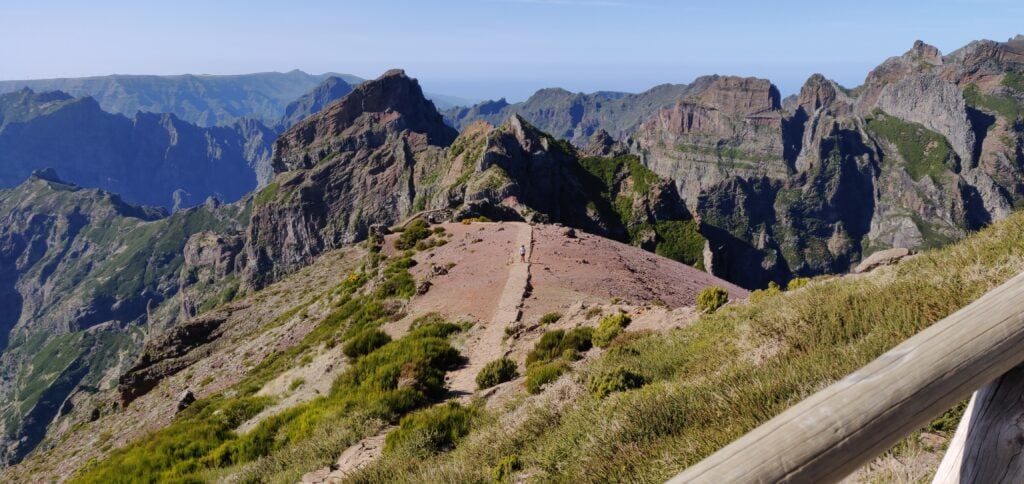
The view from the trig point at Pico do Arieiro, including the path back to Pico Ruivo
Not a bad day for earning 18 points all-in-all, but I’d have to pay for it with a cruel 1-pointer tomorrow!
Last week I spent some time on a family holiday in Madeira, during which I also spent three days in the hills doing SOTA activations.
The first thing to know about Madeira from a radio perspective is that although the DXCC prefix is CT3, that prefix is reserved for residents. The prefix authorised for CEPT visitors is CT9.
Pico Ruivo do Paul (CT3/MI-006)
The six-point Pico Ruivo do Paul is about 45 minutes drive from Funchal, along fairly quiet roads. I parked our hire car at the parking space off the road at 32.7699N, 17.0782W. Nobody else was around, as this isn’t the most frequented area of the island.
The carpark at the bottom of Pico Ruivo do Paul
From the carpark, the walk is a fairly simple matter of following the obvious path, which starts on the opposite side of the road, up to the summit. The ascent took me 40 minutes (partly as I had to wait for my parents, who are somewhat older) and about 20 minutes down. The path is almost exactly a kilometre in length for 130m ascent, the steepest bit coming just before the summit, but at no point is it hard. On the top, there’s a fairly large area of flat ground where you can set up, which has wooden fencing around it – perfect for attaching a SOTA pole with bungees!
I set up on 20m CW and fairly quickly had made 7 QSOs, enough to qualify the hill.
Me with Pico Ruivo do Paul in the background
This was a lovely start to the activation, and a fairly enjoyable easy hill.
Loading map…Scroll or tap to load the interactive map
Distance
—
Elevation gain
—
Elevation loss
—
Max elevation
—
Waypoints
—
Elevation profile
Pico Chao dos Terreiros (CT3/MI-008)
Update February 2020: I returned to this hill a year after writing this post and a lot had changed. At Boca de Corrida, the path had a chain and padlock across it and there were no indications as to whether only vehicle movement is restricted, or whether pedestrians should keep out too. The latest satellite imagery shows that the clearance I witnessed in 2019 had been extended and there is now a maze of paths in place of the old track. Given this exploitation, I decided to head north on the steep, paved path signposted to Encumeada. OpenStreetMap indicated that this would be a useful diversion, and that it is possible to turn left at around 32.7253N, 16.9938W along a track to bring you back towards Terreiros. I couldn’t see the track at this location however – I suspect it has become overgrown. With my parents in tow and nowhere else to leave them, I abandoned my trip in 2020. I suspect next time, I’d approach from Fontes, to the west, even though the route is longer and steeper. Anyway, back to 2019…
On the map, Terreiros (4 points) is not far from Pico Ruivo do Paul but the geography of the island means it’s a pretty decent drive between the two places. To make the most of the day, we drove from Pico Ruivo do Paul to the ‘skywalk’ at Cabo Girão (a glass platform overhanging the cliff), where we had lunch at the café, before heading up to Terreiros. A tip for anyone following our route: use the toilets at the café before eating – the €0.50 you pay for the toilets can be discounted against your café order. Not knowing this, we did everything in the wrong order.
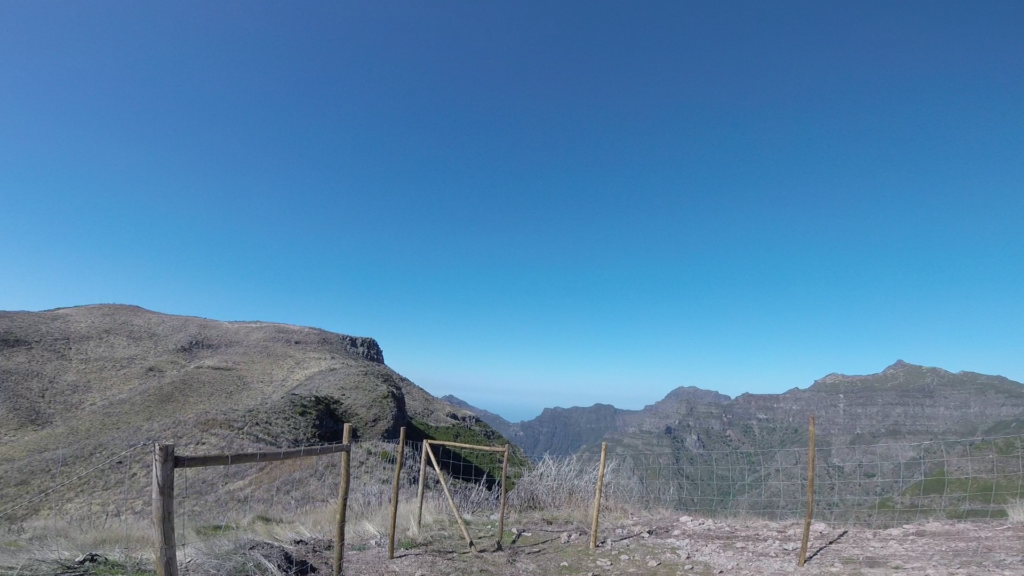
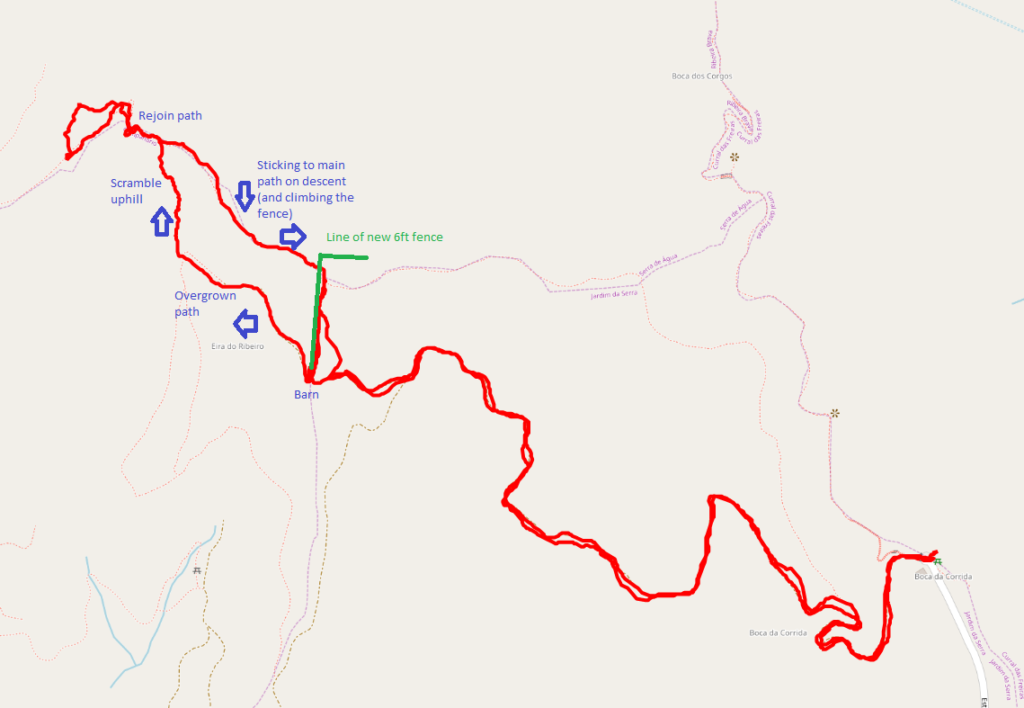
The drive to Terreiros from Cabo Girão looks really bad on the map but it’s actually fine and my TomTom got us there fine. The path starts from the end of the road at Boca da Corrida, where there’s a small car park and chapel (32.7110N, 16.9869W). At least on the map, the path is, again, obvious and wide and twists its way around the hill over the course of about 2.7km. The ascent is about 200m. It was easy enough for my parents to do with me for the first about three quarters of the walk. One note on my map indicated the path was overgrown and impassable. That was definitely not the case and in fact there were people working clearing trees on the hillside above us. And then I had a problem. At the barn at 32.7139N, 16.9970W the path divides and it isn’t clear what you are meant to do. The track continues up a steep hill, with a newly made fence on your left, but when you get to the top, you realise you need to be on the other side of the very tall (maybe 6ft) chicken wire fence. But there’s no major path from the barn on the other side of the fence. Yes, the fence has been built right across the path. It had taken me 40 minutes to get this far, and I wasn’t proposing to give up, so I left my parents somewhere safe and set out to find my own path, keeping the new fence on my right. This was a mistake. It involved fighting through some very overgrown plants, and then scrambling up a steep grassy bank with plenty of opportunity to lose your footing. It was really hard work. After maybe 15 minutes of this, I eventually came out to the path I should have been on, and continued to the summit.
The fence newly-erected across the pathThe GPS track caused by negotiating the new fence
The activation zone of Terreiros is nice and large and, again, this isn’t a well-frequented hill, so it was nice and quiet. The view is also spectacular. I made 10 QSOs from here, including two Americans which was a nice surprise for 10W into a simple linked dipole.
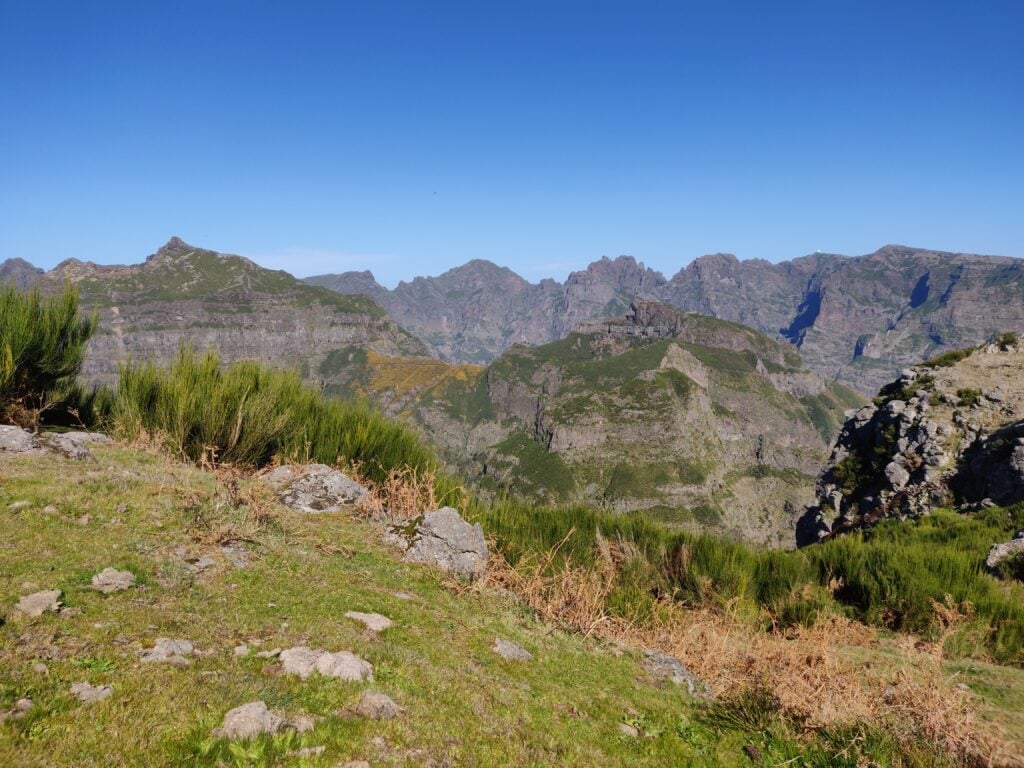
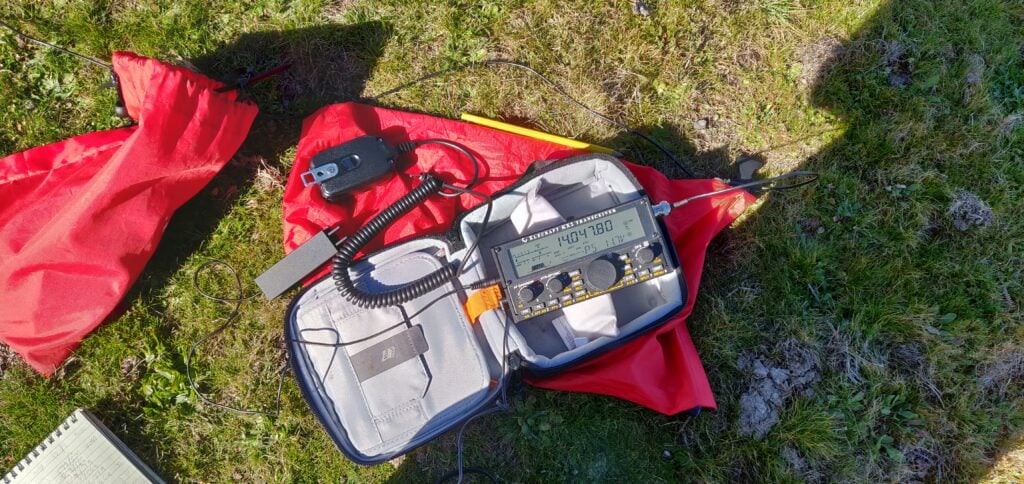
The view from Pico Chao dos Terreiros, looking towards the hills I did the following dayMy Elecraft KX2 on Pico Chao dos Terreiros
On the way back, I stuck to the path and managed to climb over the fence, rather than taking the ‘cross country’ route I had used on the ascent. This turned out to be much better. The descent, including recovering my parents from where I had left them, took just about 35 minutes.
Loading map…Scroll or tap to load the interactive map
Distance
—
Elevation gain
—
Elevation loss
—
Max elevation
—
Waypoints
—
Elevation profile
One word about the journey back to Funchal – G4OBK has mentioned how useless his TomTom was on Madeira. I didn’t have as many problems as he seemed to have but the journey back was an exception, with it continually insisting I needed to take very minor one-way streets down steep hills that were about the same width as the car. No damage was done, but it wasn’t the easiest driving.
In August 2017, I spent a few days doing some of the Summits on the Air summits in the Pyrenees.
Monday 31st July
Trône du Roi (F/PO-187): Attempt 1
After flying into Toulouse and getting a hire car (which took an unexpectedly long time), I drove to the Trône du Roi (King’s Throne) to operate, again this took a longer time than I expected. From what I’d read before leaving, Trône du Roi is a relatively easy two points, and wasn’t far from my hotel, making it an ideal option for a late afternoon activation before checking-in.
I made a basic error, however. In my haste to get through the airport and on the road as quickly as possible, I’d forgotten to pick up water. When I got to the hill, therefore, I not only found myself lacking hydration on a relatively warm afternoon, but I also realised it was rather later in the day than I had expected. I got to the 1000m elevation point (about a third of the way up) and then decided to head back down. I’d at least stretched my legs before tomorrow.
Sadly aborting my 1st SOTA in the Pyrenees: after airport delays & not finding path, I don't have time. But this is 1000m on way up F/PO-187 pic.twitter.com/TCH63T7Ek6
Today started with a reasonably early start, as I wanted to do two big (8 point) mountains on the Spanish border, and my hotel was already 1.5 hours away from where I’d need to park at the Col du Portalet.
Getting there was no problem and I was soon on my way up the Pic d’Estremère. On the face of it, this is another fairly easy option. It’s right next to the car park at the former customs post and – on the map at least – there are some obvious paths to the top. The reality was that it was rather steeper in places than I had expected, and certainly one that needs hiking poles. The bigger problem was that the paths were less easy to find than I had expected, other than the big GR10 cross-Pyrenees route, which doesn’t actually go to the summit. On my ascent, I made the mistake of not staying on GR10 for quite long enough and ending up on a particularly steep face instead, from which I had to make a quick retreat. Nevertheless, I eventually picked my way to the top and, once there it’s a lovely operating site. There’s lots of space within the activation zone and there was nobody else on the mountain at all. I was quickly into a decent pileup and, despite the odd problem with the antenna falling over, it was a very pleasant activation. As with all my contacts during this trip, I was exclusively on 30m CW.
Loading map…Scroll or tap to load the interactive map
Distance
—
Elevation gain
—
Elevation loss
—
Max elevation
—
Waypoints
—
Elevation profile
Soum de Grum (F/PO-149)
After returning to my car for lunch, my plan had been to tackle the Pic d’Anéou, just on the other side of the road from the Portalet, another 8 point mountain. By now, it was getting quite warm, however, and I had also read that there’s a tricky section requiring poles near the summit… and one of my poles had broken on my way up Estremère! As a result, I decided to switch to my Plan B: the Soum de Grum. This is about a one hour drive from the Portalet, enough time to crank up the air conditioning and cool down before starting another ascent.
The main website I used to research routes, Topopyrenees.com, describes (in French) the Soum de Grum as being a nice easy walk, suitable for children, up decent paths from the car park at the Col d’Aubisque. If that name sounds familiar, the car park has been the site of many iconic Tour de France mountain-top stage finishes.
The website wasn’t wrong at all. However, as I’d been driving, clouds had started to form and, by the time I was on the Aubisque, visibility was almost nothing. Despite this, I had no problem at all with following the path and finding my way to the summit of the Soum de Grum very quickly. The path isn’t particularly steep at any points, and you don’t need to use hands. It is also perfectly possible to do without poles.
Once there, there was relatively little space on a bit of a ledge, although this may have partially been by sensation as I couldn’t see where the sides of the mountain were in the fog, and so I was playing it a bit safe. Consequently, I found myself operating with the dipole almost lying along the ground, but it still wasn’t a problem to get the required four QSOs and make my way down. In fact the most challenging part of the activation was still to come: driving down hairpin bends with steep drops if you misjudge them, in an unfamiliar car in limited visibility is rather more difficult than walking along a clear path!
At the summit of Soum de Grum SOTA F/PO-129 (note I'm not on Aneou as planned). QRV in abt 15min but will be quick due to WX (in cloud) pic.twitter.com/MKb7Opbj4O
(Note: I got the summit reference incorrect in this tweet: F/PO-149 is correct)
Wednesday 2nd August
My original plan for the day had been to climb Pic Lasnères (F/PO-138) and Mardas (F/PO-126) in a loop, following a combination of the routes described at Pic Lasnères and Randonée Lac du Montagnon. Mardas would have been a first activation and looks pretty do-able (although note what the description says about needing poles on the way down).
These mountains are reached from the village of Adyius and following a path over 6.5km to the parking place. When I got to Adyius, however, the road was blocked both by preparations for a local fête taking place that day and a more permanent sign indicating no entry except to residents. In my hire car, I wasn’t prepared to take the risk of going down a track I wasn’t supposed to be on.
Luckily, the Trône du Roi, which I’d failed to activate on Monday, wasn’t too far away, so I turned around and went there instead.
Trône du Roi (F/PO-187): Attempt 2
The Trône du Roi is reached along about 3km of slightly rutted, gravel (not tarmac) track. It’s not bad, however, and I didn’t feel concerned about doing in the car.
This time I had plenty of water and, at this point in the morning, plenty of time. As I climbed, the temperature became steadily hotter and by the time i reached the summit it was in the high 20s Celcius. I was actually rather glad that I hadn’t been able to get to Lasnères and Mardas, as in such heat I think the loop might have been a bit difficult.
The path up the Trône du Roi was initially under trees and some of the stones were a little slippery in the morning dew. Once out of the trees (and under the heat of the sun), the path climbs steeply and fairly unrelentingly for its whole length. I never felt in danger but there are places where it’s fairly close to the edge of the mountain, so you definitely need to watch where you are going, both on the ascent and descent.
The summit itself was much more uncomfortable. This is another fairly narrow summit with steep drops off the side, it was fairly busy with people, covered in sheep droppings and with swarms of flies everywhere. You can even see some of the flies in the tweet below.
In addition to the lack of space, I felt an inexplicable amount of vertigo up here (probably brought on by the heat and disorientation caused by the flies, which were crawling all over my face, in my mouth and even getting stuck in the CW paddle!). Trying to guy my SOTA pole would probably have resulted in it falling off the mountain even if I could keep it away from other people, so I literally lied the dipole legs along the grass and hoped the elevation would do the rest. It did, and as soon as I had four QSOs, I was off the summit as quickly as possible.
Loading map…Scroll or tap to load the interactive map
Distance
—
Elevation gain
—
Elevation loss
—
Max elevation
—
Waypoints
—
Elevation profile
Issarbe (F/PO-171)
By now, I was feeling pretty tired in the heat of the day, so I opted to drive a bit further to bask in the air conditioning(!), heading to Issarbe. Before coming to France I’d not only come up with my Plan A list of targets, but also a list of other options. From that research, I knew that Issarbe should be potentially one of the easiest 4-point options in the Pyrenees chain. Issarbe is a ski resort, and so has a decent road leading nearly to the summit. In summer, reaching the summit is just a matter of a short walk up the ski runs and then a couple of decent paths to get you into the activation zone. That’s exactly what this mountain proved to be like, and I had a wonderful short activation making a lot of contacts. There’s plenty of space for putting a dipole out here.
Over the course of the 20 minutes or so that I was operating, I gradually became aware of a cool wind starting to blow up and shadows becoming weaker. Looking up at one point, I realised that a repeat of yesterday was underway – cloud was forming in the valleys and starting to convect up the side of the mountains. There was a risk that we could plunge into near-zero visibility once again and, although I was happy enough at my ability to follow a ski run back to the car, I didn’t really want to do another drive down a mountain in such conditions. As a result, I had to stop while people were still calling (something I try not to do) and quickly pack up.
A few minutes after the photo below was taken, you couldn’t see the ski station buildings from the summit.
Loading map…Scroll or tap to load the interactive map
Distance
—
Elevation gain
—
Elevation loss
—
Max elevation
—
Waypoints
—
Elevation profile
Friday 4th August
Miramont (F/PO-238)
After a rest day on the beach, my original plan had been to return to Toulouse via Pic de Cau (F/PO-260), a nice-looking 2-point hill just off the motorway. Unfortunately, I’d been unable to to find any details as to how long the walk was likely to take, where best to park, etc. After the issues I’d had at the airport on my way into France, and with some stories in the press about extra time being needed for passport controls in France, I didn’t want to take the risk of being late, so instead I decided to go to another of my Plan B options: Miramont.
Although only one-point for SOTA, it’s a nice easy one. Just off the main road from Tarbes to the pilgrimage site at Lourdes, drive into the village of Julos and walk up a track to a mobile phone base-station site. That’s really all there is to it. I set up the station just outside the transmitter compound (still easily within the Activation Zone) and within just a few minutes had a nice small pile-up.
Last sota of the trip done. F/PO-238 Miramont – though there's not many monts to be miré'd in this cloud. pic.twitter.com/bLAauXpg8a
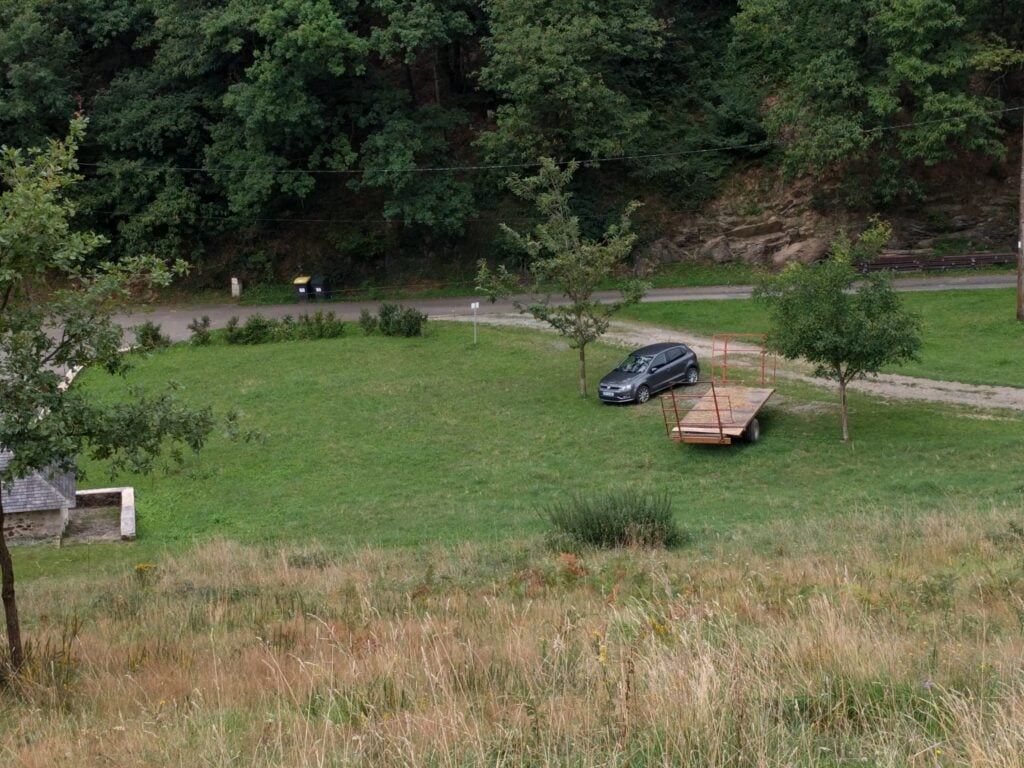
Just for reference, speaking to a local tractor-driver, the ‘approved’ parking place in Julos is on the gravel area between the two trees in the photo below (where my hire car is), right at the start of the track up Miramont.
Overall, this was a wonderful trip. Although I didn’t get to everywhere I’d originally planned, I had a very pleasant time in the mountains and bagged 35 SOTA points in three days.