After the frustration of the Pic de Guilhers yesterday, I left my hotel in St. Jean de Luz early, with the aim of climbing Xoldoko Gaina (aka Choldocogagna) before heading to Bilbao for my return flight back to the UK.
The path for this one starts in the village of Biriatou, just on the French side of the border by the A63 motorway. By the way, there are lots of toll booths on the motorway around the border area, so be prepared to have to pay several times if you are leaving the motorway – it’s only a couple of euros each time, though.
In the village, you can park in the car park behind the church and walk up the hill to pick up the road heading east from the village. At the fork at 43.3327, -1.7397 bear right and the tarmac gives way to a path leading up through woodland and then into open countryside.
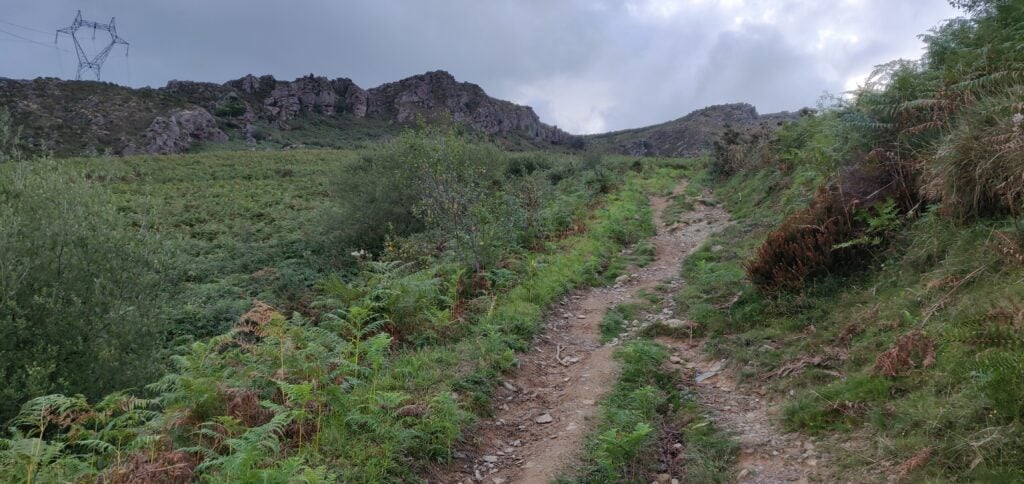
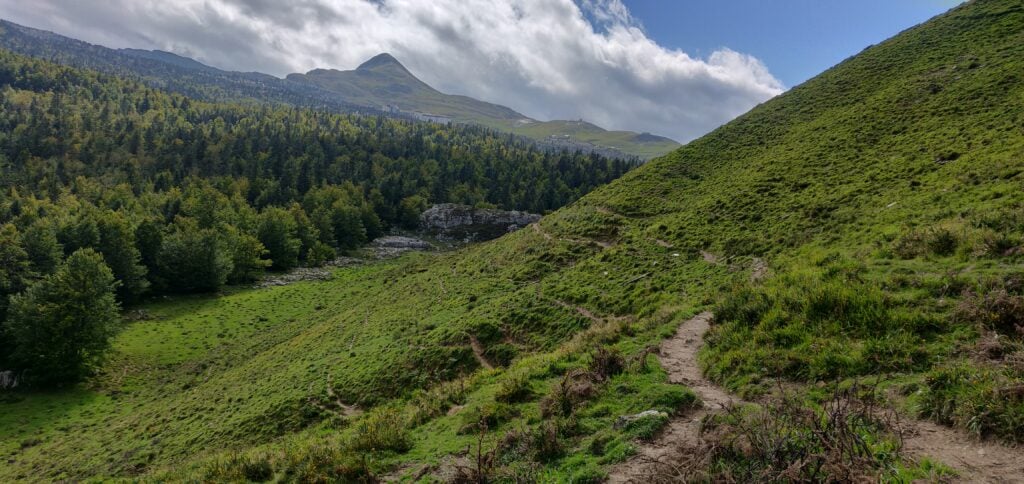
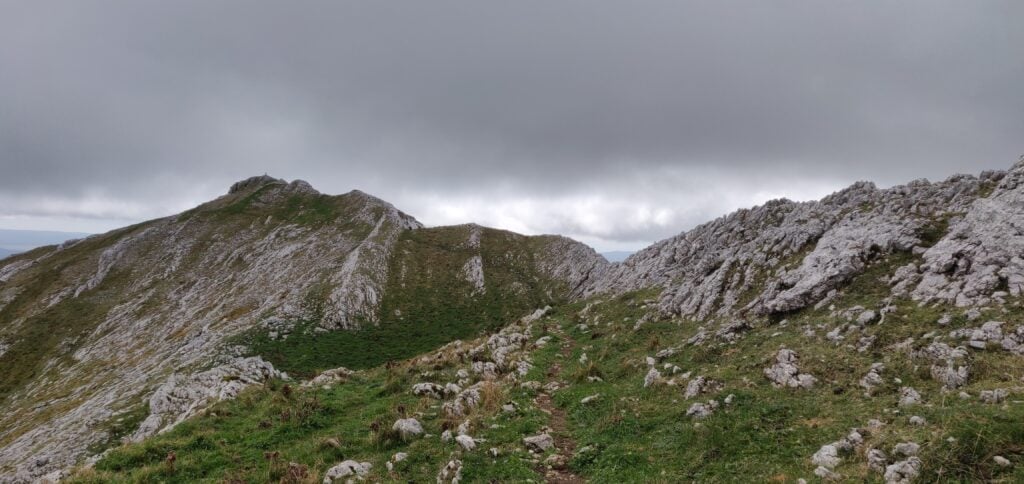
The path up Xoldoko Gaina
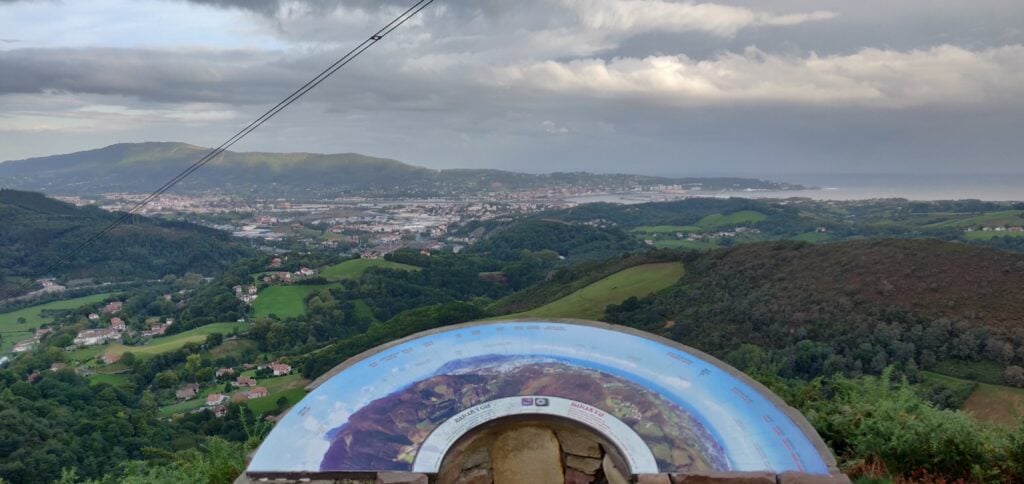
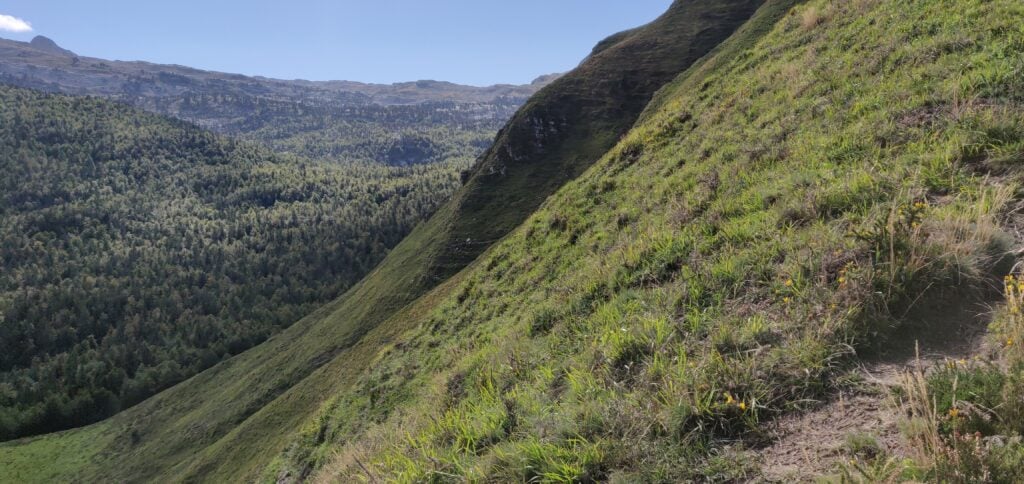
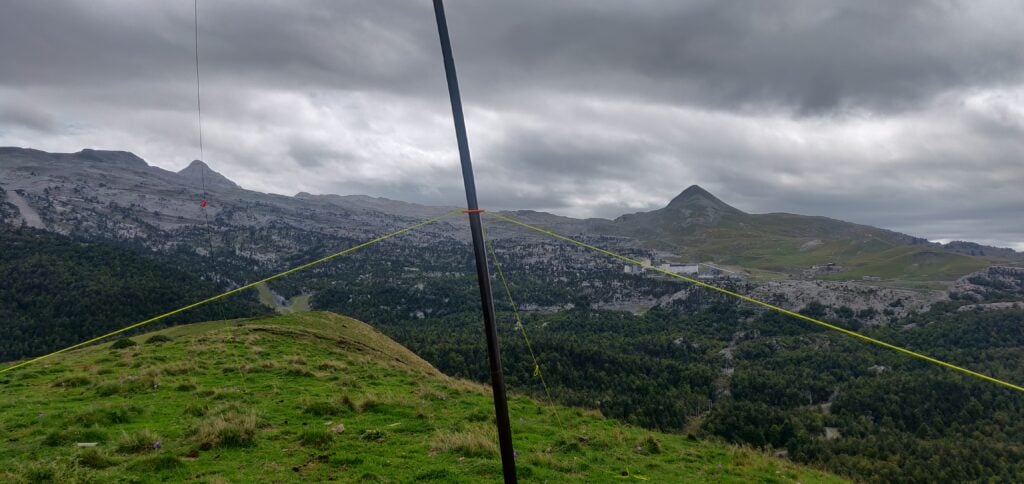
The obvious path leads you up onto the ridge – it isn’t a difficult ascent – roughly following the high voltage electricity line that crosses the river (which at this point forms the French/Spanish border) in the valley below. Once you are up on the ridge, there’s a fantastic view Hendaye/Irún (in practice the same town but Hendaye is in France on the north side of the river and Irún is on the Spanish side) and out over the Bay of Biscay and up the Landes coast.
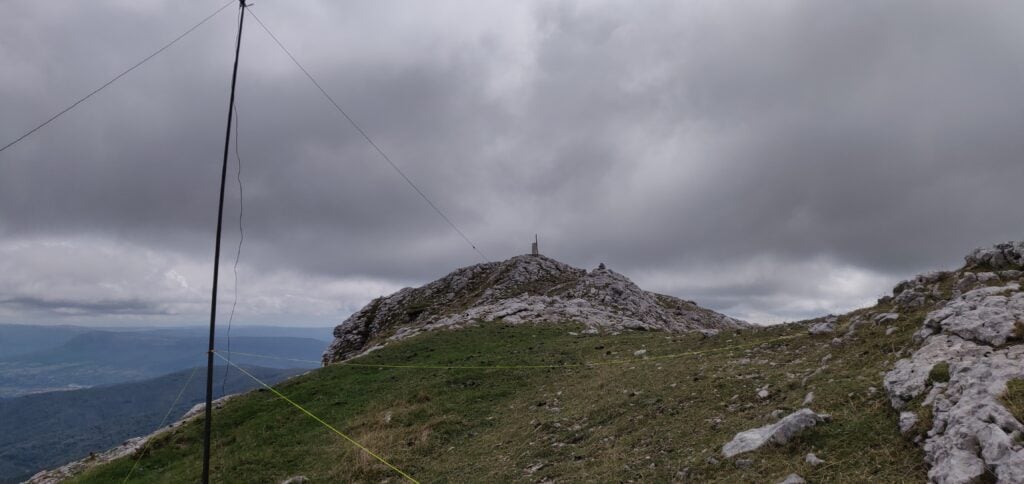
The view from the ridge
From here, it’s only a little further uphill to the summit, which has a nice flat area for setting up an antenna.
It was still fairly early in the morning as I’d parked in Biriatou at 08:30 local time, and reached the summit about 55 minutes later. From the top I made seven contacts before packing up and descending the 45 minutes back to the car. The walk has a 290m ascent over about 2.9km.
Leaving Biriatou, I made a quick stop for fuel in Irún (where diesel for my hire car was cheaper than in France), before heading to the airport.
Loading map…Scroll or tap to load the interactive map
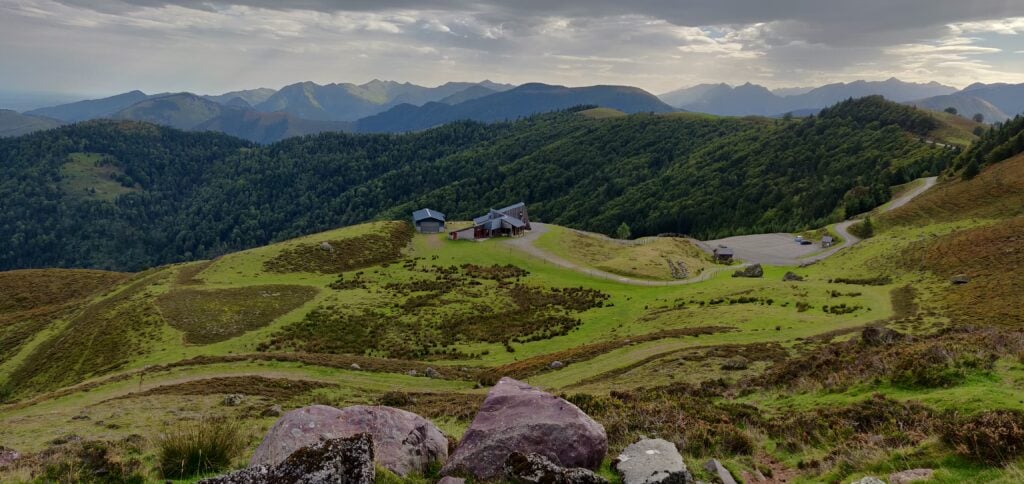
I’d done the Pic d’Issarbe on my last trip to the Pyrenees, and it’s a lovely, easy four-point walk at this time of year. The site is a minor ski resort in the winter and as such has a car park which was almost deserted on this September morning.
The car park at Pic d’Issarbe seen from the ascent
The ascent up the hill is simply a matter of choosing one of the many ski-run paths and following it to the top. The summit itself is marked by a small metal cross and there’s a reasonable amount of space within the activation zone for an HF dipole, even though the terrain slopes away quite quickly. It was a very pleasant morning and I was slightly ahead of my schedule, so I made 28 QSOs on 30m CW before descending.
The ascent took me 25 minutes for a climb of about 160m vertically over only just over a kilometre horizontally on the wide, grassy, paths. The descent took a little less.
Loading map…Scroll or tap to load the interactive map
Distance
—
Elevation gain
—
Elevation loss
—
Max elevation
—
Waypoints
—
Elevation profile
Pic de Guilhers F/PO-283 (4 points)
For the Pic de Guilhers, I opted to follow EA2EEB’s track from the SOTA Mapping website, which starts from the car park at the Pierre St Martin ski resort. This was not the best idea but more on that later.
Under usual circumstances, the car park is only about 20 minutes’ drive from the Pic d’Issarbe, which is why I’d opted to do both mountains on the same day. However, I hadn’t allowed for meeting a large flock of sheep which surrounded my car and I spent several minutes inching forwards trying to follow the road without herding them.
The other reason that the Pierre St Martin car park is not ideal is that it means you start the climb from higher than the summit. The walk starts with a steep descent down a rocky gully at the side of the road to reach the valley floor, before you have to ascend the hill itself. A preferable option would have been to start from the car park at 42.9849,-0.7429, which would have saved a chunk of the walk.
The walk starts by descending a steep path from the road to Pierre St. Martin
Once at the bottom of the gully, you follow a couple of ski runs to join the main D132 for about a kilometre before leaving the road again. This is some pretty boring walking on tarmac, still heading downhill, but you soon get your first proper sight of the Pic de Guilhers and the challenge it represents.
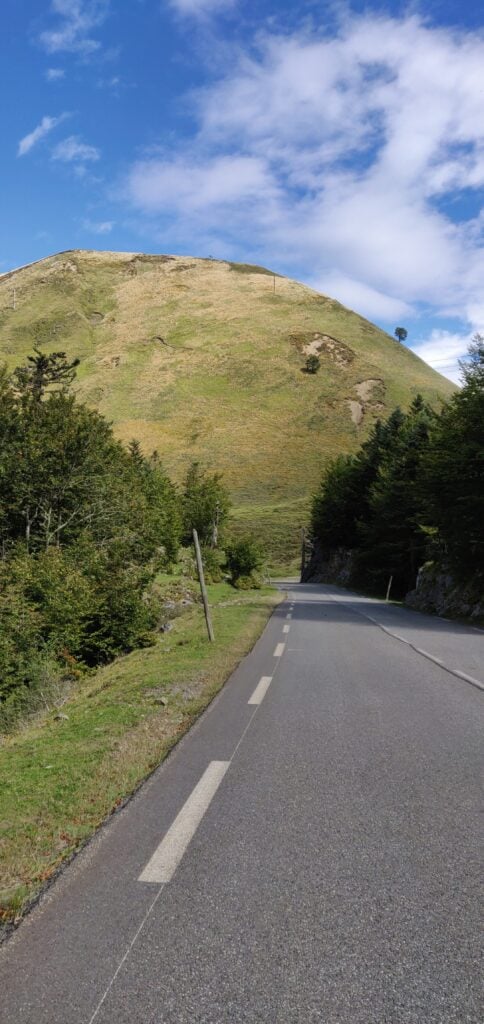
The Pic de Guilhers from the road
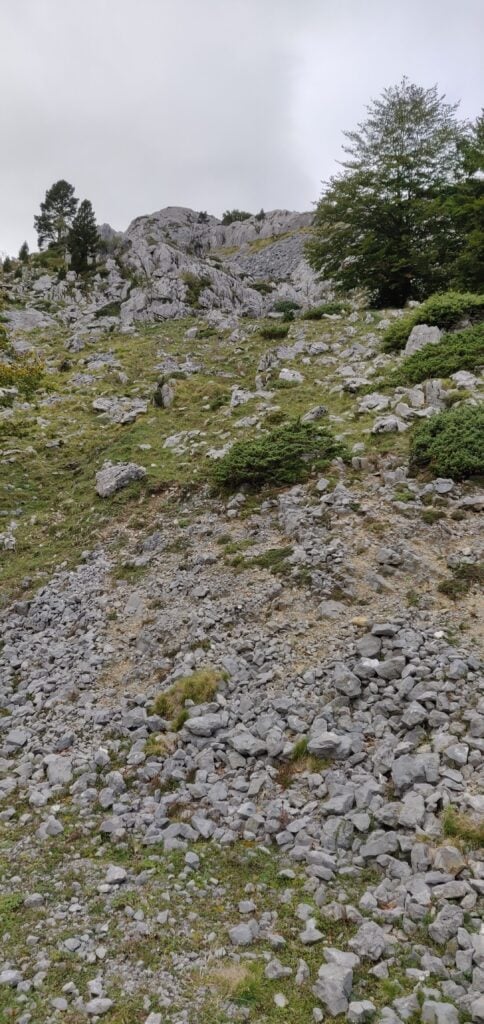
As you can see, the mountain is a steep ‘pudding bowl’ with apparently no path up it. As you get closer, you see that there are many paths that actually skirt around the bottom of the hill – some may be animal tracks others caused by erosion – and intuitively I initially tried to pick my way up to the highest of these to gain some high and then go up from there, again following EB2EEB’s GPS track. I found it just too step, however, and fearful of sliding down the hill I decided to continue around the side of the mountain. It looked like there might be a slight shoulder behind the hill.
The many tracks at the bottom of the hillIf you try to climb up from the bottom, the hill quickly becomes very steep
My map reading was right. I’d recommend that you actually follow one of the middle paths around the side of the mountain without worrying too much about gaining height at first. Once you have skirted around the side, aim for 42.9931, -0.7330 and then follow the narrow path to where the trees meet the side of the mountain at 42.9948, -0.7326. From here, it’s a relatively easy ascent through the heather to the summit.
Once you are at the top, it’s fairly flat, and there’s plenty of room to set up a wire antenna. Sadly, conditions weren’t great, so I only made 10 QSOs from here on 30m CW before packing up.
As you might have gathered, this is a bit of a beast of a hill for just four points. Not only did I park higher than the summit and have to walk downhill to start the ascent, but I lost a lot of time trying to pick the right path on the ascent and tryign to gain height prematurely, only to have to carefully pick my way along steep, narrow paths. Consequently, the climb took me 1 hour 20 minutes to walk 3.85km horizontally, and ending up 30m lower than the car park where I had started, but still 160m above the valley floor below. The descent took only ten minutes less, and was exhausting with the final climb back up the gully to the car park. With that, I headed the 2h30m to my hotel in St Jean de Luz, from which I’d go up Xoldoko Gaina tomorrow.
Loading map…Scroll or tap to load the interactive map
I’ve recently returned from a few days in the Basque Country, which included a few summit excursions. Although I’m aware that I’m behind on writing up some of my other SOTA trips over the summer, I’ve decided to type up my notes on this recent trip first before I forget the detail.
Aratz EA2/VI-003 (6 points)
Having landed in Bilbao, Spain, I hired a car and drove for about 90 minutes to the car park which serves both Aratz (EA2/VI-003) and also Aitxuri (EA2/SS-001). The car park itself is located near the end of the GR-282 road at 42.9351, -2.3032. The GR-282 itself is a concrete road but perfectly decent to drive over.
From the car park, you head on the path through the trees and over the bridge. The path soon opens out to a wider area, but it is obvious and without any particular navigational challenges. Note only that at this point you are heading away from the summit – this is because the summit itself is above a steep cliff face, and so the path heads around the side in order to reach a shoulder where the access is easier.
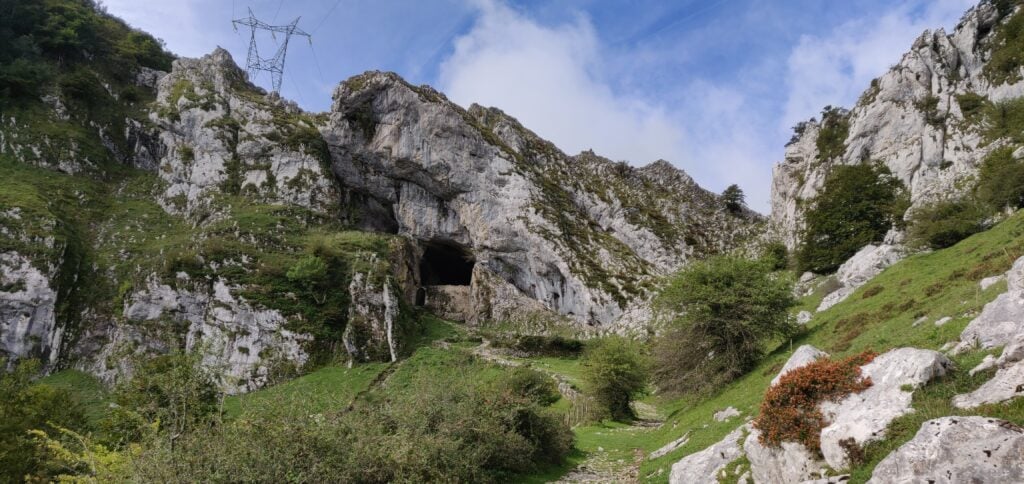
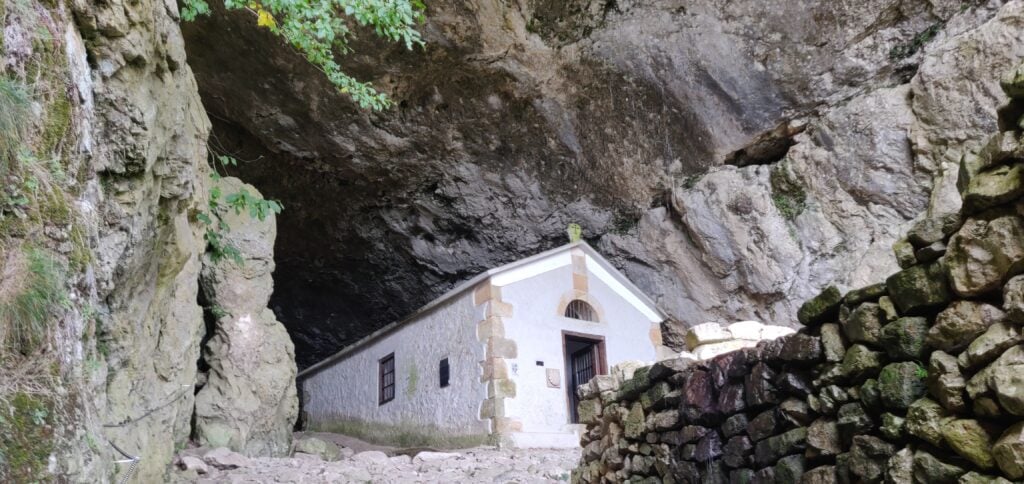
At 42.9352, -2.3153 you reach the fascinating natural tunnel through the ridge which contains a chapel at the site of a former hermit’s dwelling, the San Adrian’s hermitage.
The tunnel at San Adrian’s hermitageThe hermitage chapel
Continue walking through the tunnel but be wary of where there are drips onto the well-worn cobbles – the stones were quite slippery in places.
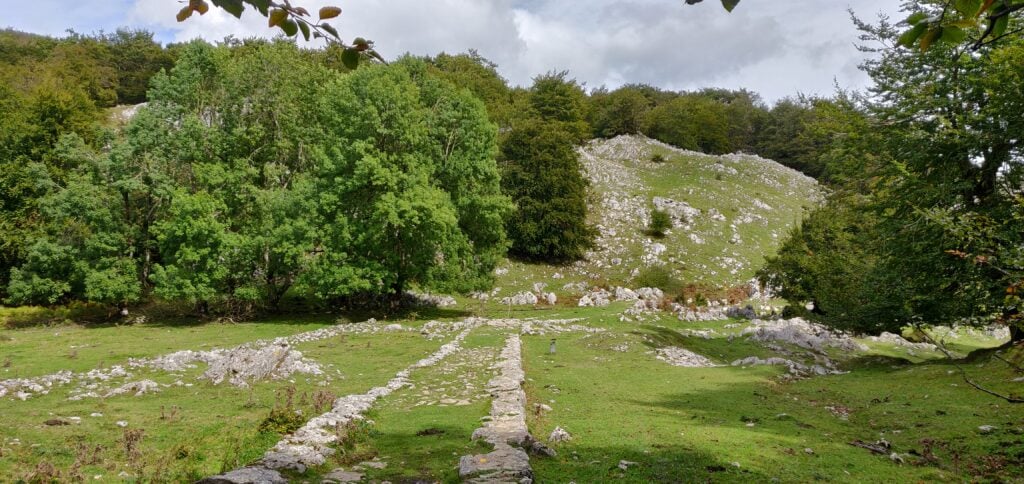
After the tunnel continue on the main path and where the route splits follow the white and red paint markings to the left, signposted to Gazlaren Ibilbidea. This brings you to another fascinating feature of the walk – an intact Roman road taking you back into woodland.
Looking back down the Roman road
Shortly after you’ve picked up the Roman road, watch for where the road bends around to the right and look for a small, muddy track through the trees straight ahead of you, marked with yellow dots of paint. This is the route to the summit of Aratz.
Once back out of the trees, you are almost at the summit. The path is narrow but it’s not near the edge and it felt perfectly safe. This final section is the steepest and there’s a misleading false summit to get over before you see the final destination, marked with a trig point.
The final ascent
Having reached the trig point, there is a fairly large area, though sloping, that’s within the SOTA activation zone where you can set up an antenna.
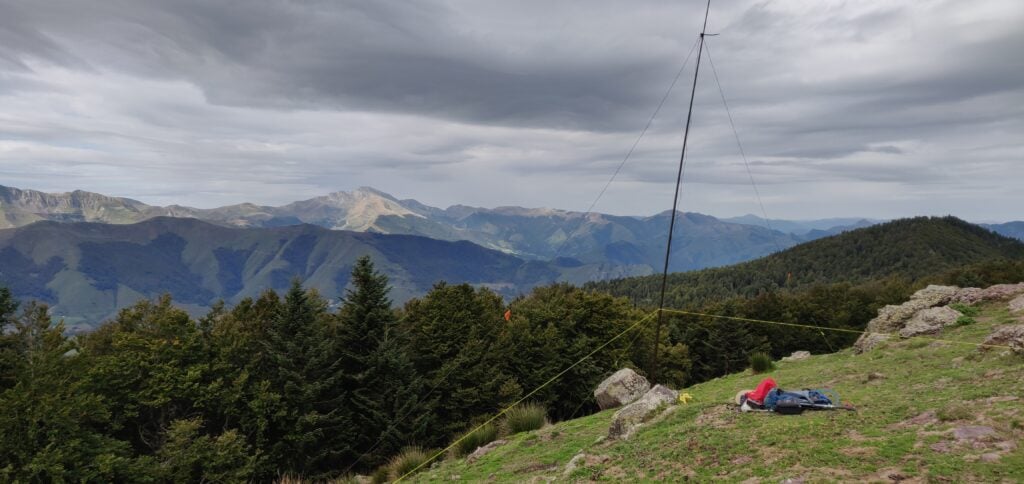
My antenna set up just below the trig point
On a clear day, the summit of Aratz would have a stunning view out to the Bay of Biscay to the North and across the plains of the Ebro valley to the South. As such, the radio takeoff was pretty impressive and I was pleased to make 13 contacts on 30m CW within about 10 minutes.
The ascent (about 580m vertically over 4.4km horizontally) took me 90 minutes and the descent would have taken a little less had I not stopped for lunch. This wasn’t a hard climb and was a very interesting walk.
I had originally planned to go on to EA2/SS-001, since the walk there only diverges from the path to Aratz after San Adrian’s hermitage. However, with a long drive into France still ahead of me and having started slightly later than I had hoped, I decided to head straight back to the car.
Loading map…Scroll or tap to load the interactive map
Back in November at work, we ran ‘Reset Week’. Basically, we had a problem: we had three products needing work and three teams that weren’t quite the right shape and had the wrong skill-sets in the wrong places. But by making the teams gel, the result would be that the resulting teams wouldn’t have worked on their products before. To make matters worse, two of the three products had no roadmaps.
Due to externally motivated deadlines, I was given a week to resolve this. By the end of the week, we would need fully-formed roadmaps (at least to give a few months of runway) and teams that bought into them and understood the products.
How did it go? I’ll be presenting a workshop at Agile Cambridge with my former colleague Roger Hart, where we’ll re-run a compressed version of the week in 90 minutes. Come along and you’ll create your own roadmap working with people you probably haven’t met before…
Wednesday 2nd October 2019 at 13:25 at Churchill College, Cambridge as part of Agile Cambridge…
It’s time for a bit of work-related, personal news… My career has been one where I’ve followed a slightly unusual path, jumping at opportunities that have presented themselves. From a languages degree to Technical Authoring, then to Agile as a Scrum Master, I’ve been keen to explore different areas in a way that’s hopefully also been useful to my employer at the time.
I’ve been fulfilling a Scrum Master role for more-or-less seven years now, ranging from a highly Agile software company, to an American multi-national, to most recently an academic publishing business, which can only be described as slower-paced. I’ve really enjoyed working with various teams over the years but I’ve struggled to settle into a purely Agile Coach role, often ending up more of a Project Manager (for better, or for worse).
Our current challenge at the Royal Society of Chemistry is a big one, but one that will be familiar to many companies. We’ve grown up with a huge, and largely poorly-understood, legacy in-house infrastructure which has now become unsustainable. Over twelve months ago, we took the decision to take a strangulation approach to it, and gradually rearchitect it in the Amazon Web Services cloud.
It quickly became evident, however, that even after this decision had been taken, there was little movement in actually spinning up AWS infrastructure and we didn’t have the in-house knowledge to take a best-practice approach to the architecture. As Scrum Master to the team most directly impacted by this – and therefore as the person who was supposed to remove blockers and impediments – this rapidly became a significant concern.
And so, I took it upon myself to throw myself behind the cloud adoption strategy. Last autumn, I passed the AWS Certified Cloud Practitioner exam and I started studying for the Solutions Architect Associate exam. More recently, working with an external consultancy, we’ve been looking at forming a Cloud Centre of Excellence (CCoE), as recommended by AWS. One of the features of a CCoE is to drive the organisational change needed when adopting cloud technologies, and in particular evangelising a DevOps operating model. I’ve also been showcasing the technologies to our stakeholders to help them understand the transformation we’re doing. Both of these aspects are very similar to what I had been doing promoting Agile.
Last week, all this became official. My job title is now a Solutions Architect, still at the RSC, but now in the Site Reliability Engineering team, with the aim of driving our cloud-related projects forward. I’ll still be working on the same cloud migration project with the same people but now in a much more technical capacity. I’m really looking forward to getting stuck into the new role properly as we have the opportunity to make a significant difference. Time will tell, but the team has already delivered some impressive work in the last few months, and I’m sure there’s a lot more to come.
I’ve now returned from a long weekend at the annual Ham Radio exhibition at Friedrichshafen, a beautiful city on the shores of Lake Constance in southern Germany.
The normal way for British people to get to FDH as it has become known, is to fly to Zurich and take the train to Romanshorn before then getting the ferry across the lake. Instead, M0WUT and I opted to fly to Munich and rent a car, so we’d have our own transport for a few SOTAs on the Sunday and Monday.
There are a lot of very easy summits near the rally. There are two just about 30 minutes north of the town, DM/BW-854 and DM/BW-358, which we did on the Monday. Most activators also head west to the area around Tuttlingen, where there are a number of other very quick activations in the DM (Germany – Low Mountains) SOTA association. Indeed, I had planned a comprehensive route around those hills for our trip but with the weather forecast to be hot and sunny, Dan and I instead headed east towards the Alps.
DL/AL-049 Kühgundkopf
The 8-point Kühgundkopf is about a 90 minute drive from Friedrichshafen in the foothills of the Alps. It hadn’t been activated for five years and there was relatively little information to judge how difficult the summit would be from SOTA sources, other than DF3MC’s track on the SOTA maps site. A bit more searching gave a few more clues but also more confusion: many sources will tell you that this mountain, which straddles the German and Austrian border, has two names (Kühgundkopf in German and Wannenjoch for Austrians). However, on the ground, the signposts are clear that Wannenjoch is the promontory with a cross on it just below the summit, while Kühgundkopf is the highest point (at coordinates which match the location in the SOTA activation manual). Google Maps, meanwhile, has Kühgundkopf marked at the location of Wannenjoch. If that isn’t complex enough, many descriptions of the walk say that this is a really strenuous, difficult walk requiring climbing gear. But that’s only true if you are doing a popular circuit with Iseler. The walk only as far as Kühgundkopf is fine.
Despite the forecast good weather, the rain and drizzle became increasingly frequent as we approached the mountains and we were starting to doubt our choice but it fortunately dried up in time for the start of our walk. The cloud didn’t lift for the ascent, however, which meant that we missed out on some spectacular views. A further problem was that most shops are closed on Sundays, and so we didn’t come prepared with any lunch. Fortunately, a small convenience store in Schattwald, the first village into Austria, was open for 2 hours on a Sunday morning (10am-12pm) and so we purchased enough to make sandwiches.
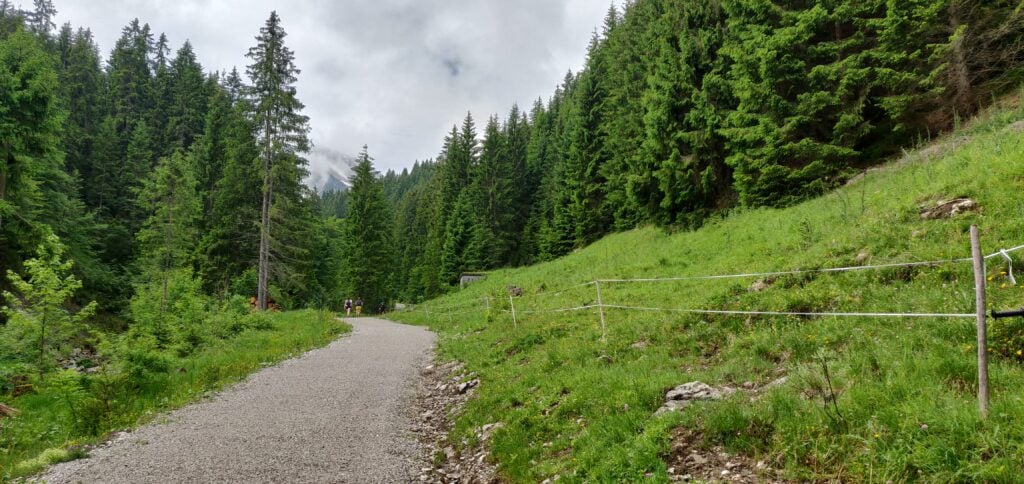
As I described, this mountain straddles the border and in fact the path up it starts from the Austrian side. You start in Schattwald in the large carpark at the foot of the chairlift (47.5119, 10.4596). This cost a very reasonable €3 for a full 24 hours. Follow the yellow signposts initially from the carpark to the top of the chairlift (signposted Bergstation -Wannenjochbahn). This is an easy, gravelled, path through the trees to the head of a stream, where you take a sharp right turn (again, signposted) onto a slightly narrower, but still quite obvious path.
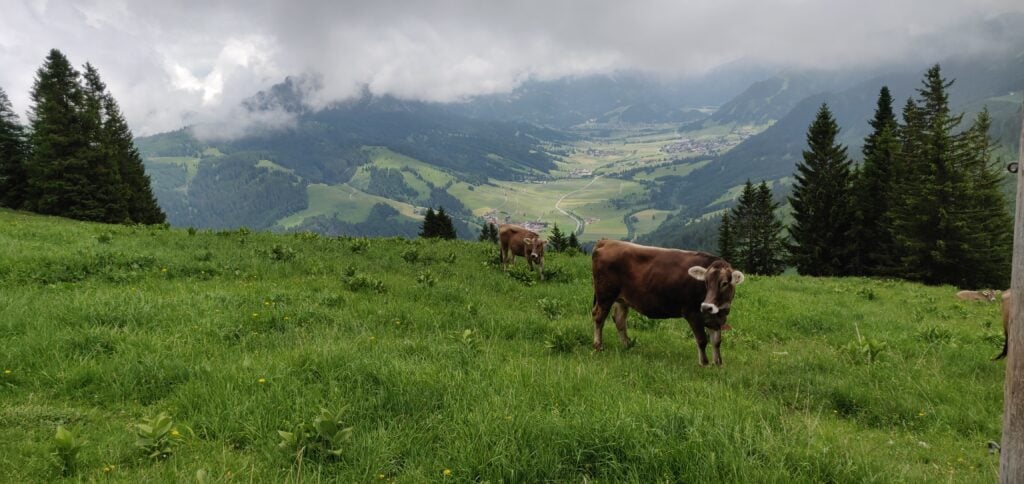
The gravel path through the trees The path is clearly signpostedCows graze on the lush mountain pasture
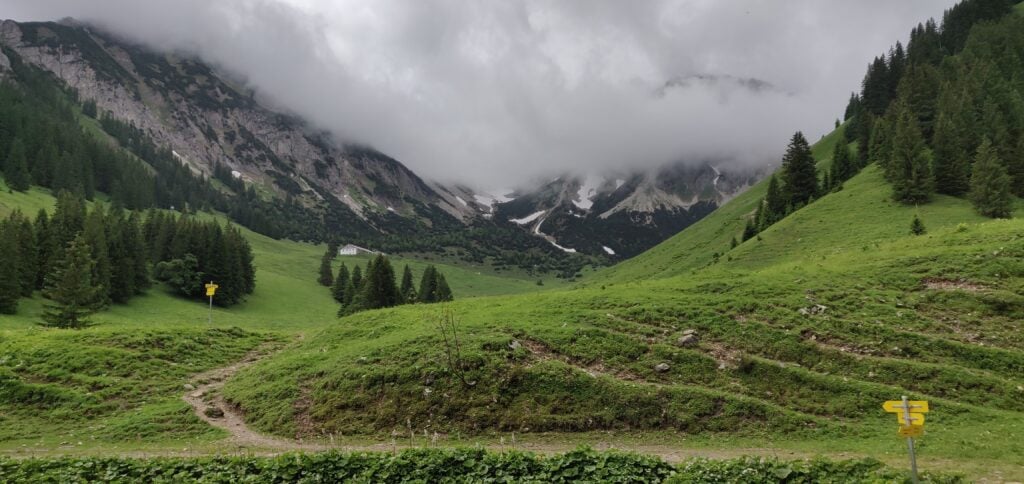
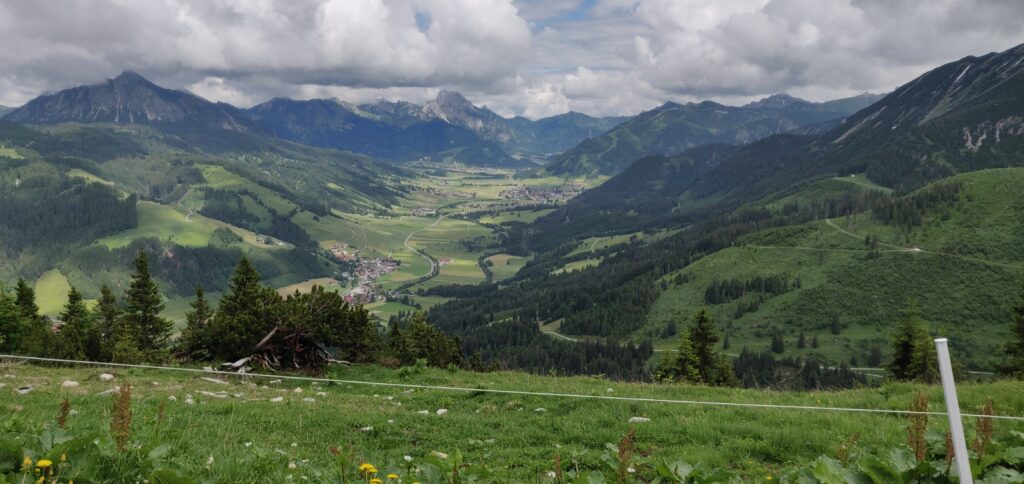
The path eventually comes out at the top of the chairlift, where there’s a restaurant (although the service here seemed to be non-existent). There’s also a spectacular view back down the valley.
The view from the top of the chairlift (Photo taken on the descent, by which time the cloud had cleared a bit)
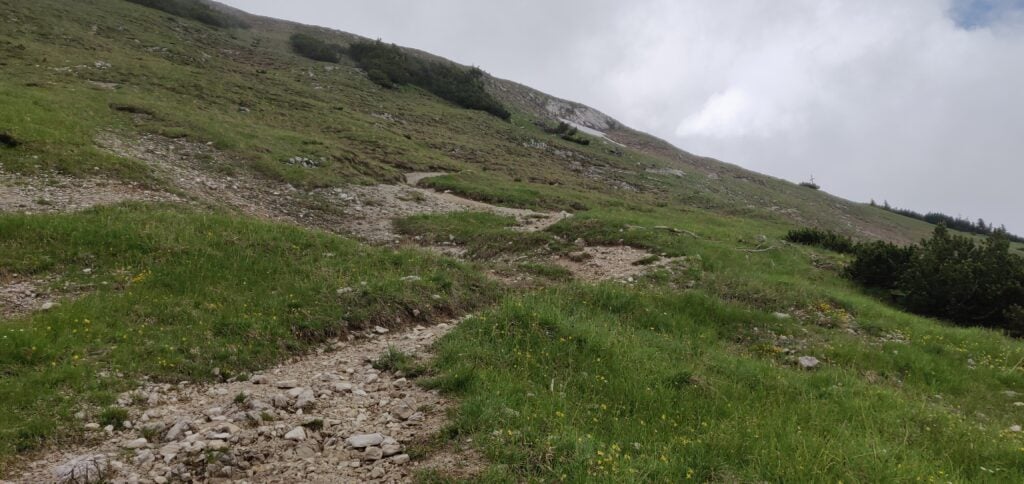
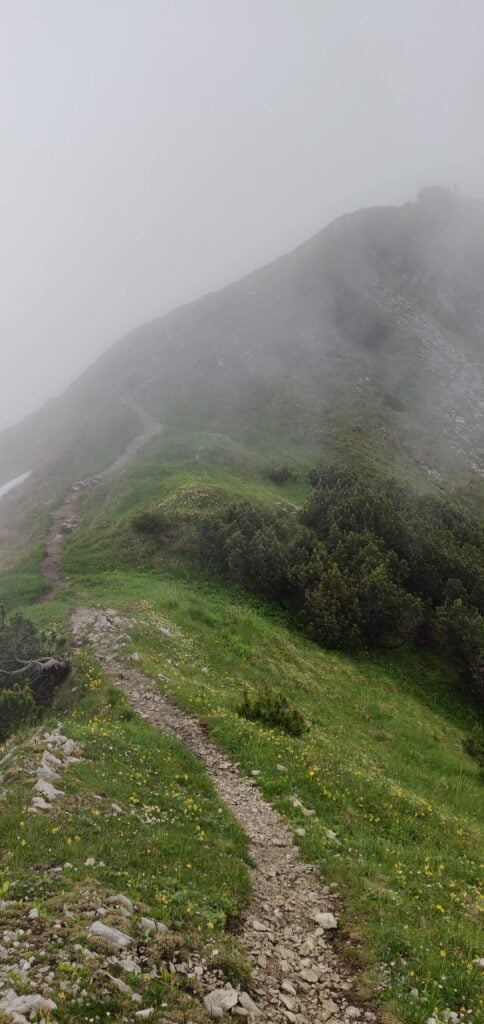
The chairlift’s top is only about two-thirds of the way up the mountain, however, so we needed to press on into the cloud and continue climbing. Again, this is just a matter of following the signs to Wannenjoch. The path becomes narrower and with slightly more loose stone and dirt but it’s still relatively easy walking without particular difficulty.
The ascent to Wannenjoch
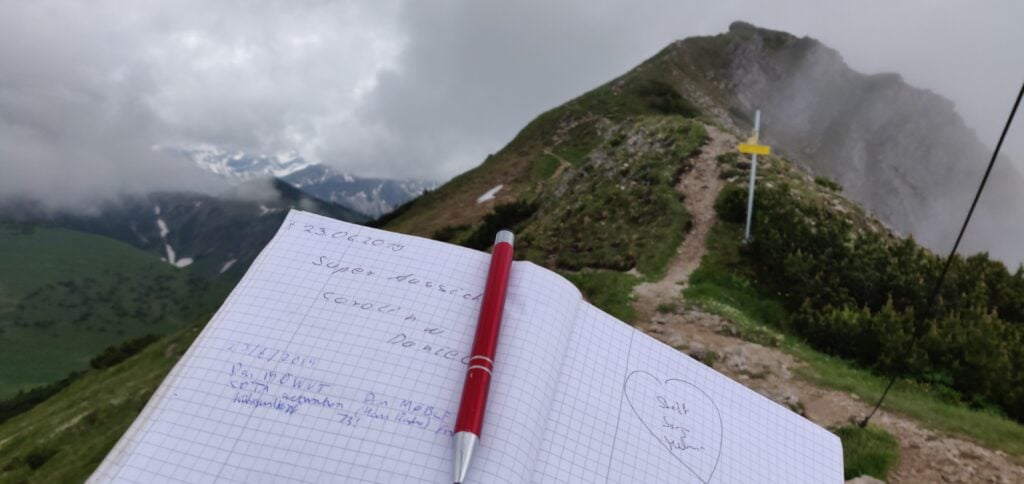
You soon enough come out to the large wooden cross at Wannenjoch. There’s a metal box attached the cross, which contains a visitor’s book and collection of pens for you to mark your visit for posterity, before heading on to Kühgundkopf.
Our callsigns in the Wannenjoch visitor’s book
As the photo above suggests, the final ascent to Kühgundkopf is along a short section of ridge. It’s fairly wide and didn’t feel unsafe but it is a long way down, so you do need to watch your footing a bit. Once again, it’s clearly signed to Kühgundkopf, so there’s little chance of going wrong. By the way, the path here is the border, so you’ll probably have one foot in one country and the other foot in another country as you walk along here!
The ridge to Kühgundkopf
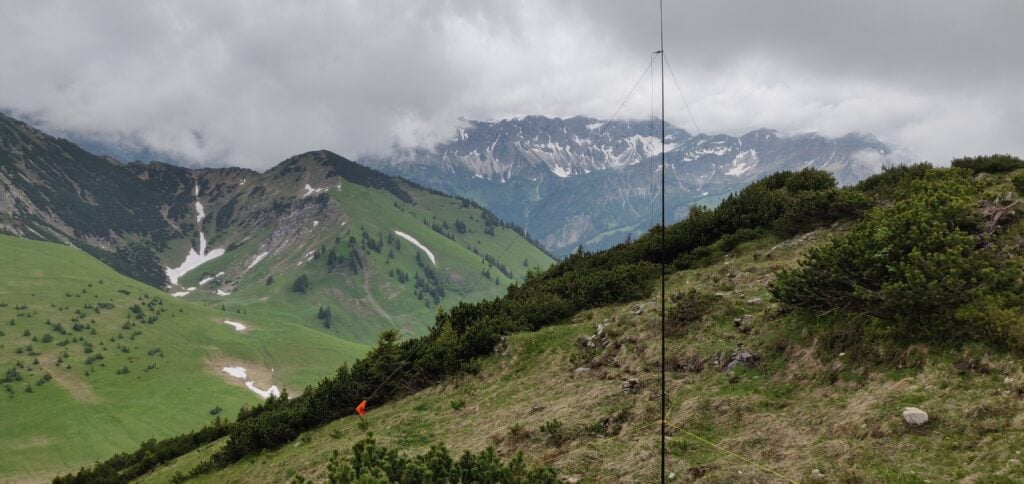
At the top, there’s a trig point. There’s also a little grass space to set up an antenna just below the path. We got occasional glimpses of a spectacular view as the cloud came and went. On a clear day it would be amazing up here!
Antenna set up at the summit
Between us, Dan and I made 19 QSOs on 20m CW. This is a great introduction to Alpine SOTAing, and I’m so glad we opted to do the longer, more serious, walk for the eight points than to have got potentially more points for less reward to the west of FDH.
The walk totals about 7.9 miles / 13.3km and climbs from a starting height of about 1100m to the summit at 1907m. The ascent took 2 hours and 20 minutes, and the descent took 1 hour and 50 minutes. This means that, having started our hike at 09:00 UTC, we were back at the car by 14:20 UTC, with plenty of time to tackle another (smaller) hill.
Loading map…Scroll or tap to load the interactive map
Distance
—
Elevation gain
—
Elevation loss
—
Max elevation
—
Waypoints
—
Elevation profile
DL/AL-181: Burgkranzegger Horn
Bergkranzegger Horn is just off the main road back to FDH, situated about 20 minutes north of Kühgundkopf, making these an ideal pair to do together.
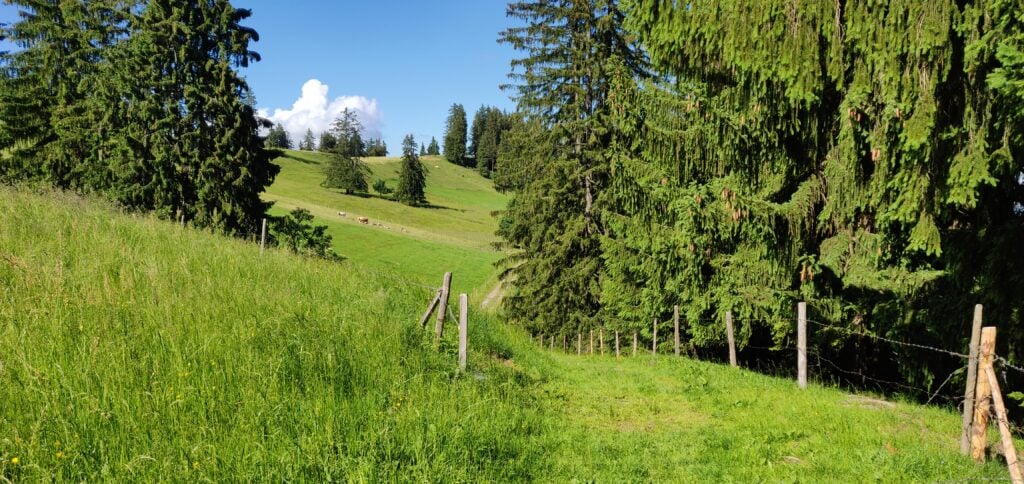
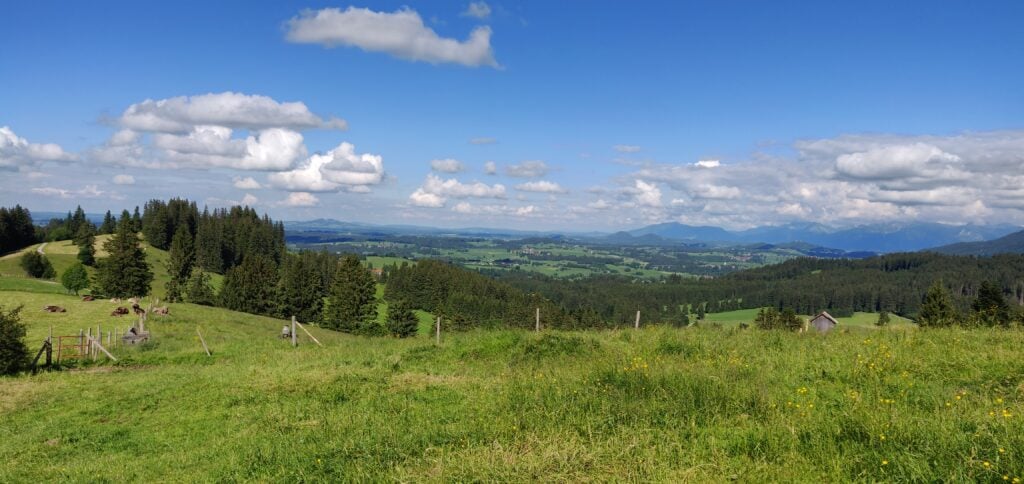
The starting point for this one is just outside the village of Mittelberg (warning: there are some very narrow streets in this village!). We parked in a layby at 47.6358, 10.4236 although the carpark at 47.6347, 10.4207 might be more suitable. From here, it’s an easy walk along the road, which quickly degrades into a track. It’s a simple matter of following this path, upwards, alongside the fields. We stopped at a fence just before the summit but easily within the activation zone of this two-point hill.
Follow the track alongside the fieldsThe view from the top
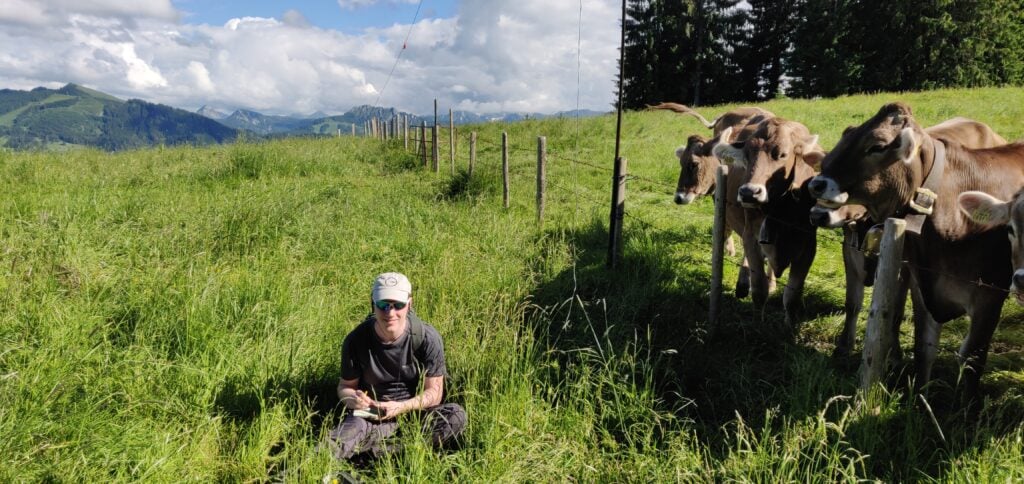
This is a very quick 2 mile walk, taking just about 30 minutes to reach the top, after just about 120m height gain. The difficulty came instead from an unexpected source: the cows in the fields all have cowbells, and they were very interested in our operation. Unfortunately, one of these cowbells was exactly the same frequency as our CW sidetone, making it not only incredibly noisy, but also almost impossible to hear what you were sending!
Dan keeping the cows entertained!
Conditions were also a bit tougher from this lower altitude and between us, M0WUT and I made just 10 QSOs on 20m CW. It also turns out that cows are rather partial to licking fibreglass poles, so packing down also had its challenges!
Loading map…Scroll or tap to load the interactive map
Distance
—
Elevation gain
—
Elevation loss
—
Max elevation
—
Waypoints
—
Elevation profile
After a tiring but rewarding day, and with the sun now out, we arrived back in Friedrichshafen in time for dinner before tackling some of the nearby hills the following day (Monday).